How to Remove Gel-X Nails at Home Without Damage (Step-by-Step)
 By VelvetNesty
We have all been there: your Gel-X extensions looked breathtaking for weeks, but now the outgrown gap is real, one nail is lifting, and you are dangerously tempted to pry them off.
Stop right there! Peeling or ripping off soft gel extensions is the fastest way to strip away the delicate layers of your natural nail plate, leaving you with weak, bendy, and damaged nails.
The good news? You do not need an expensive salon visit to get a clean, painless removal. With the right tools and a little patience, you can safely remove Gel-X nails at home while keeping your natural nails strong, smooth, and healthy.
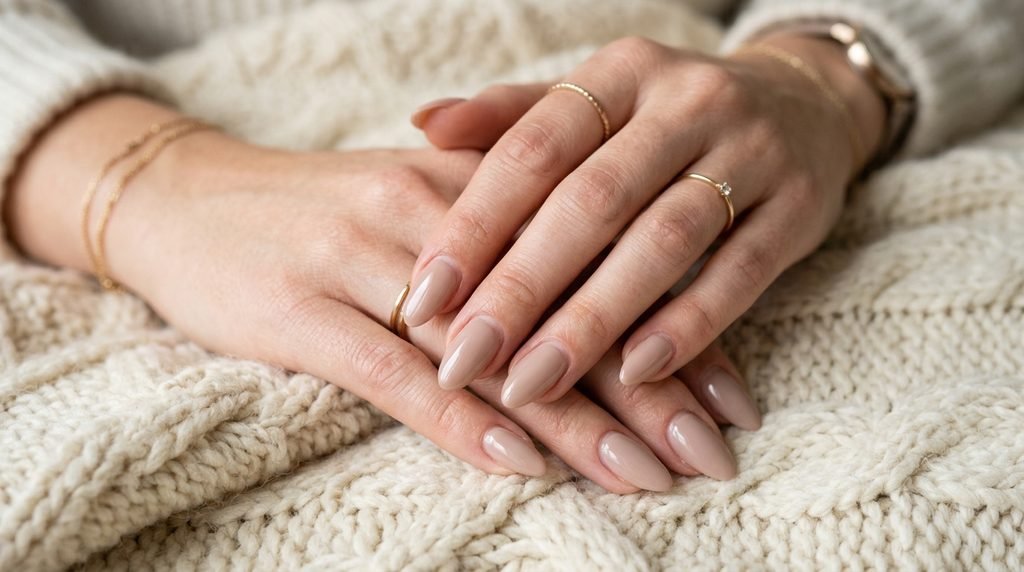
What You Need for a Damage-Free Removal
Before starting, gather all your supplies in a well-ventilated space. Setting everything up in advance ensures a smooth, mess-free process without fumbling around with acetone-covered fingers.
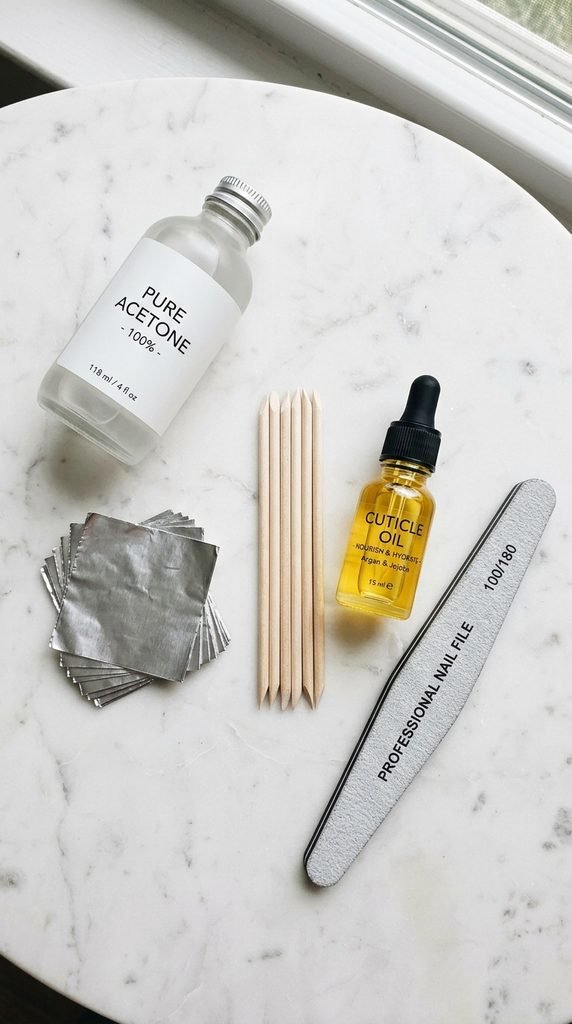
- 100% Pure Acetone: Regular nail polish remover won’t work; pure acetone is essential to dissolve soft gel.
- Heavy-Duty Nail Clipper or Tip Cutter: For cutting down the extension length.
- Coarse Nail File (100/180 grit): To break the protective top coat and debulk the gel.
- Cotton Balls or Cotton Pads: Cut into small pieces to fit your nail beds.
- Aluminum Foil Strips: Pre-cut into ten small squares (or use silicone nail clips).
- Wooden Cuticle Pusher (Orangewood Stick): Gentle on natural nails.
- Nourishing Cuticle Oil & Hand Cream: For essential post-removal hydration.
- Petroleum Jelly or Thick Balm (Optional): To protect the skin around your cuticles.
Step 1: Clip Down the Length
Start by trimming off as much of the extension length as possible.
Using your nail clipper or tip cutter, trim the Gel-X extensions straight across, bringing them close to your natural nail length. Shortening the extensions significantly reduces surface area, cutting your soaking time almost in half.
Tip: Clip in small increments from one side of the nail to the other instead of doing one big chop. This prevents the extension from cracking or placing unnecessary pressure on your nail bed.
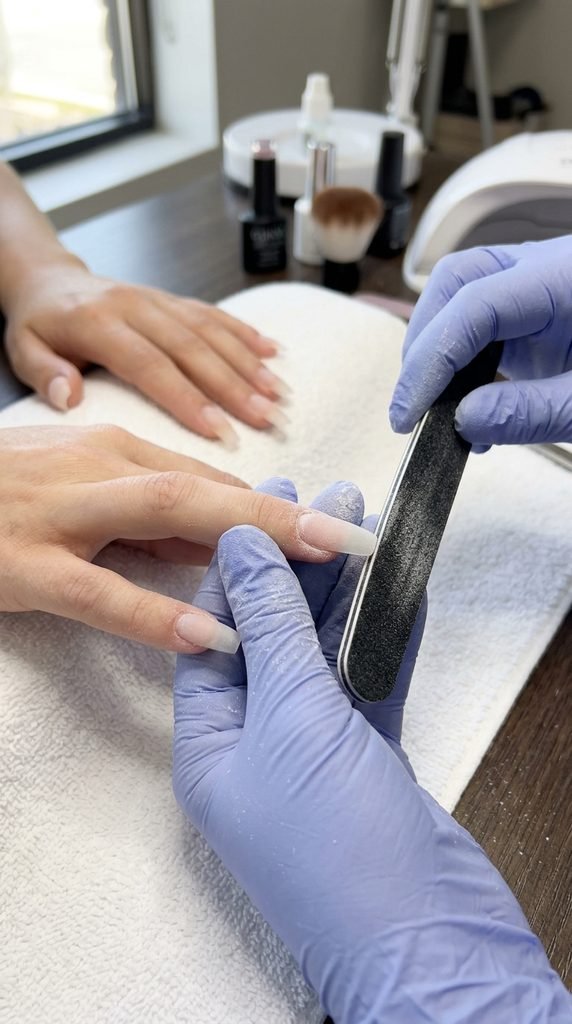
Step 2: File Down the Top Layer (Debulking)
Gel-X nails are sealed with a non-porous gel top coat that acetone cannot easily penetrate. To allow the acetone to reach the underlying soft gel, you must break that protective seal.
- Grab your 100/180 grit file.
- File across the entire surface of each nail until the shiny finish is completely gone.
- Thin out the bulk of the extension as much as you comfortably can without filing into your natural nail.
Step 3: Protect Your Skin & Wrap with Acetone
Pure acetone is drying to skin, so taking a moment to prep your cuticles will prevent redness and irritation.
- Apply a thin barrier of petroleum jelly or thick lotion to the skin surrounding your cuticles and sidewalls (avoid getting it directly on the nail surface).
- Saturate a piece of cotton ball with 100% pure acetone.
- Place the damp cotton directly over the filed nail.
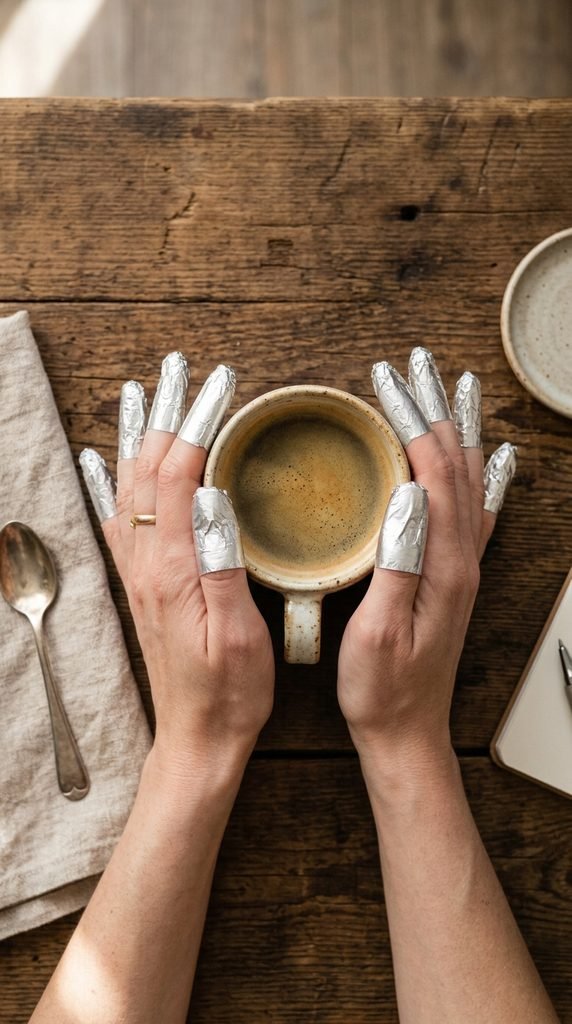
- Wrap a square of aluminum foil tightly around your fingertip, folding the top over to lock in heat and prevent the acetone from evaporating.
Step 4: The 15–20 Minute Soak
Now comes the most important ingredient: patience.
Sit back, play your favorite podcast, and let the acetone do the hard work for 15 to 20 minutes.
Pro Tip: Heat accelerates acetone breakdown. Rest your foil-wrapped hands inside a warm towel or place your hands near a warm heating pad to speed up the process naturally.
Step 5: Gently Push Off the Melted Gel
After 15–20 minutes, gently twist one foil wrap and slide it off. The gel should appear gummy, softened, and flaky.
- Take your wooden orangewood stick and gently glide it along the nail surface to lift away the dissolved gel.
- If you meet any resistance, stop immediately. Never scrape hard or force the product off.
- Re-saturate the cotton, wrap the finger back up in foil, and soak for another 5–10 minutes until the remaining product slides off effortlessly.
Step 6: Wash, Rehydrate, and Restore
Once all ten nails are completely clean of gel residue, it is time to restore moisture.
- Wash your hands thoroughly with lukewarm water and mild soap to rinse away lingering acetone.
- If there is minor texture left behind, buff very gently with a high-grit sponge buffer.
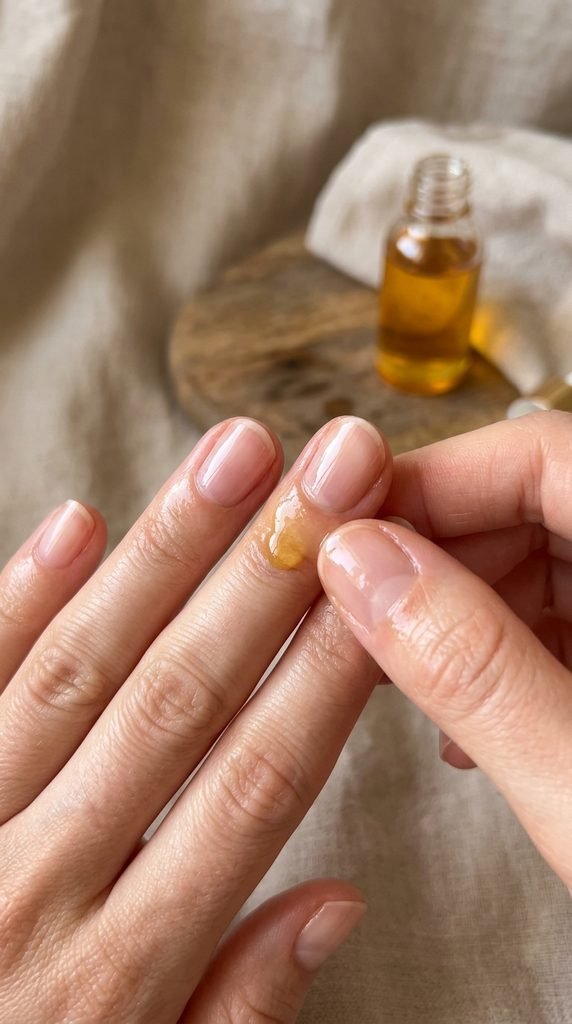
- Massage a generous amount of jojoba-based cuticle oil into your nails, cuticles, and surrounding skin.
- Lock in hydration with a rich, nourishing hand cream.
Healthy Nail Aftercare Tips
- Give them a breather: Let your natural nails rest for 24–48 hours before applying a new set.
- Oil daily: Apply cuticle oil at least twice a day to keep the nail plate flexible and prevent brittleness.
- Use a strengthener: If your nails feel slightly bendy, brush on a peptide- or keratin-infused nail treatment.
Keep Your Nails Strong and Happy
Taking off your Gel-X extensions at home doesn’t have to mean sacrificing the health of your natural nails. By resisting the urge to peel and giving the acetone enough time to work, you will preserve your natural nail strength and set the perfect canvas for your next manicure.
Save this pin for your next nail day so you are always ready for a safe, damage-free removal!