Builder Gel Nails (BIAB): The Complete Beginner to Pro Guide
 By VelvetNesty
If you have spent even five minutes scrolling through your beauty feed lately, you have almost certainly spotted those immaculate, high-shine, effortlessly chic natural nails. We are talking about strong, sleek, “clean girl” nails that never seem to chip, peel, or snap at the slightest bump.
The secret behind this viral manicure revolution? BIAB, short for Builder in a Bottle (or builder gel).
For years, achieving long, durable nails meant committing to harsh acrylics or fragile dip powders that left your natural nail beds paper-thin and damaged. Builder gel has completely flipped the script. It bridges the gap between flexible regular gel polish and rigid acrylic extensions, offering a lightweight yet ultra-protective overlay that lets your natural nails grow to dream lengths beneath.
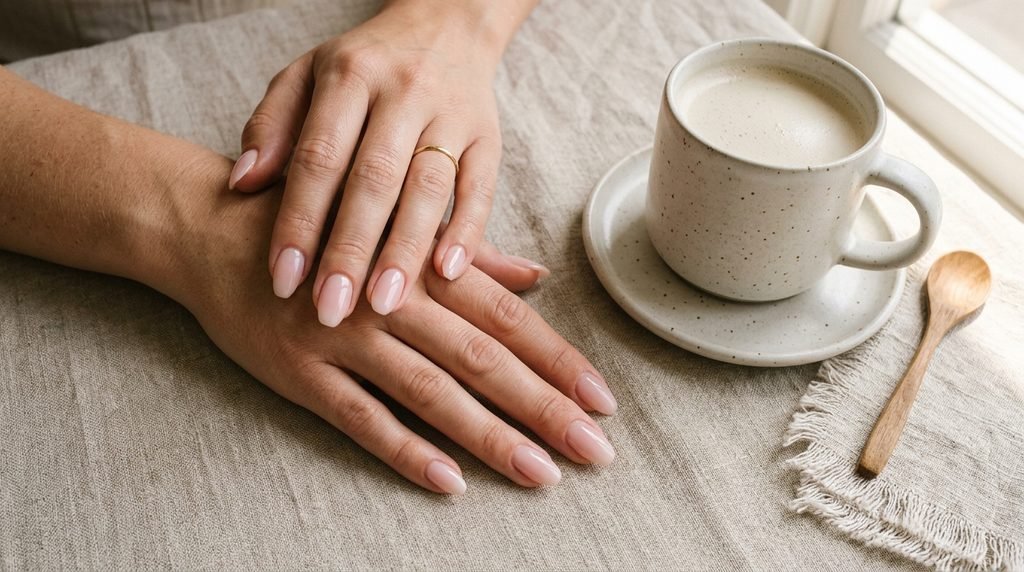
Whether you are a complete beginner picking up your first bottle at home or a beauty lover looking to level up your DIY manicure game, this ultimate guide breaks down everything you need to know about builder gel—from essential tools and foolproof prep to building that salon-worthy apex and safe removal.
What Exactly Is Builder Gel (and What Makes BIAB Special)?
Before diving into the application, let’s demystify what builder gel actually is and why it has earned holy-grail status in salons worldwide.
Builder gel is a thick-viscosity, self-leveling gel formulated to add structural strength, thickness, and reinforcement to the natural nail plate. While traditional gel polish is thin and primarily adds color, builder gel acts as a protective shield.
Here is how builder gel stacks up against other popular nail enhancements:
- Traditional Gel Polish: Very thin, flexible, and provides gorgeous shine and color, but offers minimal structural reinforcement against bending or breaking.
- Acrylic Nails: Created by mixing liquid monomer and powder polymer. Incredibly tough and great for dramatic extensions, but heavy, rigid, and prone to damaging natural nails if improperly removed.
- Builder in a Bottle (BIAB): A specialized, soak-off builder gel formula packaged conveniently in a polish bottle with its own brush. It is flexible enough to absorb everyday impact without cracking, yet strong enough to support significant natural nail growth.
Soft Gel vs. Hard Gel: Which One Are You Using?
It is crucial to know which formula you have:
- Soft Builder Gel (BIAB): Flexible, ideal for natural overlays and short extensions, and can be soaked off with acetone.
- Hard Builder Gel: Rigid, typically packaged in pots, used for long sculpted extensions, and must be filed off because acetone will not dissolve it.
For beginners and natural nail enthusiasts, soak-off soft BIAB is by far the easiest and safest formula to work with.
The Essential DIY BIAB Tool Kit
Achieving a salon-grade builder gel set at home requires the right equipment. Using mismatched or low-quality tools often leads to premature lifting or improper curing.
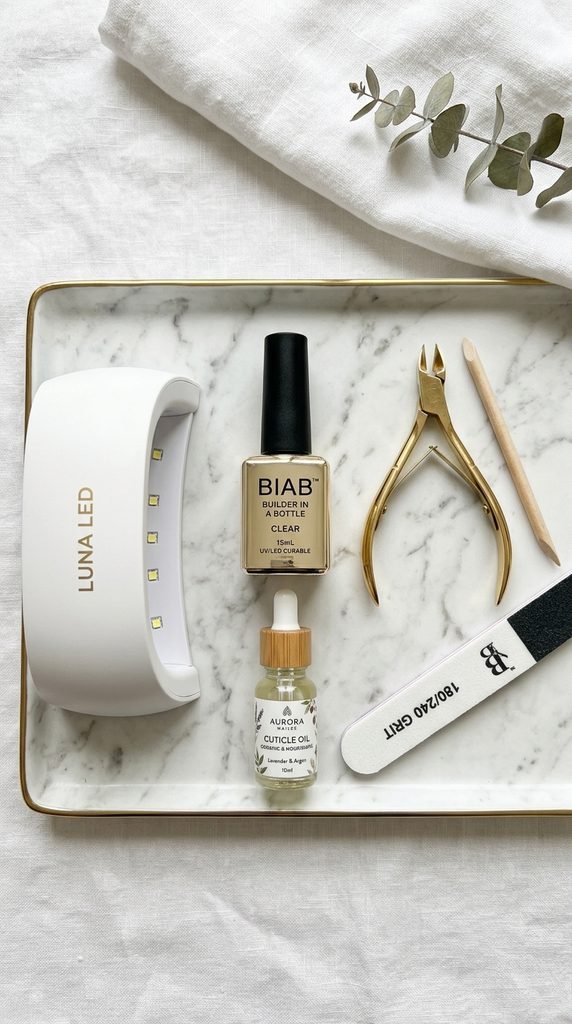
Here is your master checklist before you begin:
- Quality UV/LED Nail Lamp: Look for a lamp with at least 36W–48W power and a low-heat mode to ensure a deep, complete cure.
- Soak-Off Builder Gel (BIAB): Choose a clear, nude, or milky sheer shade to start.
- Gel Base Coat & No-Wipe Gel Top Coat: Ensures seamless bonding and long-lasting gloss.
- Pure Isopropyl Alcohol (90%+) or Nail Dehydrator: Cleanses surface oils and dust.
- Acid-Free Gel Primer: Creates double-sided adhesion for zero lifting.
- Nail Prep Tools: A metal cuticle pusher, cuticle nipper, a 180/240-grit buffer file, and a soft dust brush.
- Lint-Free Nail Wipes: Paper towels or cotton balls leave lint behind; lint-free wipes ensure pristine results.
- Fine Detail Liner Brush: Essential for guiding the gel cleanly around sidewalls and cuticles.
- Nourishing Cuticle Oil: Keeps the surrounding skin hydrated and healthy.
Step 1: The Golden Rule of Nail Prep (Zero Lifting Guaranteed)
Ask any master nail tech for their number one secret to 4-week retention, and they will tell you: prep is 90% of the battle. Builder gel will not adhere to oily, dusty, or skin-covered surfaces.
Follow this meticulous prep routine:
- Wash & Sanitize: Cleanse your hands thoroughly and dry them completely. Avoid soaking your nails in water before application, as nails absorb water and shrink later, causing gel to pop off.
- Shape the Free Edge: Use a 180/240-grit file to shape your natural nails (almond, oval, and squoval work wonderfully with BIAB). File in one direction to prevent micro-tears.
- Gentle Cuticle Work: Softly push back your eponychium (the proximal nail fold) with a cuticle pusher. Use the scraper edge or a delicate nipper to gently clear away true cuticle (the dry, dead white tissue stuck directly onto the nail plate).
- De-Gloss the Nail Plate: Using a gentle 240-grit buffer, lightly buff the shine off the entire surface of each nail. You only want to create a velvety matte texture—never grind down your natural nail layers!
- Dust & Dehydrate: Dust away all residue with a dry brush. Saturate a lint-free wipe with 90%+ isopropyl alcohol or dedicated nail dehydrator and scrub each nail bed clean.
- Prime: Apply a thin layer of acid-free primer and let it air-dry for 30–60 seconds until slightly tacky.
Step 2: The Base & The Slip Layer
Now comes the fun part: applying the product! Working on one hand at a time gives you maximum control over the gel.
- Apply Base Coat: Paint a thin, even coat of gel base coat over the entire nail, leaving a tiny 1mm hairline gap around the cuticle and sidewalls.
- Cure: Cure under your UV/LED lamp for 60 seconds.
- Paint the “Slip Layer”: Take your bottle of builder gel and paint a very thin, even coat over the nail. Do not cure this layer! This wet coat is called the slip layer. It acts as a smooth runway that guides your next, thicker bead of gel across the nail without resistance.
Step 3: Mastering the Bead, Apex & The Gravity Trick
The hallmark of professional builder gel nails is the apex—the slight, smooth curve at the center-stress point of your nail that provides structural strength and prevents breakage.
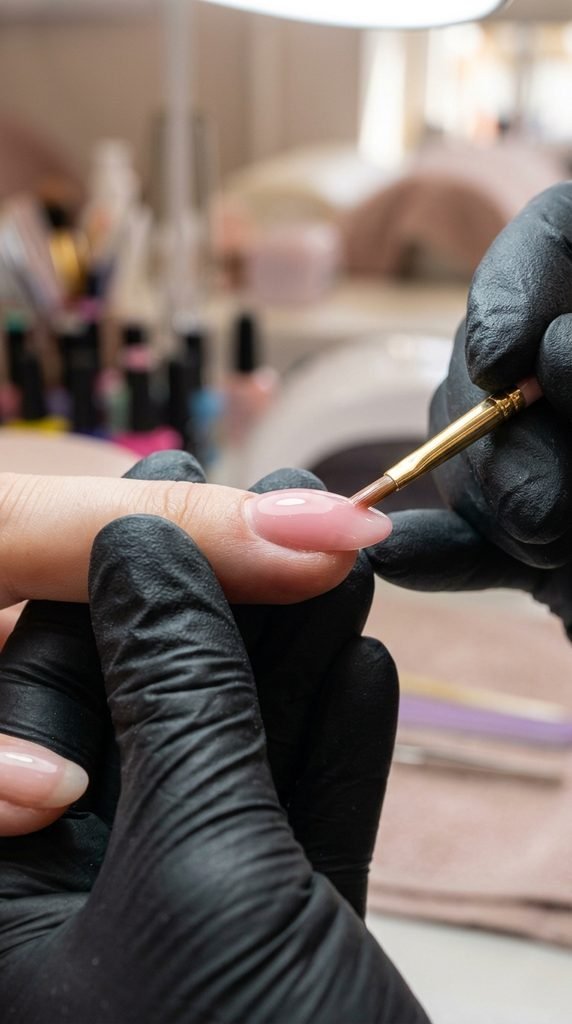
Here is the foolproof step-by-step technique to build your apex:
- Pick Up a Bead: Swirl your brush in the bottle to gather a medium-sized bead of builder gel at the tip of the bristles.
- Place and Float: Place the bead on the upper-middle third of the nail (just below the cuticle area). Do not press the brush down hard; instead, gently “float” and glide the bead downward toward the free edge using soft, circular motions.
- Guide with a Detail Brush: Take a fine liner brush to pull tiny amounts of gel toward the sidewalls and cuticle line, maintaining that 1mm safety margin away from the skin.
- The Magic Flip (Gravity Trick): Turn your hand upside down (palm facing the ceiling, fingers parallel to the table) for 5 to 10 seconds. Gravity will naturally pull the gel into the center, creating an instant, symmetrical apex curve!
- Check the Light Line: Flip your hand back over. Look down the length of the nail under your desk light. You should see a straight, unbroken line of reflection running down the center.
- Cure Immediately: Flash cure in your lamp for 10–15 seconds to freeze the shape in place before moving to the next finger, then do a full 60-second cure for the whole hand.
Pro Tip for Heat Spikes: Because builder gel is thick, the polymerization process under the lamp can generate a sudden warmth (a “heat spike”). If you feel heat, pull your hand out for 3 seconds until it subsides, or use your lamp’s “Low Heat” mode.
Step 4: Refining, Shaping & The High-Gloss Finish
Even with self-leveling gel, a quick refinement step makes the difference between an amateur DIY and an expensive-looking salon manicure.
- Wipe the Inhibition Layer: After a full 60-second cure, your builder gel will have a sticky, tacky dispersion layer. Wipe this away thoroughly using a lint-free pad soaked in 90%+ isopropyl alcohol.
- Refine with a Buffer: If you spot any uneven bumps or bulky sidewalls, lightly buff the surface with a 180/240 buffer to smooth out the contour. Re-crisp your free edge with your file.
- Cleanse Again: Dust off and wipe with alcohol once more.
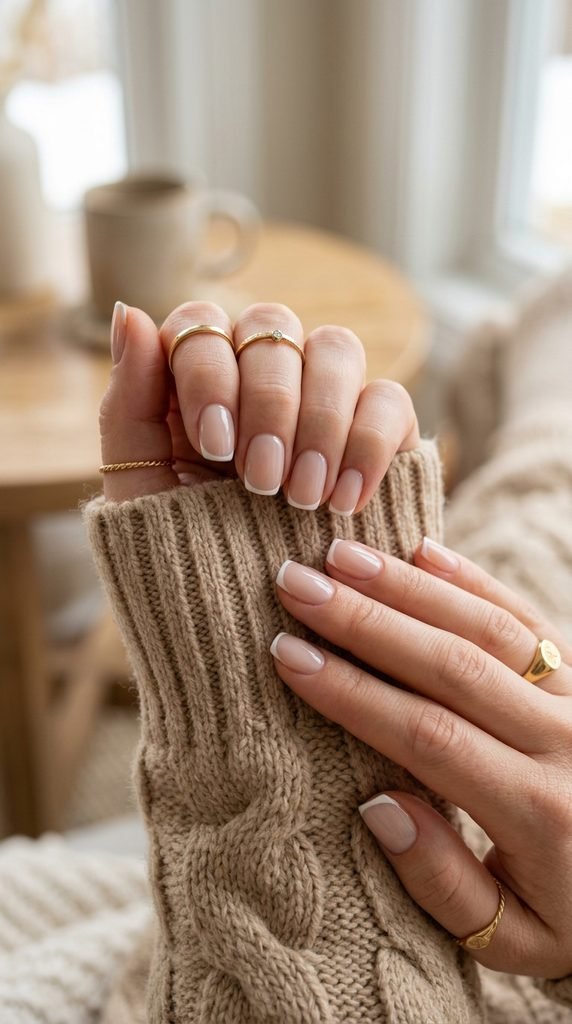
- Color or Keep It Nude: You can leave the natural BIAB shade as your finished look (milky pinks and glazed nudes look sensational!), apply gel color, or paint delicate French tips.
- Top Coat & Final Cure: Apply a glossy, no-wipe gel top coat, making sure to cap the free edge to seal the layers. Cure for a full 60 seconds.
- Rehydrate: Finish by massaging a generous drop of cuticle oil into your cuticles and surrounding skin.
How to Do BIAB Infills (Say Goodbye to Frequent Removals)
One of the greatest benefits of builder gel is that you do not need to soak off your entire set every two to three weeks! Instead, you can simply “infill” the regrowth area.
- Step 1: File down the top coat and debulk roughly 30–50% of the old builder gel using a hand file or an e-file (if trained).
- Step 2: Check for any lifted edges. If any gel has lifted away from the natural nail, gently file it away until only firmly bonded gel remains.
- Step 3: Prep the new exposed natural nail growth at the cuticle area (buff, cleanse, dehydrate, and prime).
- Step 4: Apply a base coat, paint your slip layer over the entire nail, place a fresh bead to re-balance the apex, and cure as usual.
Infills protect your natural nail bed from unnecessary acetone exposure and allow your nails to grow long and uninterrupted for months at a time.
Safe Removal: How to Take Off BIAB Without Damaging Your Nails
When you eventually want to remove your builder gel completely, patience is your best friend. Never, under any circumstances, peel or bite builder gel off, as this rips off the top layers of your natural keratin.
- File Down the Bulk: Use a 100/180-grit file to carefully remove 70–80% of the gel thickness. The thinner the remaining layer, the faster the acetone can work.
- Soak in Pure Acetone: Saturate cotton balls in 100% pure acetone, place them over each nail, and wrap tightly with aluminum foil or reusable silicone nail caps.
- Wait 15–20 Minutes: Let the acetone break down the gel bonds in a warm room.
- Gently Scrape: Remove the foils one by one. The gel should look crumbly and soft. Use an orangewood stick or metal scraper to gently slide the softened gel off. If any spots resist, re-wrap for another 5–10 minutes.
- Nourish: Once clean, wash your hands and immediately drench your nails in cuticle oil and a rich hand cream.
Top Pro Tips for Flawless Retention
- Mind the Gap: Always leave a 1mm space between the gel and your skin. If gel touches the cuticle or sidewalls, air and water will seep in, causing the entire nail to lift within days.
- Clean Before Curing: If you accidentally get gel on your skin, clean it off with a brush dipped in alcohol before putting your hand in the lamp.
- Wear Household Gloves: Harsh detergents and prolonged hot water exposure break down gel bonds over time. Treat your nails like jewels, not tools!
- Oil Daily: Apply cuticle oil at least twice daily. Hydrated natural nails flex naturally with the builder gel, preventing premature peeling.
Final Thoughts: Embrace Your Natural Nail Journey
Transitioning to builder gel is one of the best investments you can make for your nail health and aesthetic routine. While mastering the apex and getting your slip layer just right might take a couple of practice runs, the payoff—strong, stunning, salon-quality natural nails that last for weeks—is endlessly rewarding.
Loved this guide? Pin this article to your beauty board, grab your starter kit, and get ready to create your dream manicure at home!