PolyGel Nails: The Complete Guide (Application, Cost, Designs)
 By VelvetNesty
If you love the sculpted look of acrylics but dread the chemical smell and heavy feeling, you are not alone. Enter PolyGel—the revolutionary nail enhancement taking beauty feeds by storm.
PolyGel combines the ultra-strong durability of acrylics with the lightweight flexibility of hard gel. Whether you want to achieve a salon-quality manicure from the comfort of your couch or you’re looking for your next salon inspiration, this all-in-one guide covers everything you need to know.
What Exactly Are PolyGel Nails?
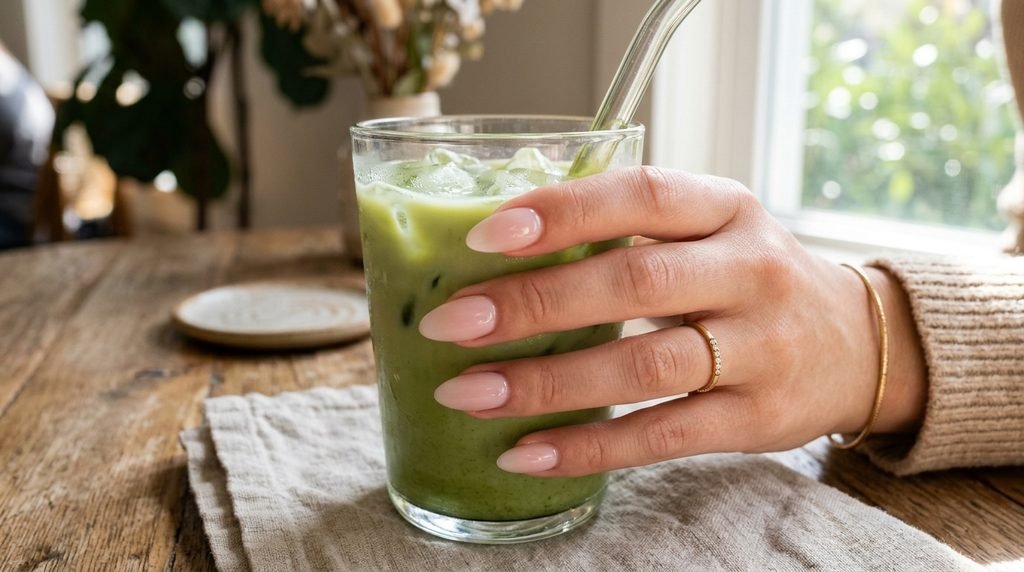
PolyGel is an all-in-one hybrid formula designed to give you effortless control and long-lasting wear. Unlike traditional acrylic systems that require mixing a pungent liquid monomer with powder, PolyGel comes pre-mixed in an easy-to-squeeze tube with a putty-like consistency.
Here is why beauty lovers are obsessed with it:
- Virtually Odorless: No harsh salon fumes during application.
- Unlimited Working Time: It does not air-dry. It only hardens when cured under a UV or LED lamp, so you can sculpt at your own pace.
- Featherlight Feel: Feels significantly lighter and more natural on your nail bed than standard acrylic extensions.
- Durable & Flexible: Strong enough to resist chips, yet flexible enough to absorb impact without snapping painfully.
How to Apply PolyGel at Home: Step-by-Step
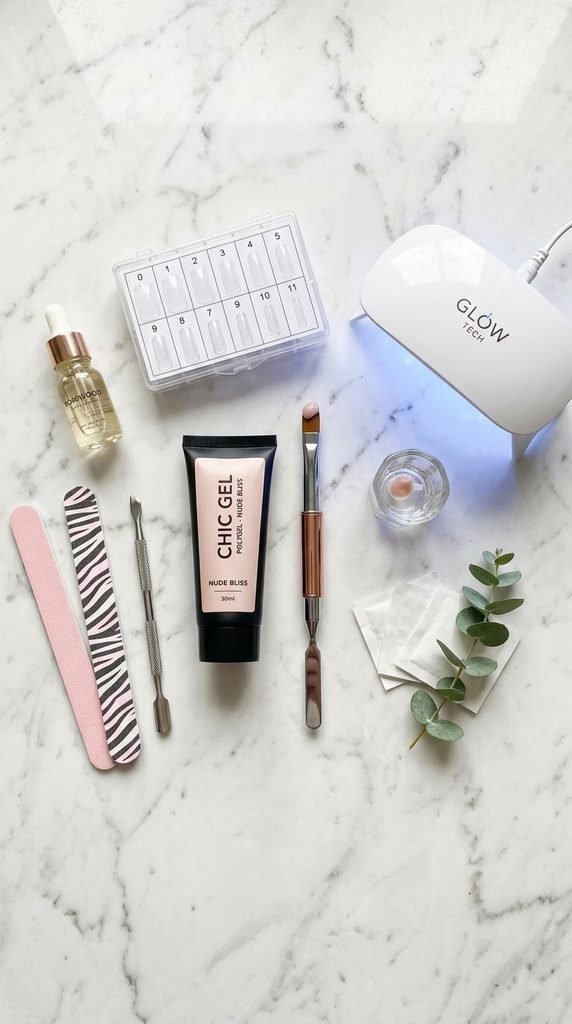
Applying PolyGel is easier than you think, especially when using dual forms (clear plastic molds shaped like nail extensions). Follow these simple steps for a flawless set:
Step 1: Prep Your Natural Nails
Long-lasting nails always start with proper prep.
- Gently push back your cuticles and remove any dead tissue.
- Lightly buff the surface of your nails to remove natural shine.
- Wipe clean with a lint-free alcohol pad.
- Apply a dehydrator and acid-free primer, followed by a thin layer of gel base coat. Cure for 60 seconds under an LED lamp.
Step 2: Size and Fill the Dual Forms
- Choose dual forms that fit each nail wall-to-wall without pressing down too hard.
- Squeeze a pea-sized bead of PolyGel from the tube and slice it off with your spatula tool.
- Place the bead inside the curved dual form.
Step 3: Sculpt with Slip Solution
- Dip your brush lightly into slip solution (or 70%+ isopropyl alcohol) and dab off the excess on a paper towel.
- Pat and smooth the gel evenly inside the form. Keep the cuticle area thin and build up slightly more thickness in the center (the apex) for strength.
Step 4: Apply and Cure
- Gently press the dual form onto your natural nail at a 45-degree angle starting near the cuticle, rolling down toward the tip.
- Smooth out any excess gel that squeezes out underneath the free edge.
- Flash-cure for 10–15 seconds while holding the form, then cure fully under the LED lamp for 60–90 seconds (top and underside).
Step 5: Pop, Shape, and Top Coat
- Gently pinch the sides of the dual form until it pops off, revealing a glass-smooth surface.
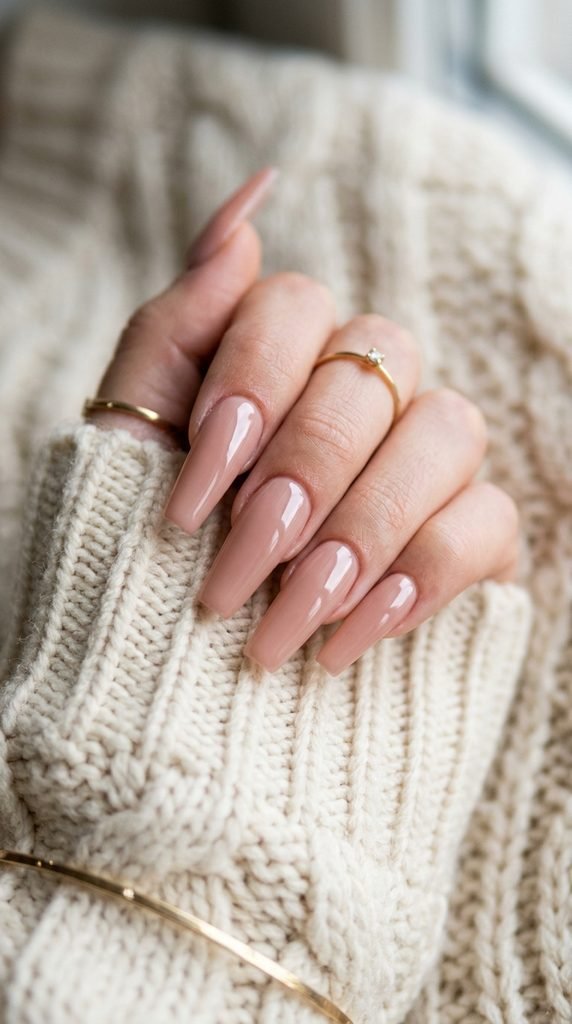
- File the free edge into your desired shape (almond, square, or coffin) and lightly buff the cuticle area.
- Wipe away dust, apply a shiny gel top coat, and cure for 60 seconds. Finish with hydrating cuticle oil!
How Much Do PolyGel Nails Cost?
When deciding between a professional salon visit and a DIY approach, here is what you can expect to spend:
- Salon Application: A full set of PolyGel extensions at a salon typically ranges from $65 to $120, depending on your location, nail length, and custom nail art. Infill appointments (every 3–4 weeks) cost roughly $40 to $65.
- DIY Starter Kits: Complete at-home kits—including multiple gel tubes, dual forms, a mini lamp, slip solution, and tools—cost between $25 and $50. One kit can provide anywhere from 10 to 20 full sets, making it an incredible budget-friendly option.
Trending PolyGel Nail Designs to Try
PolyGel serves as the ultimate canvas for trendy nail art. Here are three aesthetic styles to try next:
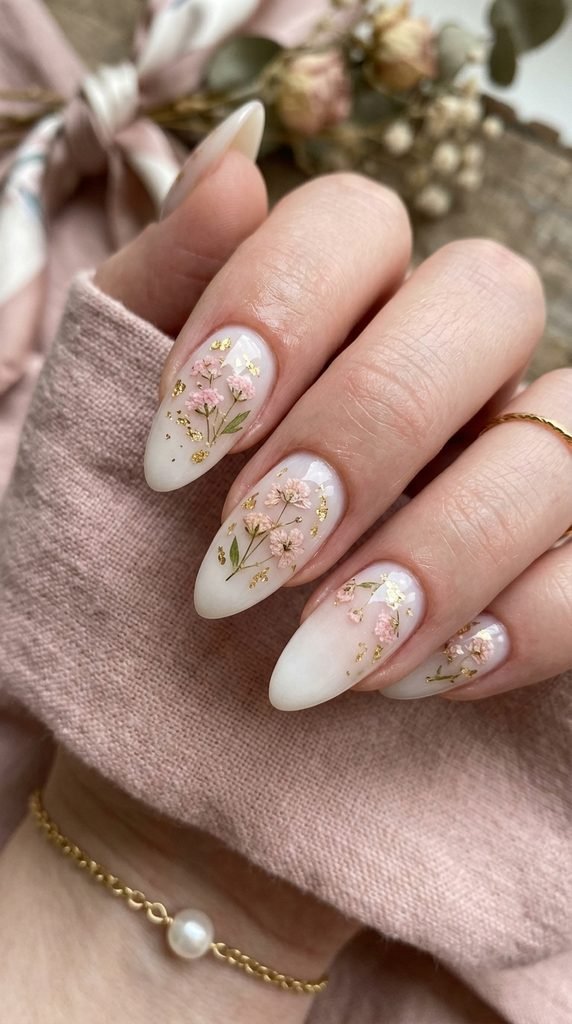
- Milky French Ombré (Baby Boomer Nails): Blend a soft blush-pink PolyGel at the base seamlessly into a milky-white tip for a timeless, modern French fade.
- Encapsulated Botanicals & Gold Flakes: Press tiny dried flowers, iridescent glitter, or gold leaf foil directly into the PolyGel before curing for a dreamy 3D glass effect.
- Glazed Donut Nails: Sculpt a classic sheer nude base, finish with a non-wipe top coat, and buff with white chrome pigment powder for that viral pearlescent sheen.
Pro Tips for Maximum Longevity
- Do Not Over-Saturate Your Brush: Slip solution is only meant to eliminate stickiness. Using too much can dilute the gel, causing premature lifting or peeling.
- Leave a Micro-Gap: Leave a 1mm gap between the gel and your cuticle to prevent skin contact and lifting as your nails grow out.
- Remove Safely: Never rip or pry PolyGel off! File down the bulk of the product, then soak the remaining layer in acetone for 15 minutes before gently scraping it away with a wooden cuticle stick.
The Takeaway
PolyGel gives you the best of both worlds: salon-worthy strength without the heavy damage or chemical odor. With a little practice and the right prep routine, you can easily create long-lasting, aesthetic manicures right at your desk.
Pin this guide to your Nail Inspo board on Pinterest so you have these steps ready for your next manicure day!