How to Paint 3D Star Nail Designs at Home
 By VelvetNesty
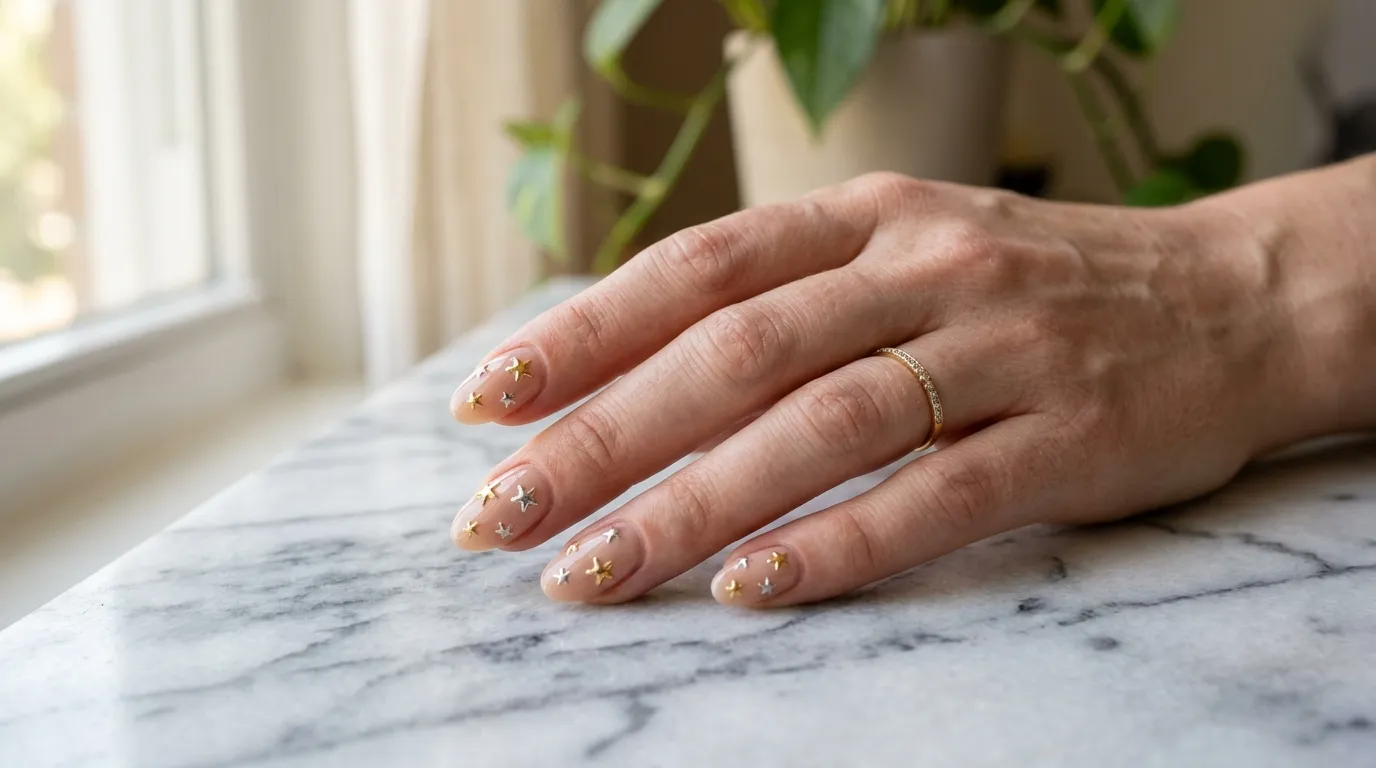
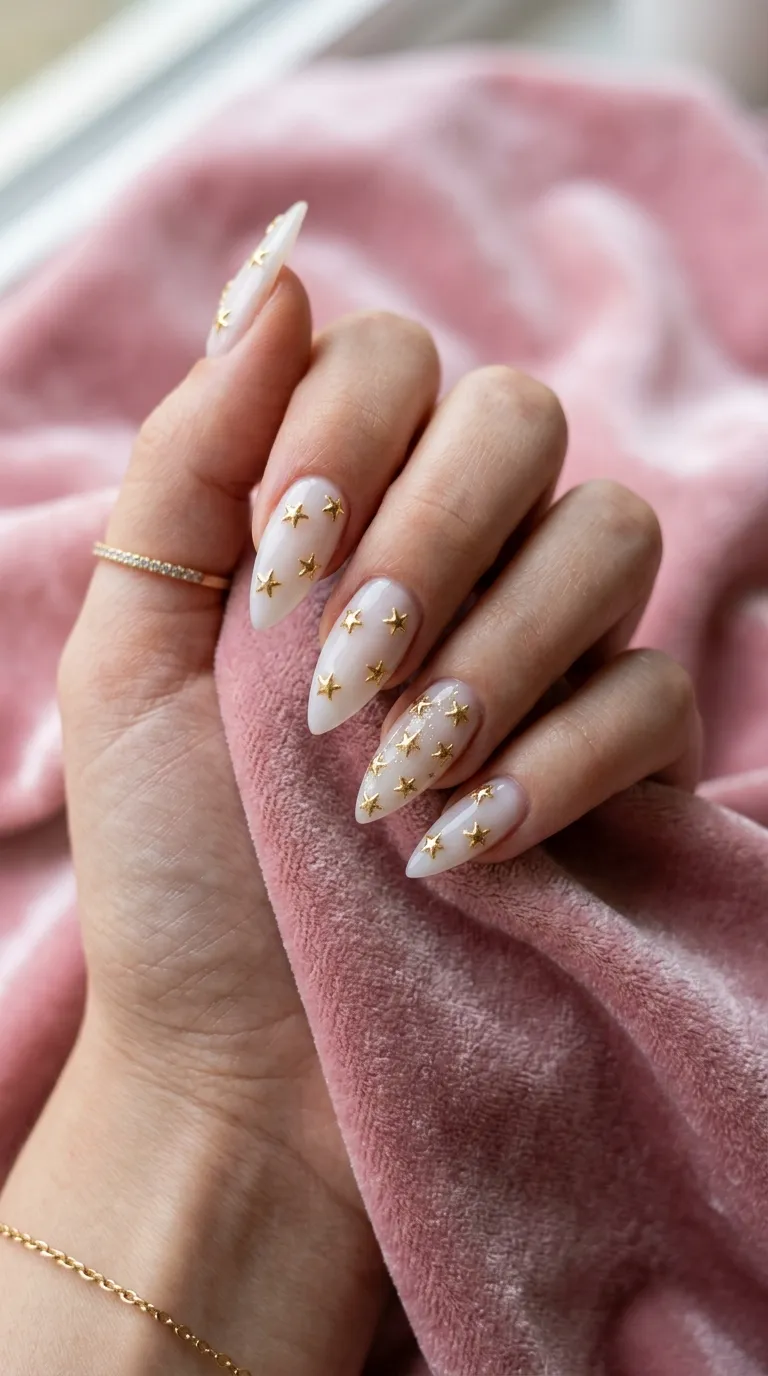
Imagine looking down at your hands and seeing tiny, raised stars catching the light with every movement. 3D star nail art is one of the most eye-catching manicure trends right now — and the best part? You absolutely do not need a salon appointment to pull it off. With a few affordable tools and a little patience, you can create stunning, textured star designs on your own nails from the comfort of your couch.
Whether you’re prepping for a festival, a night out, or just want nails that spark joy every time you glance at them, this guide walks you through the entire process — no prior nail art experience required.
What You’ll Need
Before you start, gather your supplies. Having everything within arm’s reach makes the process smoother and way more enjoyable.
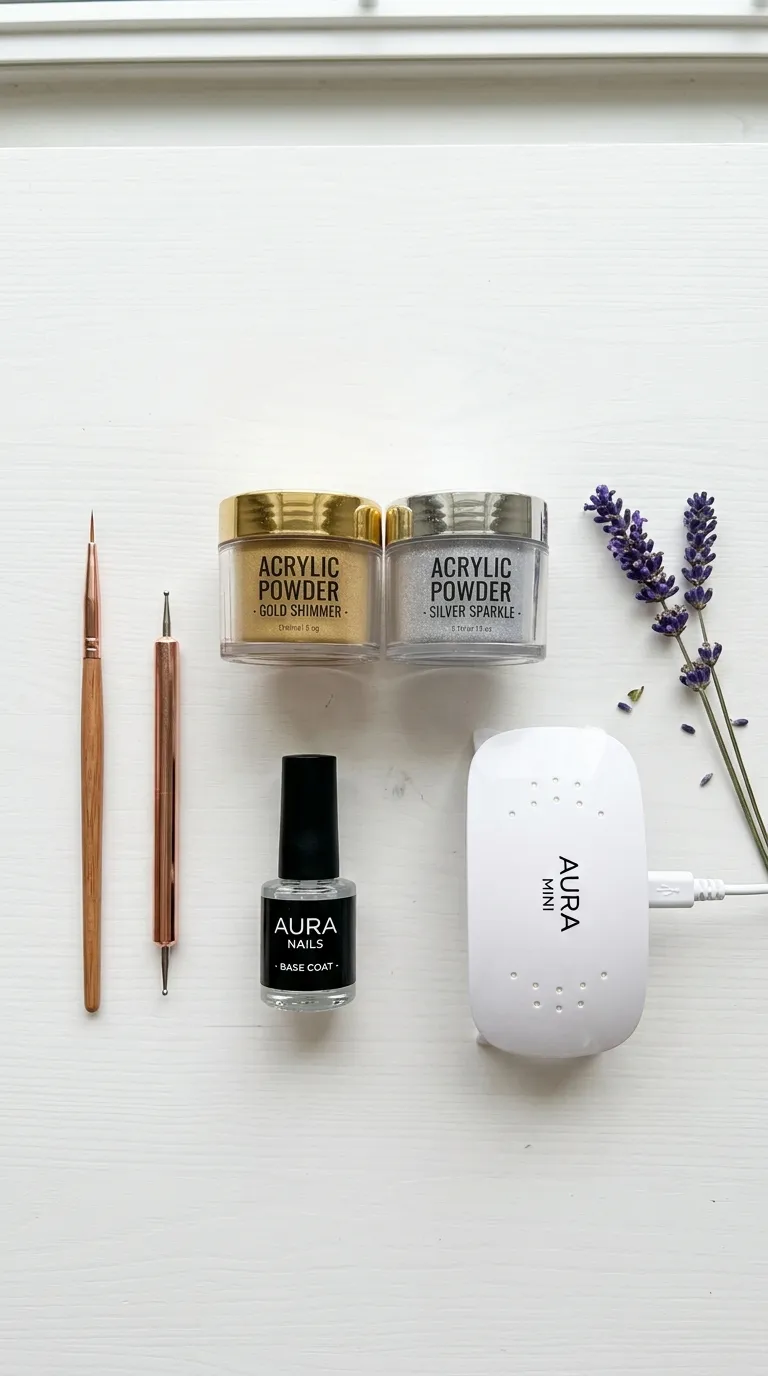
- Base coat and top coat — non-negotiable for longevity
- Gel or regular nail polish in your chosen base color
- Acrylic powder or 3D nail art gel — this is what creates the raised texture
- A thin nail art brush (size 0 or 00 works perfectly)
- A dotting tool — helpful for shaping small stars
- Star nail stickers or stencils (optional, for beginners who want guides)
- UV or LED lamp (if using gel products)
- Nail cleanser and lint-free wipes
Pro tip: If you’re brand new to 3D nail art, start with acrylic powder mixed with monomer liquid. It gives you more working time than gel before it hardens.
Step 1: Prep and Apply Your Base
Great nail art starts with a clean canvas.
- File and shape your nails to your preferred length. Almond and coffin shapes give 3D stars extra room to shine.
- Push back your cuticles gently — skip cutting them to avoid irritation.
- Buff the nail surface lightly so polish adheres better.
- Apply a thin base coat and let it dry completely (or cure under your lamp for 60 seconds if using gel).
Now apply two thin coats of your chosen base color. Deep navy, blush pink, and classic black all make 3D stars pop beautifully. Let each coat dry or cure fully before moving on.
Step 2: Create Your 3D Stars
This is where the magic happens. You have two main approaches depending on your comfort level:
Option A: Freehand with Acrylic or 3D Gel
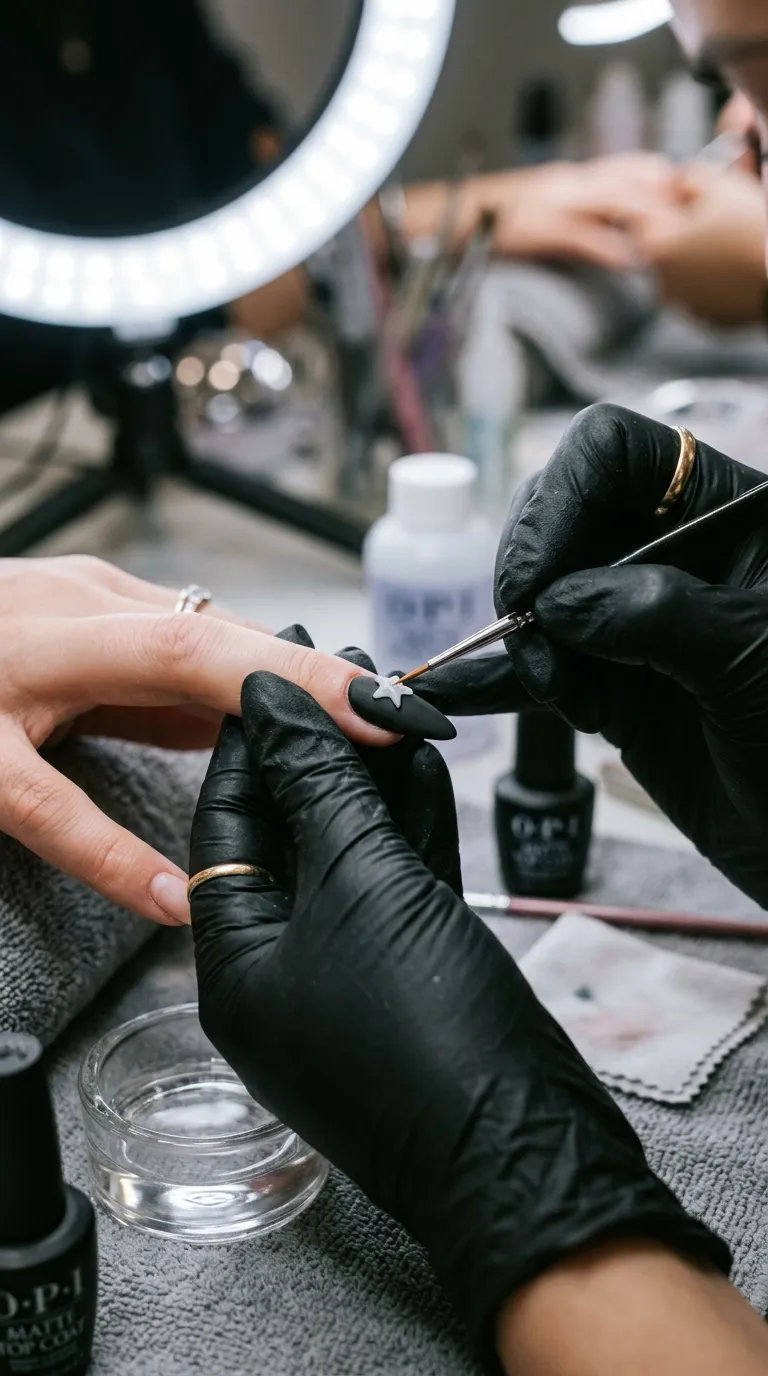
- Pick up a small bead of acrylic (or a tiny amount of 3D gel) on your detail brush.
- Place it on the nail where you want the star.
- Using the tip of your brush, gently pull the bead outward into five points to form a star shape. Work quickly — acrylic sets fast.
- Repeat on each nail, varying the size and placement to keep it organic and interesting.
Option B: Using Star Stickers as a Base
- Press a thin star sticker onto the nail.
- Layer a small amount of acrylic or 3D gel directly over the sticker to build up dimension.
- Smooth the edges with a damp brush for a clean, sculpted look.
Start with one or two stars per nail. Overcrowding makes the design look cluttered rather than intentional.
Step 3: Seal and Protect Your Design
Once your stars are fully dry or cured, it’s time to lock everything in.
- Apply a generous layer of top coat over the entire nail, making sure to cap the free edge.
- If using gel top coat, cure for the recommended time under your lamp.
- For extra durability on the raised areas, apply a second layer of top coat specifically over each star.
This step prevents your 3D elements from popping off within a day or two — a common frustration that’s easily avoided with proper sealing.
Design Variations to Try
Once you’ve mastered the basic 3D star, experiment with these ideas:
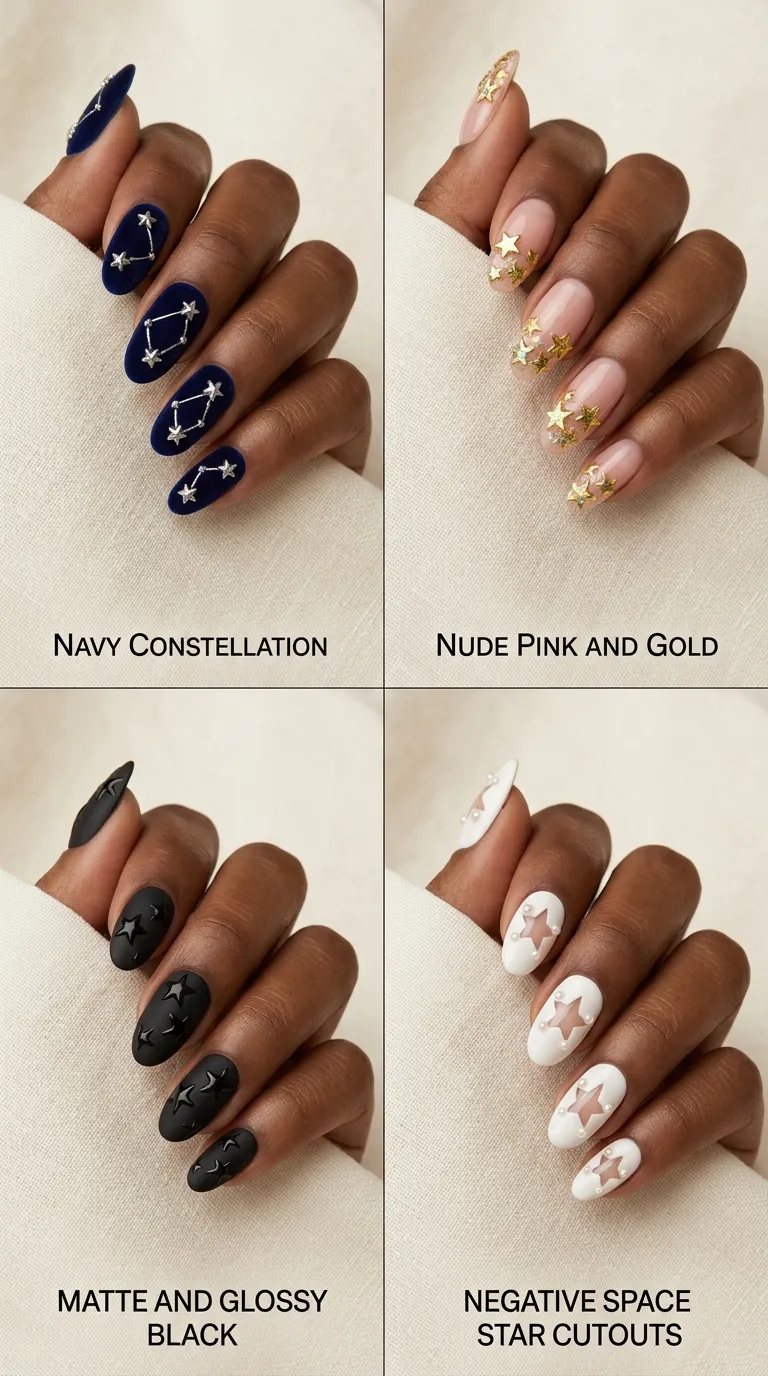
- Constellation nails — connect tiny stars with thin hand-drawn lines for a stargazing effect.
- Ombré star fade — cluster several small stars near the cuticle and let them thin out toward the tip.
- Mixed texture — combine matte base polish with glossy raised stars for a striking contrast.
- Glitter-dipped stars — press fine glitter into your acrylic or gel stars before they set for extra sparkle.
- Negative space stars — leave star-shaped cutouts in your polish and raise the borders with 3D gel.
Tips to Make Your 3D Stars Last
- Always dehydrate your nails with cleanser before applying base coat.
- Avoid thick acrylic beads — thinner, flatter stars adhere better and resist snagging.
- Wear gloves when doing dishes or cleaning.
- Reapply top coat every three to four days to maintain the seal.
- Store acrylic powder tightly sealed to prevent moisture from affecting consistency.
Your Next Manicure Just Got a Major Upgrade
3D star nails look like they belong in a high-end salon portfolio, but they’re genuinely achievable at home with practice and the right tools. Start simple with one or two accent nails, build your confidence, and before long you’ll be sculpting full sets that stop people mid-conversation.
Save this guide for your next mani session — and tag us if you give it a try! ✨