How to Do Maroon Marble Nail Art Even If You’re a Beginner
 By VelvetNesty
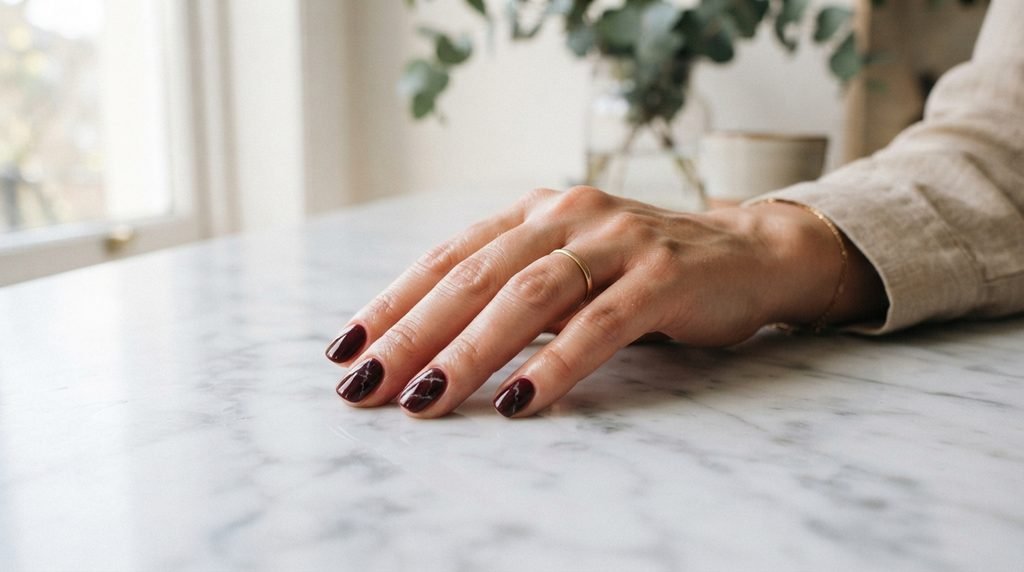
You’ve scrolled past those stunning maroon marble nails on Pinterest at least a dozen times. The deep, swirling veins of color. The polished-stone finish that looks like it belongs on a runway. And every single time, you thought the same thing: there’s no way I can do that at home.
Here’s the truth — you absolutely can. Marble nail art looks incredibly complex, but the technique behind it is surprisingly forgiving. Imperfections actually work in your favor because real marble is never uniform. That means even your first attempt can look intentional and gorgeous.
All you need is the right method, a few basic tools, and about thirty minutes. Let’s break it down step by step.
What You’ll Need
Before you start, gather everything so you’re not scrambling mid-manicure. Nothing ruins a good nail moment like wet polish and a missing tool.
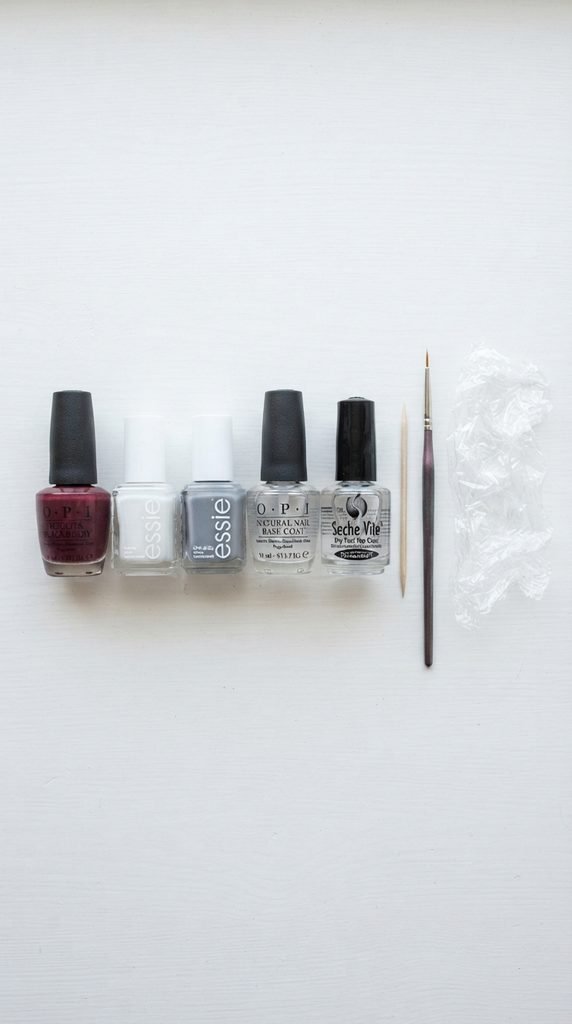
- Maroon nail polish — Choose a deep, opaque shade. One coat should give solid coverage.
- White nail polish — This creates the marble veins. A slightly sheer white works even better than a thick, chalky one.
- Grey or black nail polish (optional) — For adding depth and secondary veining.
- A thin nail art brush or a toothpick — Either works. A toothpick is actually the more beginner-friendly option.
- Clear top coat — This seals everything and gives that glossy, stone-like finish.
- Base coat — Protects your natural nails and helps the polish last longer.
- A small piece of plastic wrap or a plastic bag — This is your secret weapon for creating the marble texture.
- Nail polish remover and a small brush — For cleaning up edges.
Step 1: Prep and Base Coat
Start with clean, dry nails. Push back your cuticles gently and file your nails into your preferred shape — almond and oval shapes look particularly striking with marble designs, but any shape works.
Apply one even layer of base coat to every nail. Let it dry completely. Skipping this step means your maroon polish may stain your natural nails, and the whole manicure won’t last as long.
Step 2: Apply Your Maroon Base
Paint two thin coats of your maroon polish. Let each coat dry before adding the next. You want full, even coverage because this color is the foundation of your entire marble look.
Pro tip: Thin coats dry faster and prevent bubbling. Patience here saves you from starting over later.
Step 3: Create the Marble Effect
This is where the magic happens — and where most beginners overthink it. There are two methods you can try. Pick whichever feels more comfortable.
Method A: The Plastic Wrap Technique
- Apply a thin layer of white polish directly onto one maroon nail. Work on one nail at a time.
- While the white polish is still wet, press a crumpled piece of plastic wrap onto the nail and lift it off immediately.
- The plastic wrap pulls and blends the white polish into an organic, vein-like pattern.
- If you want more dimension, add a tiny dot of grey or black polish before pressing the plastic wrap down again.
Method B: The Toothpick Drag Technique
- Place two or three small dots of white polish randomly on one maroon nail.
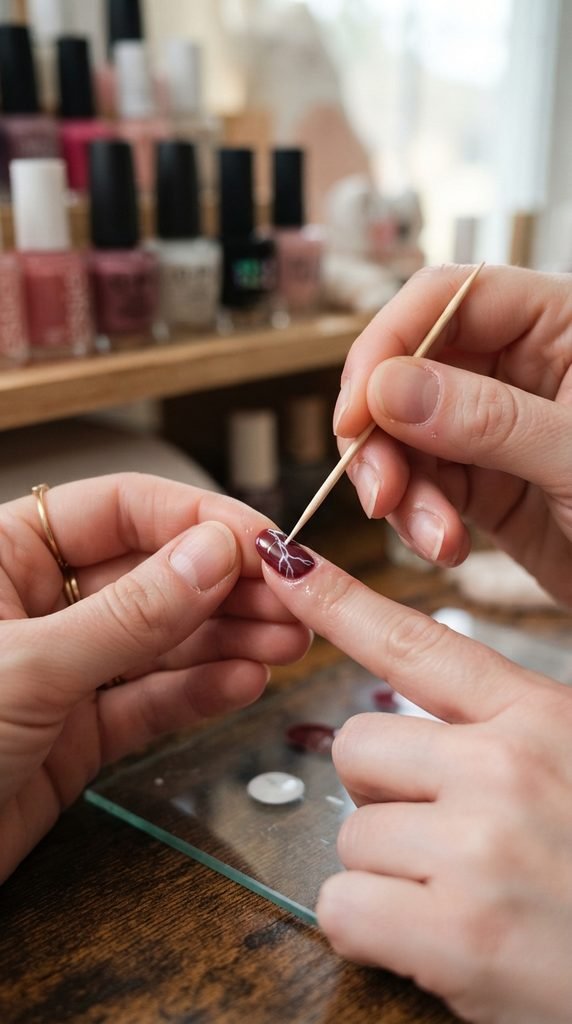
- Using a toothpick, lightly drag through the dots in a diagonal or S-shaped motion. Don’t press too hard — you want thin, delicate veins, not thick streaks.
- Add a tiny dot of grey polish and drag through it the same way for a more realistic look.
Both methods give beautiful results. The plastic wrap method is more random and forgiving, which makes it ideal for first-timers. The toothpick method gives you more control over vein placement.
Step 4: Seal It with a Top Coat
Once all ten nails are marbled and fully dry, apply a generous layer of clear top coat. This step is non-negotiable. The top coat does three critical things:
- Smooths out texture from the plastic wrap or toothpick work
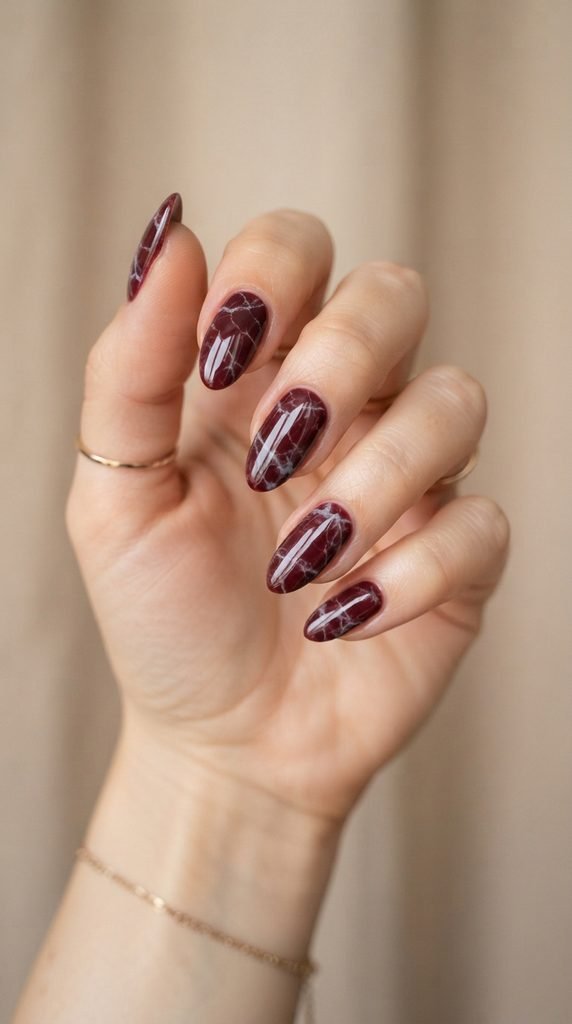
- Adds a glossy, polished-stone shine that makes the marble effect pop
- Protects your design so it lasts for days without chipping
Let the top coat dry completely before touching anything. If you have a quick-dry top coat, even better.
Tips to Make Your Marble Nails Last
- Wrap the tips. When applying your top coat, swipe along the free edge of each nail. This seals the polish and prevents early chipping.
- Avoid hot water for at least two hours. Heat softens fresh polish and can cause smudging.
- Reapply top coat every two to three days. This refreshes the shine and adds an extra layer of protection.
- Use a cleanup brush dipped in remover to clean any polish that got on your cuticles or skin. Crisp edges make any manicure look professional.
Why Maroon Marble Works for Every Occasion
Maroon marble nails sit in that rare sweet spot between bold and refined. They’re dramatic enough for a night out, but polished enough for a corporate setting. The deep burgundy tone works beautifully across every skin tone, and the marble pattern adds visual interest without looking over the top.
They pair perfectly with gold jewelry, neutral outfits, and especially cozy fall and winter wardrobes. Once you’ve nailed the technique, you can experiment with different vein colors — try gold veining for a luxe twist, or deep plum veins for a monochromatic look.

Your Turn
Maroon marble nail art is one of those designs that looks far more advanced than it actually is. The technique is forgiving, the supplies are affordable, and the result turns heads every single time. Don’t wait for a salon appointment — grab your polish and try it tonight.
Save this guide for your next manicure session and tag us when you try it!