How to Do Maroon Velvet Nail Art with a Luxurious Finish
 By VelvetNesty
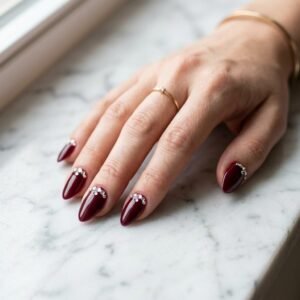
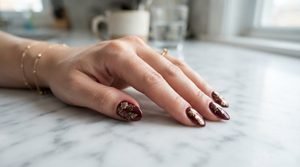
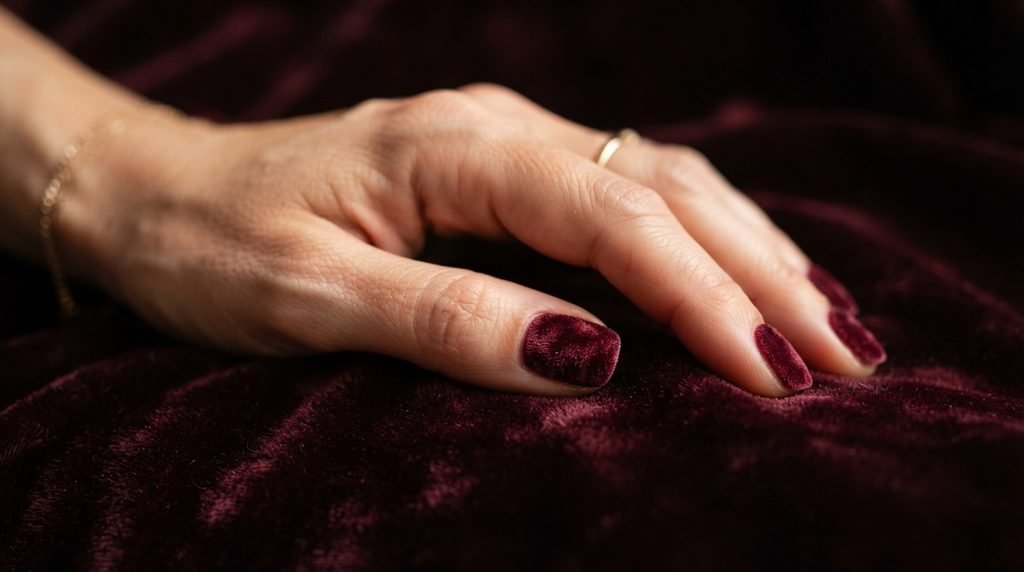
Ever run your fingers across crushed velvet fabric and thought, what if my nails felt this rich? That’s exactly the vibe maroon velvet nail art delivers — deep, moody, and impossibly luxurious. This trend has taken over Instagram and Pinterest feeds for good reason. It transforms a simple manicure into something that looks like it belongs on a runway.
The best part? You don’t need a salon appointment to pull it off. With the right technique and a few key supplies, you can create that plush, velvety texture right at home. Let’s walk through everything you need to know.
What You’ll Need
Before you start, gather your supplies. Having everything within reach makes the process smoother and prevents your polish from drying at the wrong moment.
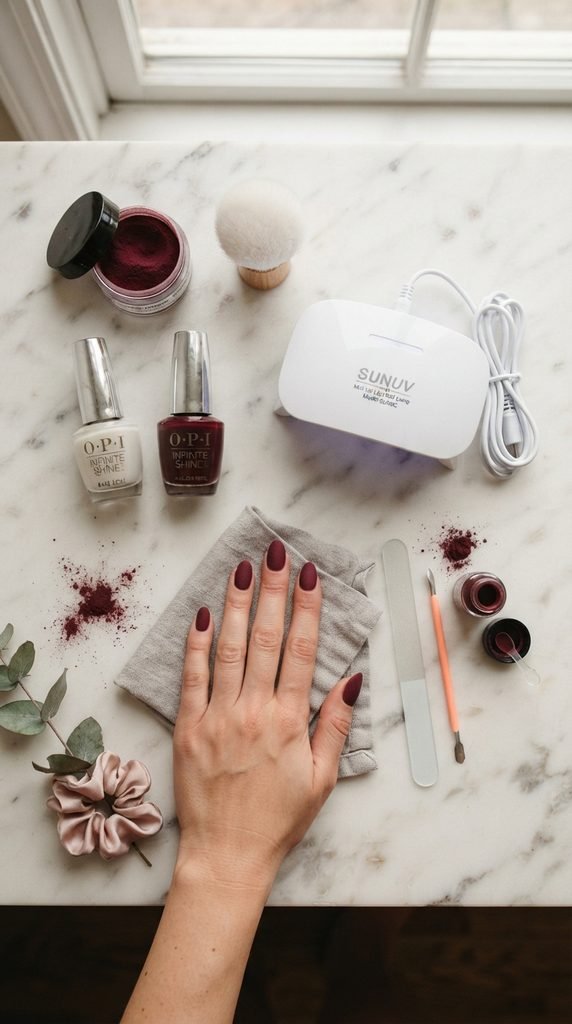
- Base coat (ridge-filling works great for a smooth foundation)
- Deep maroon gel or regular nail polish — look for shades like oxblood, wine, or dark burgundy
- Flocking powder in maroon or burgundy — this is what creates the velvet texture
- A fluffy eyeshadow brush or fan brush — for pressing and dusting the powder
- Top coat (optional — skip this if you want full velvet texture)
- A small dish or piece of paper — to catch excess powder
- Nail cleanser or rubbing alcohol — for prepping your nails
- UV/LED lamp (if using gel polish)
Step 1: Prep Your Nails Properly
Great nail art starts with clean nails. Push back your cuticles gently with an orange stick. File your nails into your preferred shape — almond and coffin shapes show off the velvet texture particularly well.
Wipe each nail with a cleanser-soaked cotton pad to remove any oils. This step matters more than you think. Oil on the nail bed causes lifting and peeling within a day or two. Once your nails are clean and dry, apply a thin layer of base coat and let it cure or dry completely.
Step 2: Apply Your Maroon Polish
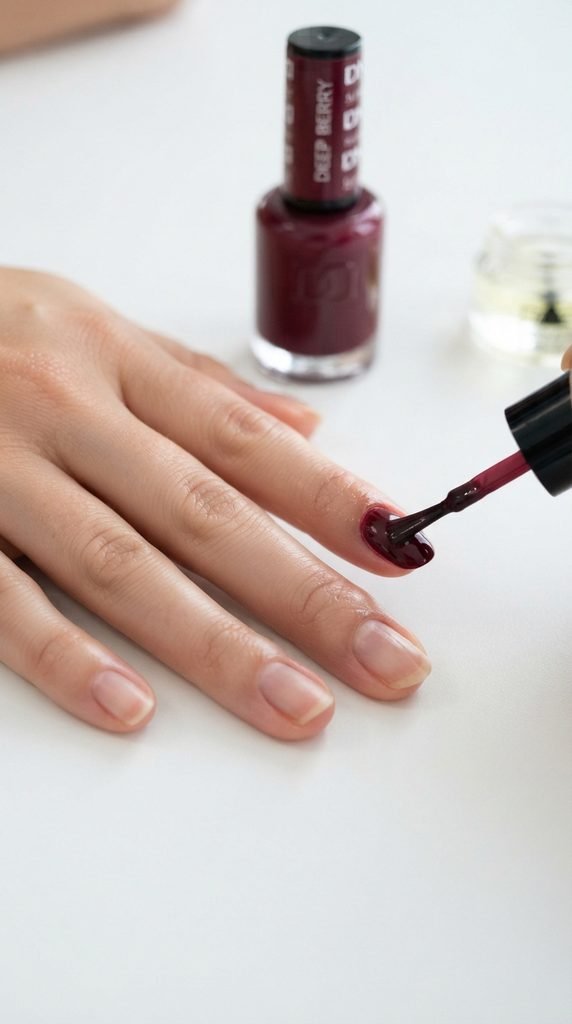
Now for the color. Apply your first coat of deep maroon polish in smooth, even strokes. Start from the center of the nail and work outward to avoid flooding the cuticles. Let this coat dry (or cure under your lamp if using gel).
Apply a second coat for full, opaque coverage. Here’s the key detail: do not let this second coat dry. You need the polish to stay tacky for the flocking powder to stick. If you’re using regular polish, work one nail at a time so the surface stays wet.
Step 3: Apply the Flocking Powder
This is where the magic happens. While your second coat of polish is still wet and tacky, hold your nail over a small dish. Using your fluffy brush, generously press the maroon flocking powder onto the nail surface. Don’t brush it — press and pat it down firmly.
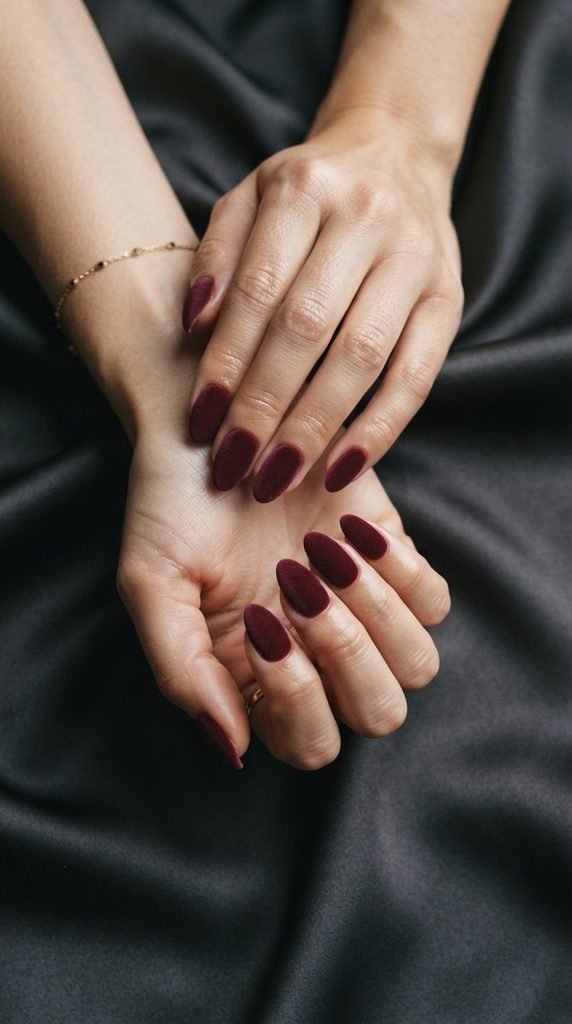
You want full coverage with no bare spots peeking through. The powder will cling to the wet polish and create that soft, plush texture that mimics real velvet. Once you’ve coated the entire nail, gently tap your finger to shake off loose powder.
Pro tip: Rotate your finger while applying the powder to make sure the edges and sidewalls get covered too. Missed spots are much more obvious on velvet nails than on standard manicures.
Repeat this process for each nail, applying polish and powder one at a time to keep the surface tacky.
Step 4: Clean Up and Refine
Once all ten nails are coated, let them sit for about five minutes. Then take a clean, dry brush and lightly sweep away any stray powder from the skin around your nails and cuticle area.
Use a pointed cotton swab dipped in nail polish remover to clean up any rough edges. The goal is crisp, defined lines that make the velvet effect look intentional and polished — not fuzzy in a messy way.
Tips for Making Your Velvet Nails Last
Velvet nails are stunning, but they require a little extra care to stay looking fresh.
- Avoid water for the first few hours after application. Water breaks down the powder’s adhesion faster than anything else.
- Skip the top coat if you want the full matte, textured velvet look. A top coat will flatten the fibers and make them glossy — which defeats the purpose.
- Wear gloves when washing dishes or cleaning. The texture picks up dirt and lint if you’re not careful.
- Touch up individual nails if any powder starts wearing thin. Just apply a thin layer of polish, re-dip in powder, and you’re back in business.
- Expect 4–6 days of wear with gel polish underneath. Regular polish gives you about 2–3 days before the texture starts to wear down.
Variations to Try
Once you’ve nailed the basic technique, experiment with these ideas:
- Accent nail approach — Apply velvet texture to just your ring finger or thumb, and keep the rest in glossy maroon for contrast.
- Velvet French tips — Paint a nude base and apply the maroon flocking powder only to the tips for a modern twist.
- Mix textures — Pair matte velvet nails with one glitter or chrome accent nail for visual interest.
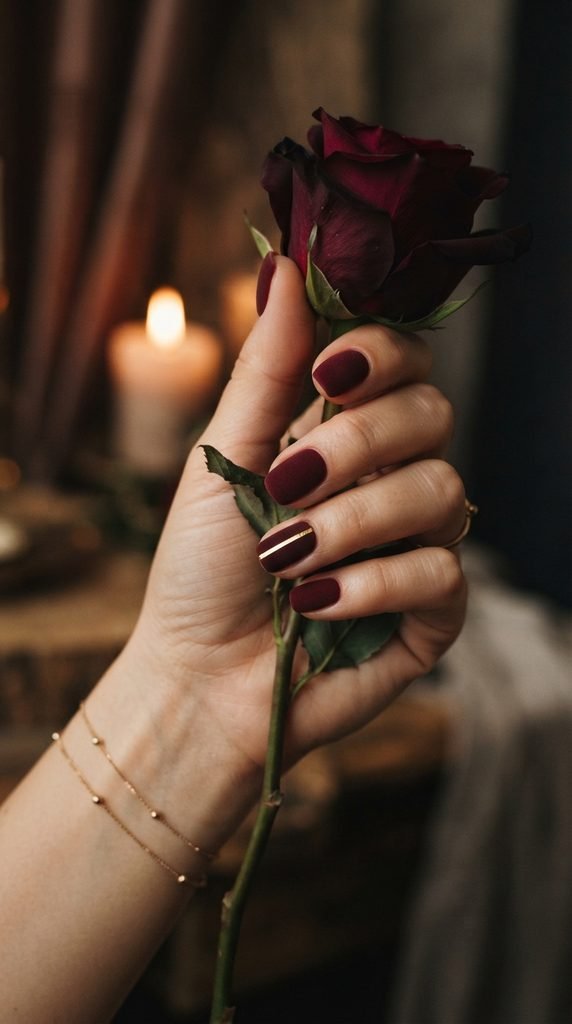
- Add gold details — Use a thin brush to paint tiny gold lines or dots on top of the velvet surface before the powder fully sets.
Final Thoughts
Maroon velvet nail art is one of those rare trends that looks incredibly high-end but is genuinely doable at home. The flocking powder does most of the heavy lifting — all you need is patience, a steady hand, and the willingness to work one nail at a time.
Whether you’re dressing up for a special occasion or just want your everyday manicure to feel a little more luxurious, this technique delivers. It’s bold without being loud, textured without being messy, and always a conversation starter.
Save this tutorial for your next manicure night — and tag us when you try it!