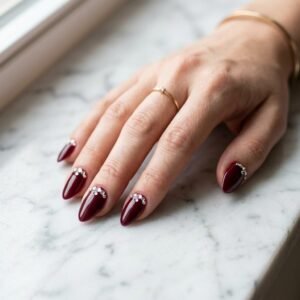
How to Apply Maroon Nail Art Stickers for a Flawless Look in Minutes
 By VelvetNesty
Picture this: rich, wine-dark nails with intricate patterns that look like you just walked out of a high-end salon — except you did it yourself in under fifteen minutes. Maroon nail art stickers are the shortcut every nail lover needs. They deliver bold, detailed designs without the steady hand of a professional or the price tag to match. Whether you’re prepping for date night or just want your nails to look polished for the week ahead, stickers make it ridiculously easy.
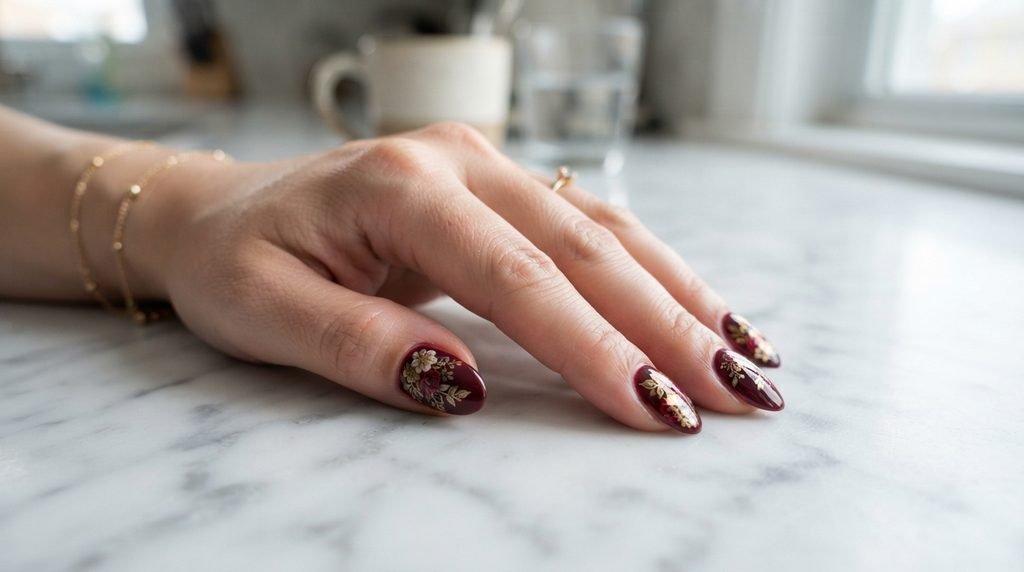
Ready to get salon-worthy maroon nails at home? Here’s exactly how to do it, step by step.
Gather Your Supplies
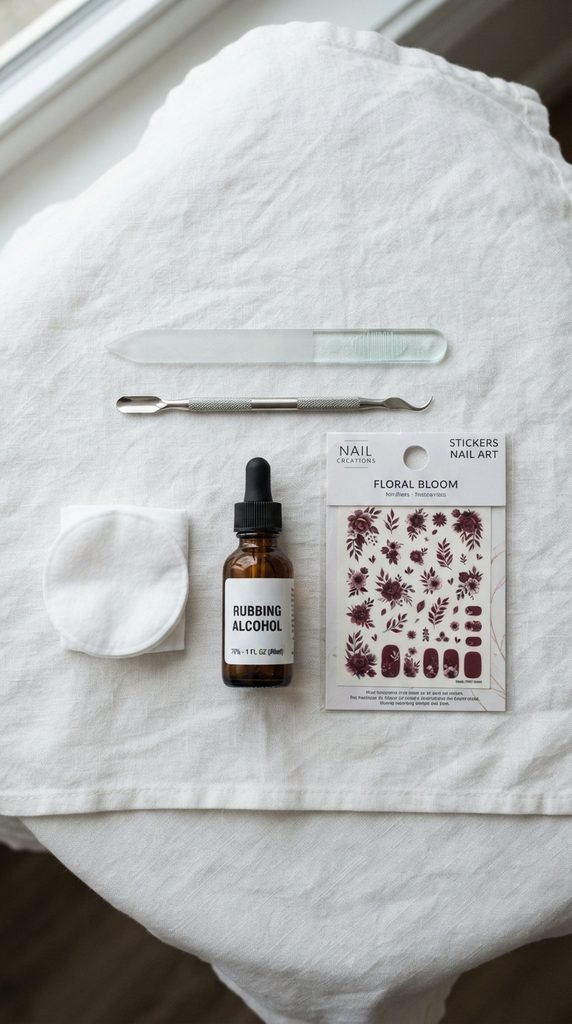
Before you start, lay everything out so you’re not scrambling mid-manicure. You won’t need much:
- Maroon nail art sticker sheets — look for full-wrap or accent stickers depending on the style you want
- Base coat — protects your natural nails and helps stickers grip better
- Clear top coat — seals the stickers and adds shine
- Nail file — for shaping and trimming excess sticker material
- Cuticle pusher or orange stick — for smoothing edges
- Rubbing alcohol or nail cleanser — removes oils so stickers adhere properly
- Small scissors or nail clippers — optional, for trimming sticker edges
A quick tip: choose stickers that are slightly wider than your nail bed. It’s much easier to trim excess than to stretch a sticker that’s too small.
Prep Your Nails Like a Pro
Nail prep makes or breaks the final result. Skip this step and your stickers will peel off before the day is over.
- Remove old polish. Use a gentle, acetone-free remover to clear away any leftover color or residue.
- Shape your nails. File them into your preferred shape — oval, square, or almond all work well with maroon stickers.
- Push back cuticles. Gently push them back with an orange stick. This creates a clean canvas and prevents stickers from lifting at the base.
- Clean the nail surface. Swipe each nail with rubbing alcohol or a nail cleanser. This removes natural oils and gives the sticker a smooth, grease-free surface to bond with.
- Apply a thin base coat. Let it dry completely. A tacky or wet base coat will cause bubbles under the sticker.
Apply the Stickers Step by Step
This is where the magic happens. Take your time on the first nail — the rest will go faster once you get the feel for it.
- Select the right size. Hold each sticker against your nail to find the closest match. A tiny gap at the edges is better than overlap onto the skin.
- Peel carefully. Use tweezers or the tip of an orange stick to lift the sticker from the sheet. Avoid touching the adhesive side with your fingers — the oils from your skin weaken the bond.
- Place from the base. Align the sticker just above the cuticle line and press down gently from the center outward. This pushes air bubbles toward the edges where they can escape.
- Smooth it out. Run your finger or a silicone tool across the surface to make sure every part of the sticker sits flat against the nail.
- Trim the excess. Fold the extra sticker over the tip of your nail and file downward in one direction. This gives you a clean, precise edge without tearing.
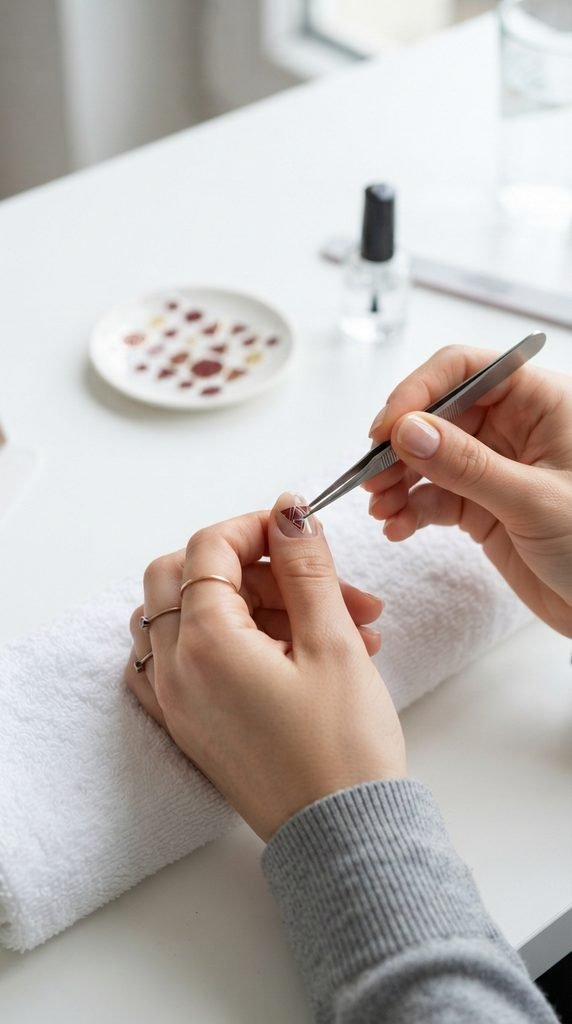
Repeat for all ten nails. If a sticker wrinkles or shifts, peel it off and reposition it right away — most quality stickers allow one or two adjustments before the adhesive sets.
Seal and Protect the Design
Your stickers are on, but they need a shield. Without a top coat, edges will catch on fabric, hair, and everything else you touch throughout the day.
- Apply one thin layer of clear top coat over each nail, covering the sticker edges and the tip of the nail.
- Let it dry for two to three minutes, then add a second coat for extra durability and a glass-like shine.
- Avoid thick, gloopy layers — they take longer to dry and can cause the sticker design to smudge or shift.
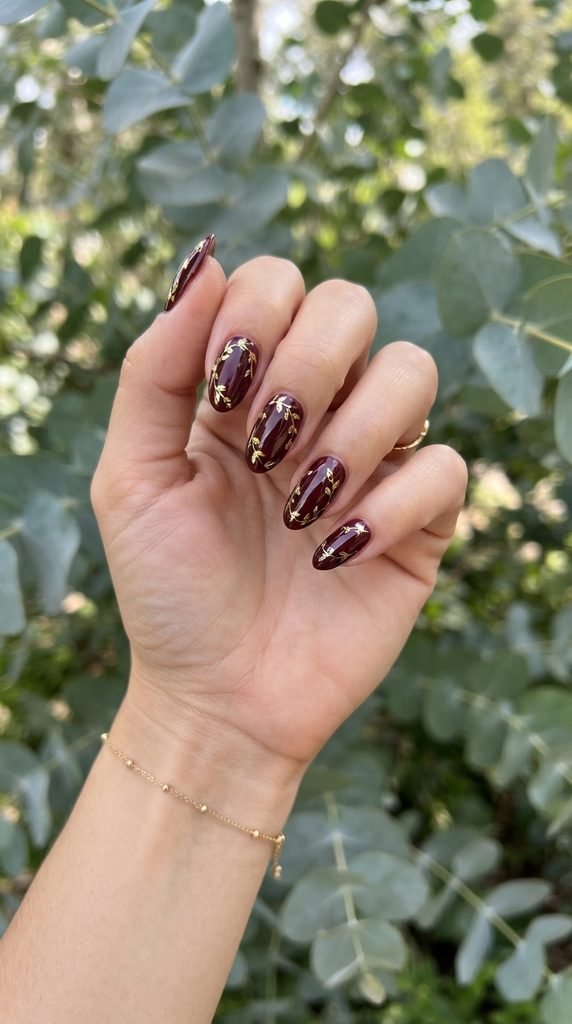
A high-quality top coat can extend your sticker manicure to seven or even ten days without chipping.
Quick Tips for Longer-Lasting Results
Want your maroon sticker manicure to go the distance? Keep these pointers in mind:
- Wear gloves when washing dishes or cleaning. Prolonged water exposure loosens adhesive faster than anything else.
- Avoid picking or peeling at the edges. If a corner lifts, dab a tiny drop of nail glue underneath and press it back down.
- Reapply top coat every two to three days. A quick refresh coat adds shine and reinforces the seal.
- Store unused stickers flat in a cool, dry place. Heat and humidity degrade the adhesive over time.

Your New Go-To Manicure
Maroon nail art stickers are the perfect balance of effort and payoff. You get intricate, eye-catching designs without the learning curve of freehand painting or the cost of regular salon visits. Once you try them, plain polish feels like a downgrade.
Grab a few sticker sheets in different maroon patterns — florals, geometrics, marble, or metallic accents — and rotate your look every week. Your nails deserve the variety.
Save this guide for your next at-home manicure night, and pin your favorite maroon nail look for later!