How to Apply Sparkle Star Nail Designs in Minutes
 By VelvetNesty
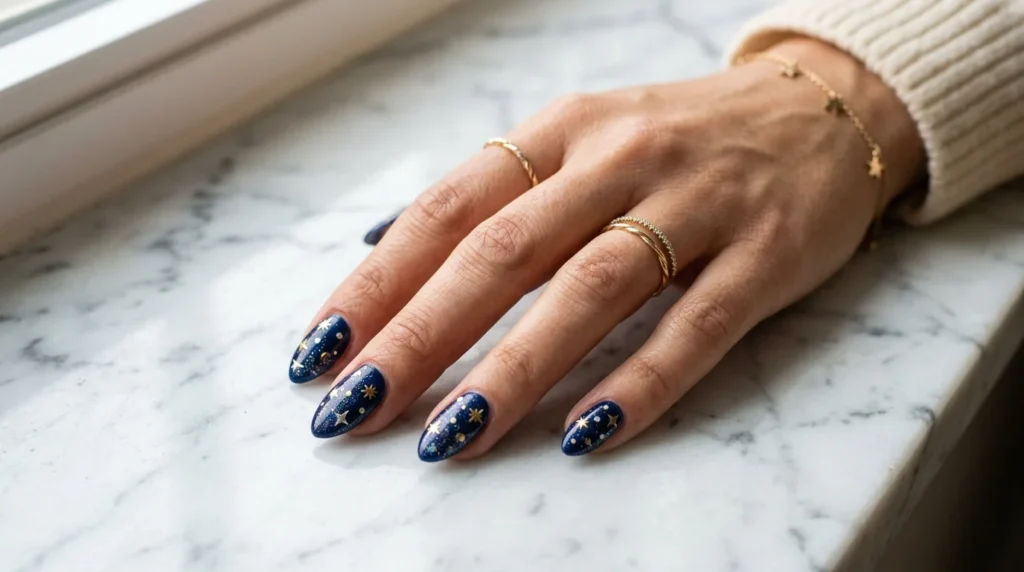
Ever scrolled through your feed and stopped dead on a set of nails absolutely dripping in tiny stars and holographic glitter? Same. The good news? That celestial, red-carpet look is shockingly easy to recreate at home — no salon appointment required. Whether you’re prepping for a night out or just want your coffee-run nails to hit different, sparkle star designs deliver maximum impact with minimal effort.
In this guide, you’ll learn exactly how to nail (pun intended) the sparkle star look in under 20 minutes, even if you’re a total beginner.
――――――――――――――――――――――――――――――――――――――――
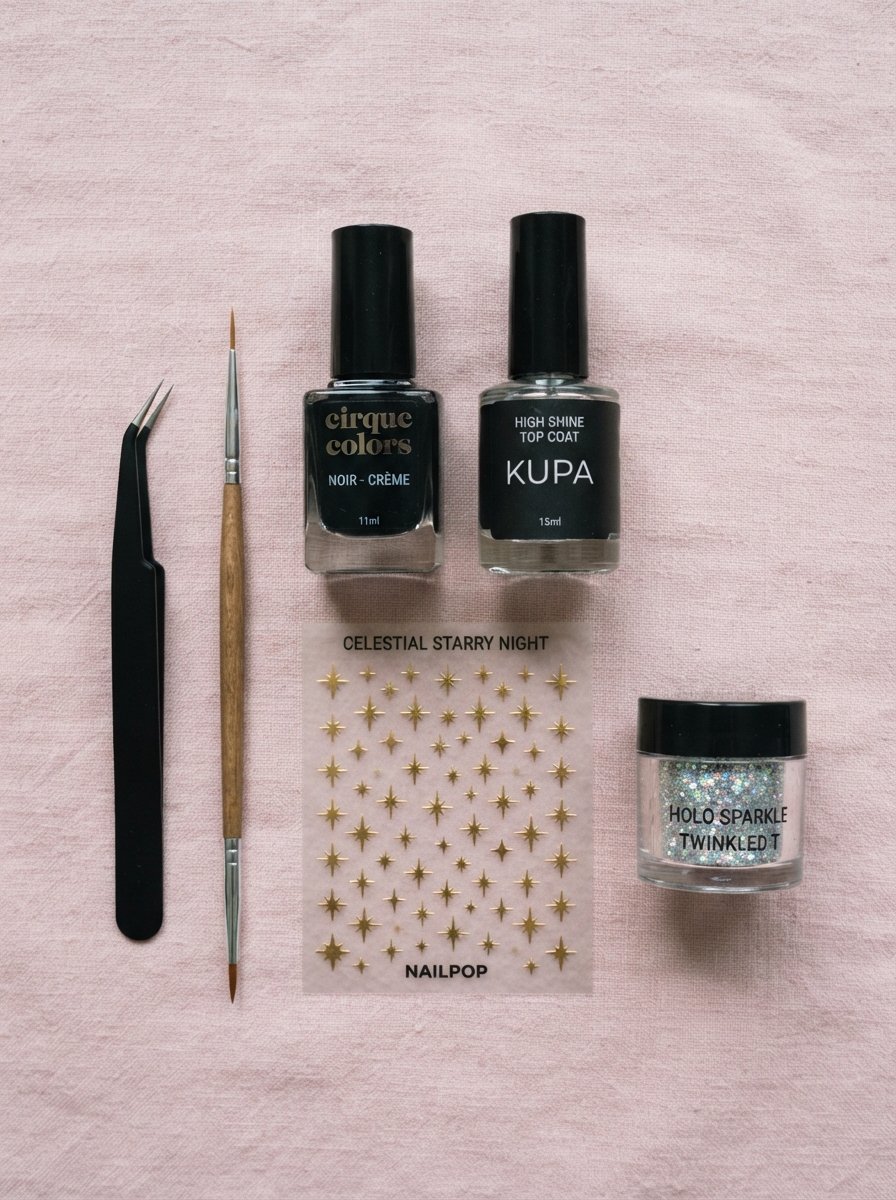
What You’ll Need
Before you start, gather your supplies. The beauty of this look is that it doesn’t require a massive haul — most of these items are budget-friendly and reusable.
- Base coat — protects your natural nails and helps polish adhere
- A solid base color — black, navy, dusty rose, or sheer nude work beautifully
- Star nail stickers or decals — available in gold, silver, holographic, or mixed packs
- Loose cosmetic glitter or a glitter top coat — chunky or fine, depending on your vibe
- A thin detail brush or dotting tool — for precise placement
- Quick-dry top coat — seals everything in and adds glossy dimension
- A small dish or palette — for pouring out loose glitter
- Tweezers — makes placing tiny star decals so much easier
――――――――――――――――――――――――――――――――――――――――
Step 1: Prep and Apply Your Base
Start with clean, dry nails. Push back your cuticles gently and lightly buff the surface so your polish grips better.
- Apply one thin layer of base coat and let it dry for about 60 seconds.
- Follow with two thin coats of your chosen base color, waiting a minute between each coat.
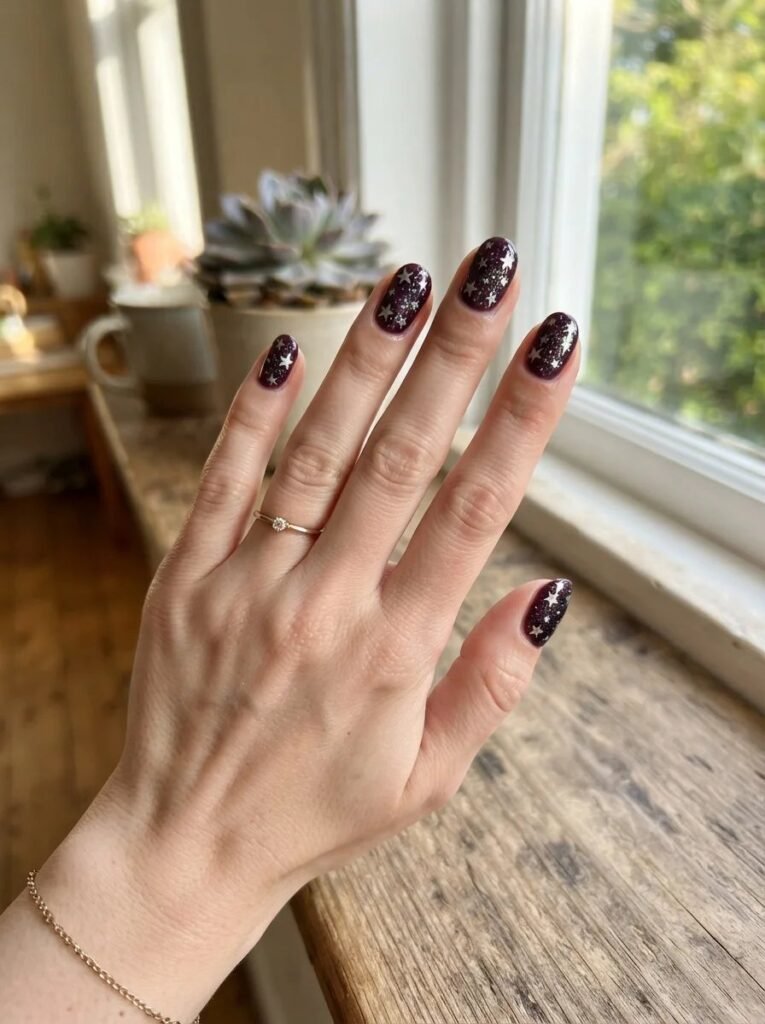
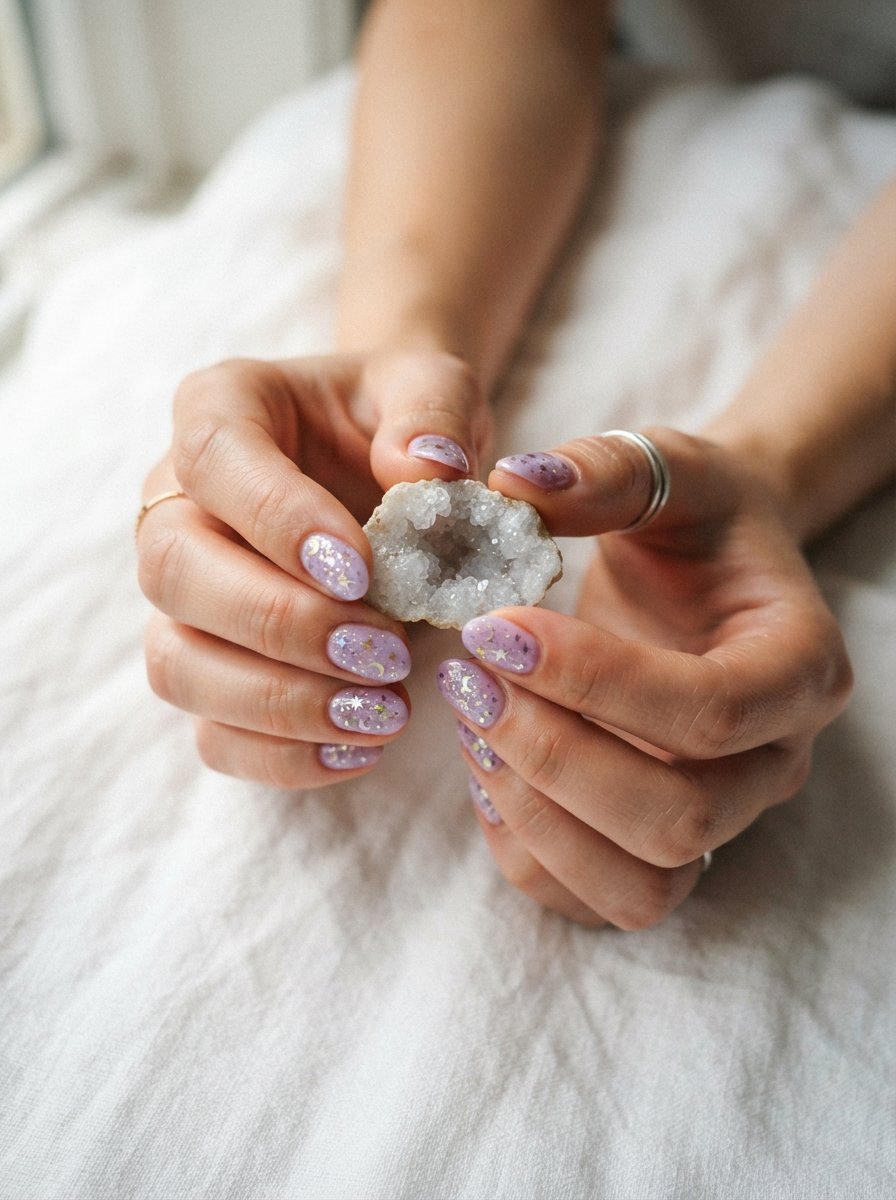
Pro tip: Darker shades like black, midnight blue, or burgundy make stars and glitter pop like crazy. If you prefer something softer, a milky pink or sheer lavender creates a dreamy, ethereal effect.
Don’t stress about perfection here — the sparkle layer covers minor imperfections beautifully.
――――――――――――――――――――――――――――――――――――――――
Step 2: Place Your Star Decals
This is where the magic happens.
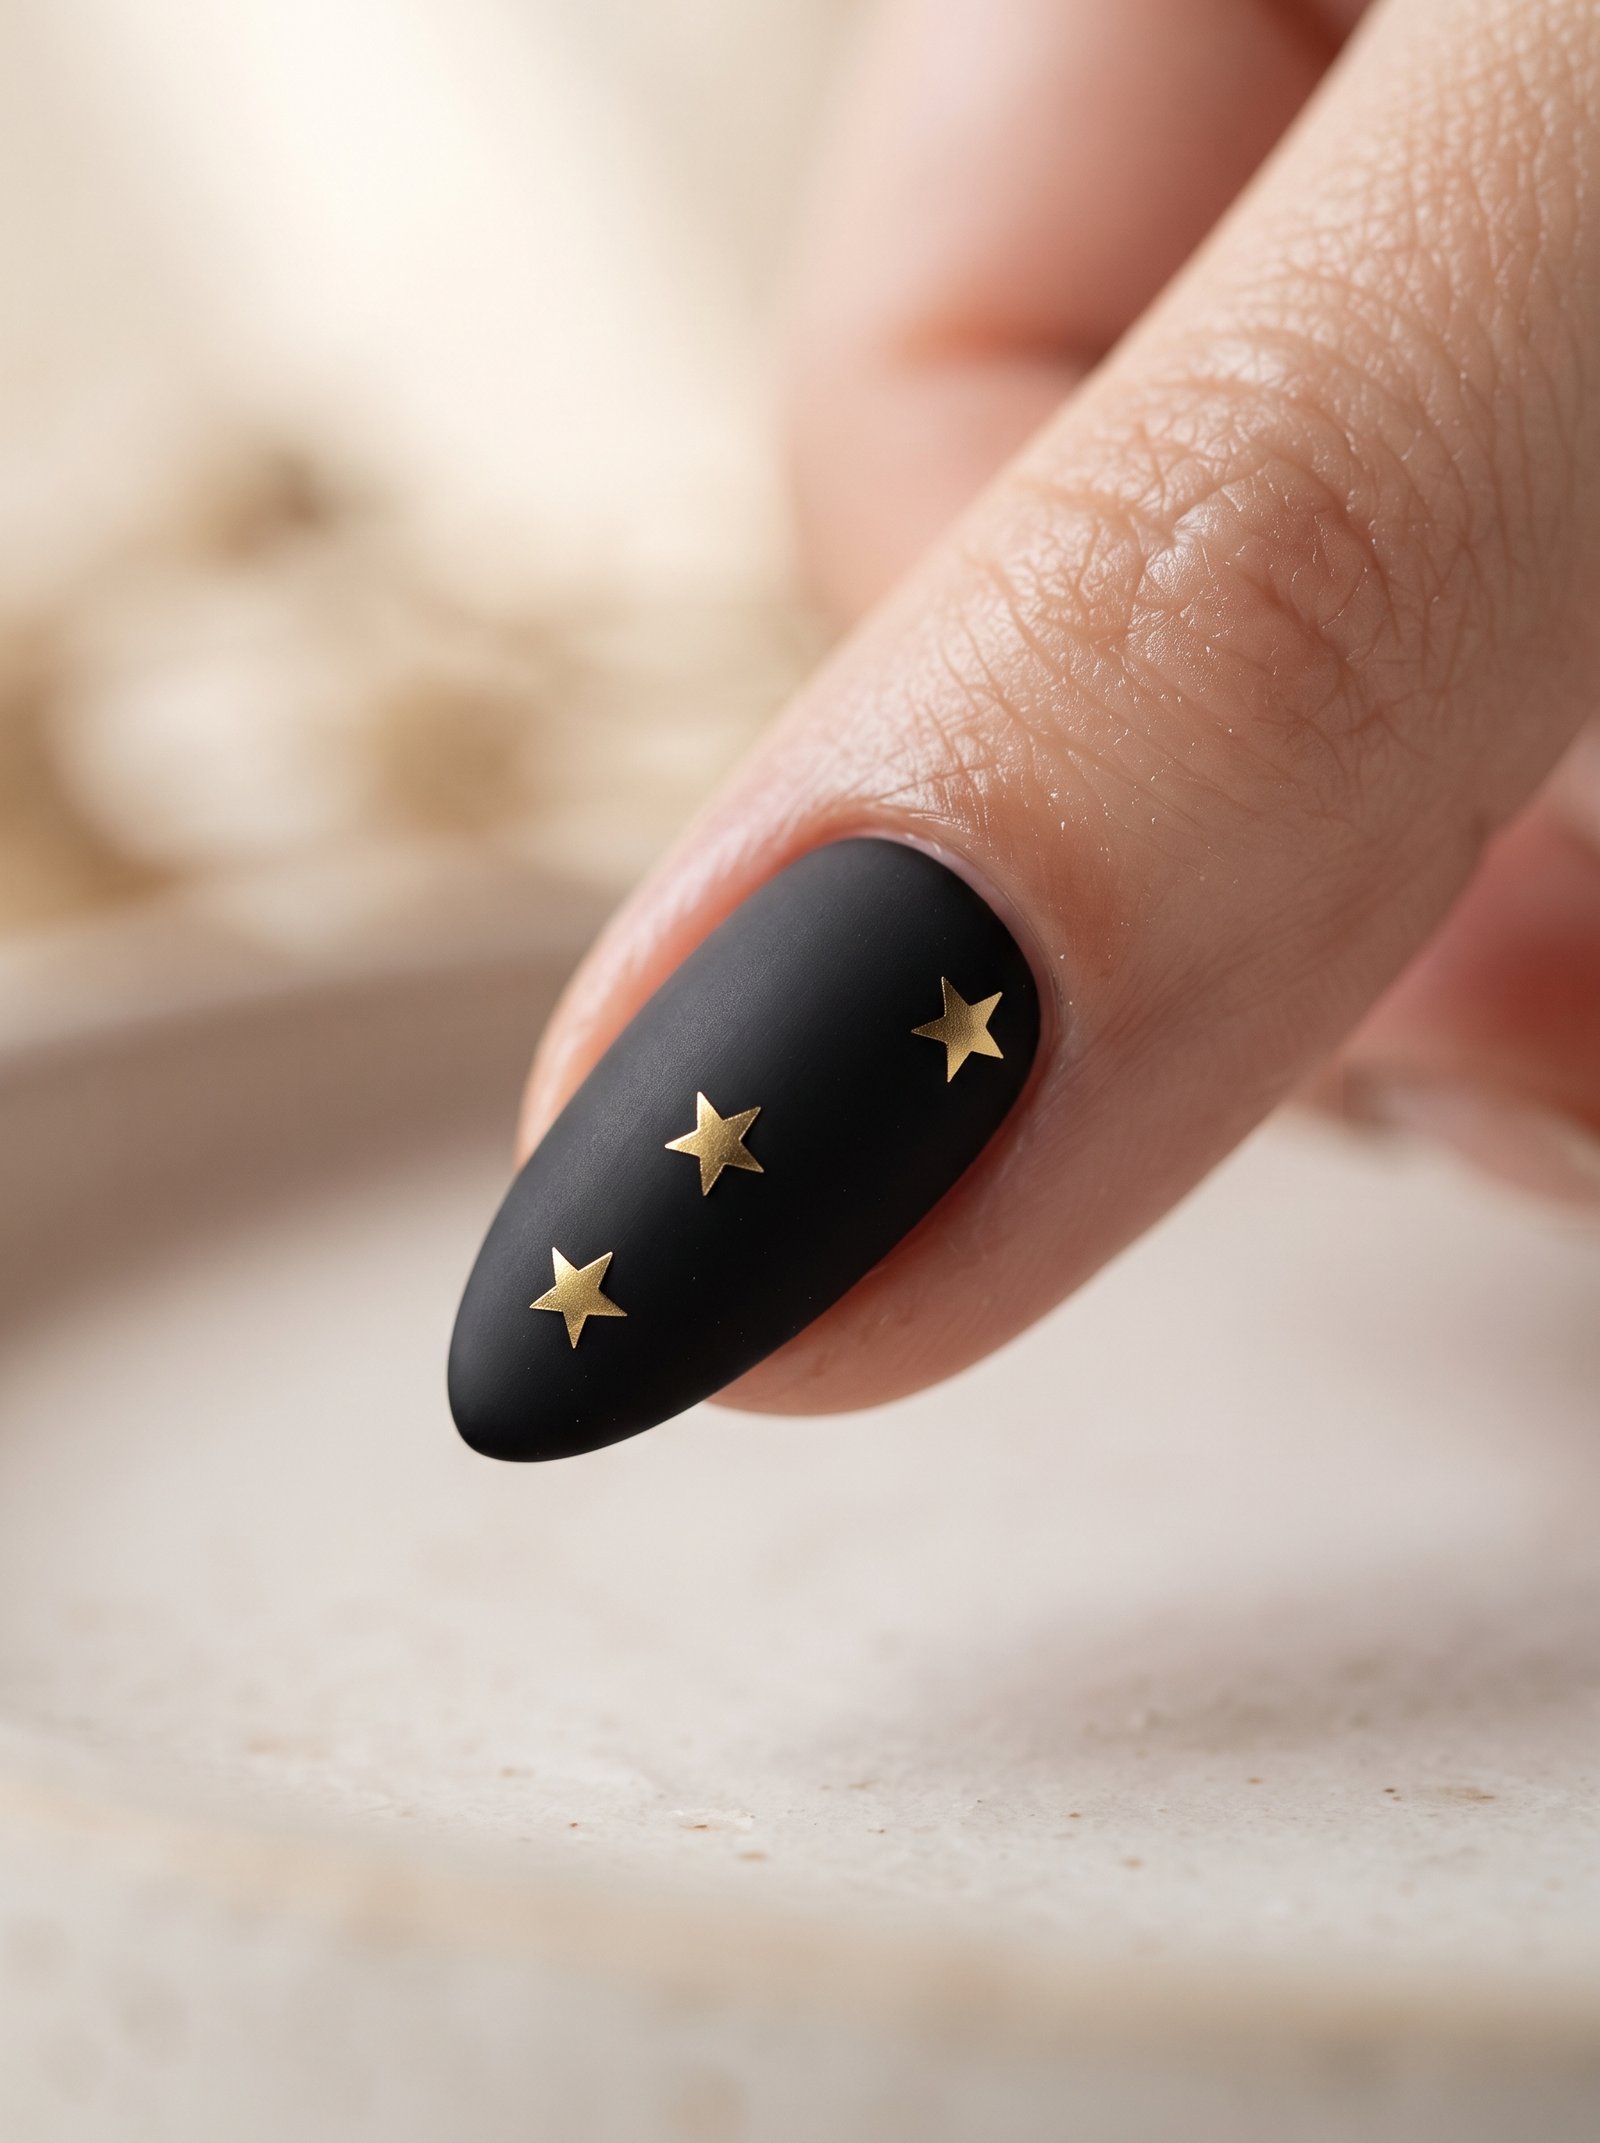
- While your final color coat is still slightly tacky (not fully dry), use tweezers to peel a star decal from the sheet.
- Gently press it onto the nail in your desired position. Popular placements include:
- A scattered constellation pattern across all nails
- A single statement star on the ring finger
- A diagonal trail of stars from cuticle to tip
- Press each decal down firmly with the pad of your finger or a silicone tool to eliminate air bubbles.
Keep it balanced. Odd numbers of stars per nail (one, three, or five) tend to look more visually appealing than even groupings.
――――――――――――――――――――――――――――――――――――――――
Step 3: Add the Sparkle
Now layer on the glitter for that extra dimension.
If using a glitter top coat:
Simply brush one even layer over each nail. Focus the glitter around the stars to create a “glow” effect, as if the stars are radiating light.
If using loose glitter:
- Apply a thin layer of clear top coat to the nail.
- While still wet, dip your finger into the loose glitter — or use a detail brush to tap glitter exactly where you want it.
- Gently blow off excess or tap your finger lightly over the dish.
Mixing glitter sizes — fine dust with a few chunkier flecks — adds incredible depth and catches light from every angle.
――――――――――――――――――――――――――――――――――――――――
Step 4: Seal and Protect
This step is non-negotiable. Without a quality top coat, your stars will peel and your glitter will shed everywhere (and trust me, glitter gets everywhere).
- Apply one generous layer of quick-dry top coat over each nail.
- Make sure you cap the free edge — run the brush along the very tip of your nail to seal the design.
- Wait two to three minutes before touching anything.
A good top coat also adds a glassy, salon-quality shine that takes the whole look up a notch.
――――――――――――――――――――――――――――――――――――――――
Quick Tips for a Flawless Finish
- Work one hand at a time so you always have a free hand for placement.
- Use a cleanup brush dipped in acetone to fix edges before your top coat.
- Layer thin coats rather than thick ones — thin coats dry faster and last longer.
- Store leftover decals flat in a cool, dry place so they stay sticky for next time.
- Experiment with shapes — mix stars with tiny moons or dots for a full celestial theme.
――――――――――――――――――――――――――――――――――――――――
Time to Show Off Your Stars
That’s it — you just created a stunning sparkle star manicure in under 20 minutes. This design works for everything from casual weekends to holiday parties, and it’s endlessly customizable. Swap the colors, mix up the star sizes, or go full galaxy with blues, purples, and holographic accents.
The best part? Once you get the hang of it, you’ll never pay salon prices for this look again.
Save this guide for your next mani session and tag us when you try it — we’d love to see your sparkle star nails shine! ✨