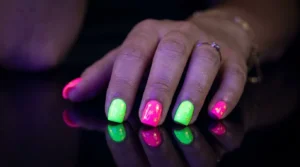
How to Create Galaxy Star Nail Art for Beginners
 By VelvetNesty
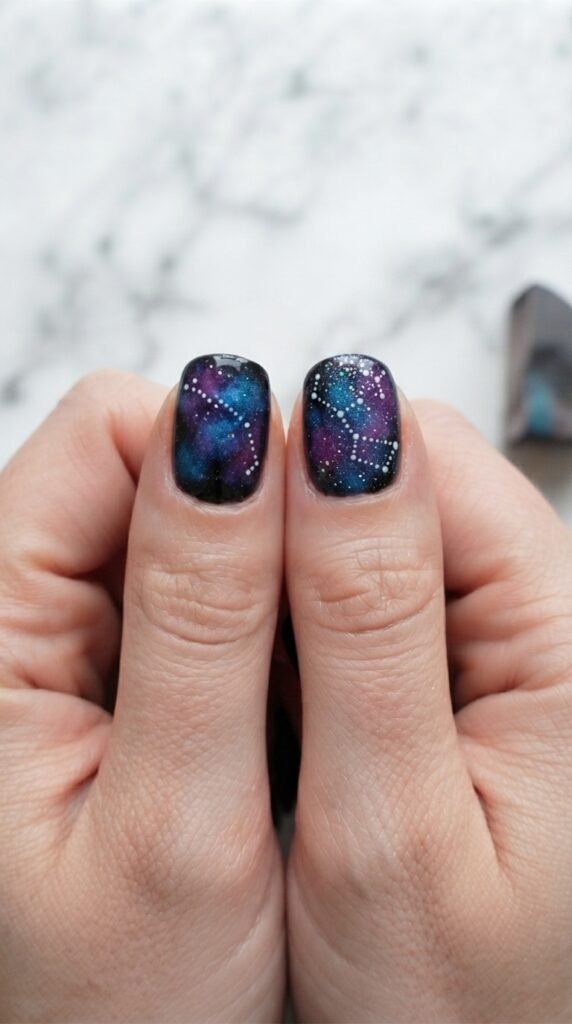
Ever scrolled through your feed and stopped dead on a set of nails that looked like someone captured the entire Milky Way on ten tiny canvases? That dreamy, deep-space swirl of purples, blues, and glittering stars is easier to recreate than you might think — and you absolutely do not need a steady hand or a professional license to pull it off.
Galaxy nail art is one of those rare designs that looks incredibly complex but relies on a surprisingly forgiving technique. Smudges? They become nebulas. Uneven color? That’s cosmic depth. This guide walks you through every step so you can go from bare nails to a stunning starry sky in under an hour.
What You’ll Need
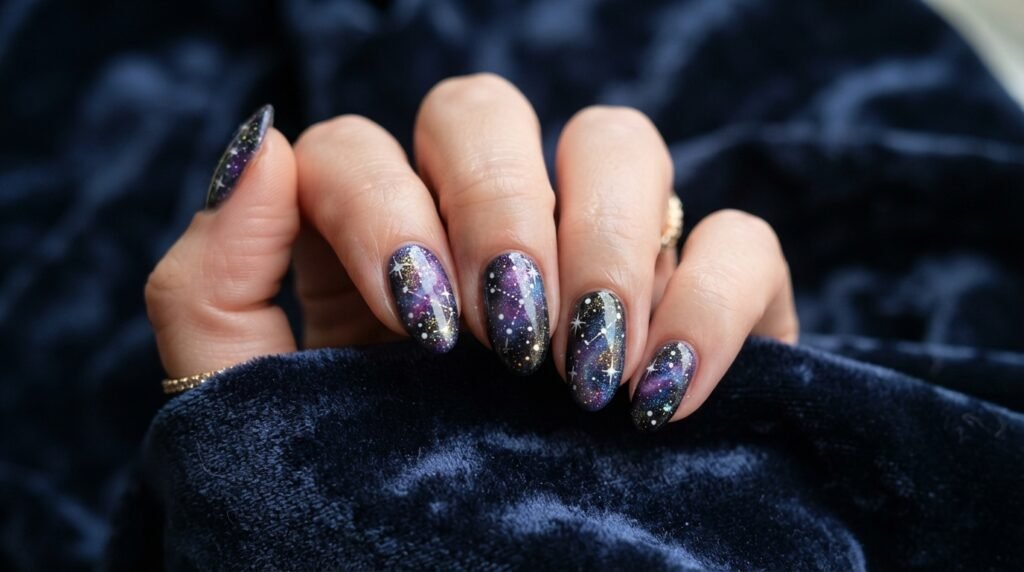
Before you start, gather your supplies. The beauty of galaxy nails is that the supply list is short and budget-friendly — most of these items you may already own.
Base coat — protects your natural nails and helps polish adhere
Black nail polish — the foundation of your galaxy sky
Sponge pieces — a small makeup sponge or a torn piece of household sponge works perfectly
3–4 accent polishes — think deep purple, midnight blue, magenta, and a shimmery teal or green
White nail polish or acrylic paint — for painting stars and tiny dots
Fine detail brush or toothpick — for placing star shapes
Glitter polish or loose holographic glitter — adds that celestial sparkle
Top coat — seals everything in and adds a glossy, glass-like finish
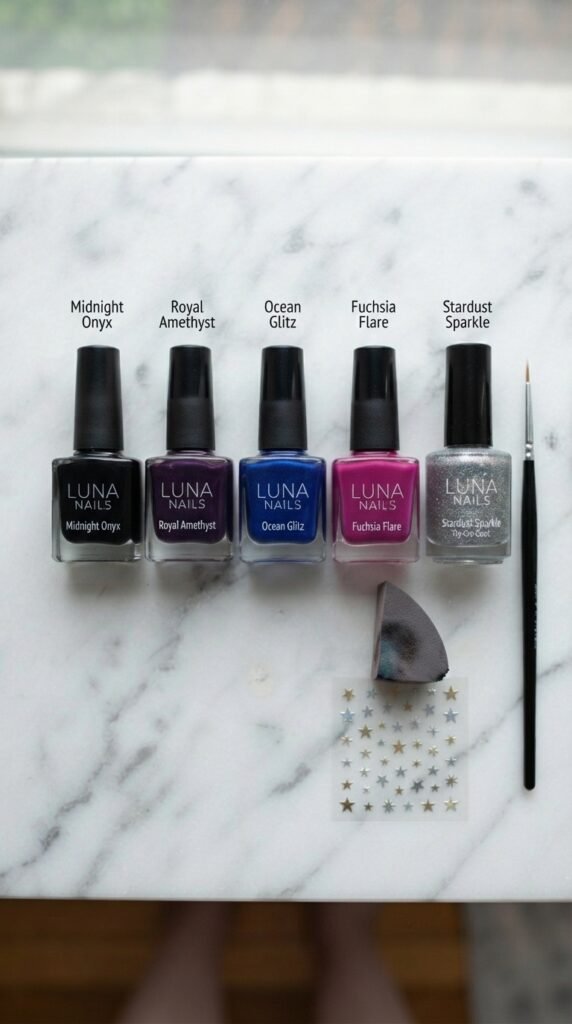
1: Prep and Apply Your Base
Start with clean, shaped nails. Push back your cuticles gently, then swipe each nail with a cotton pad dipped in nail polish remover to remove any oils. Apply one thin layer of base coat and let it dry completely.
Next, paint two coats of black polish over every nail. Black is the secret weapon here — it creates that deep, infinite-space backdrop that makes every other color pop. Let each coat dry for about two minutes before moving on.
Quick tip: If you’re impatient (no judgment), a quick-dry drop between coats saves serious time.
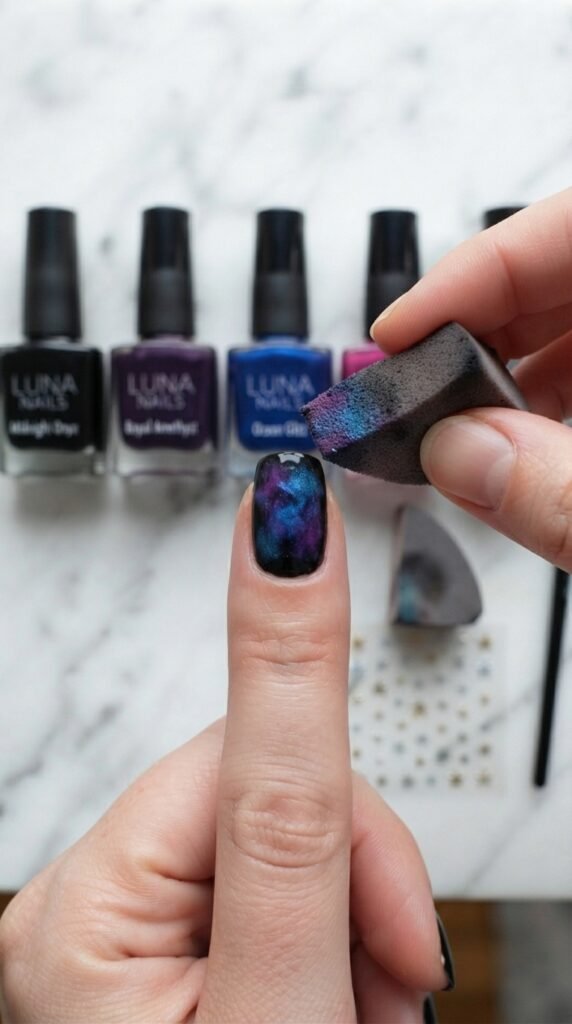
2: Sponge On the Nebula Colors
This is where the magic happens — and where perfection is truly unnecessary.
1. Dab a small amount of your first accent color (try deep purple) onto the sponge.
2. Lightly press and twist the sponge onto random areas of the nail. Don’t cover the whole surface — you want patches of color floating in the black.
3. Repeat with your second color (midnight blue), slightly overlapping the first.
4. Add a touch of magenta or pink in a few spots for warmth and contrast.
5. Finish sponging with a tiny dab of teal or shimmery green — just a whisper of it adds incredible depth.
Layer the colors unevenly and let them blend into each other on the nail. The messier and more organic it looks, the more realistic the galaxy effect becomes.
3: Add Stars and Sparkle
Now for the details that take this design from cool to absolutely cosmic.
– Dip a toothpick or fine brush into white polish and dot tiny, irregular clusters of stars across each nail. Vary the sizes — a few larger dots mixed with barely-there specks mimic a real night sky.
– For extra dimension, create one or two small four-pointed star shapes by drawing a tiny plus sign with the detail brush.
– While the white dots are still slightly tacky, apply a coat of holographic or fine glitter polish over each nail. This adds that scattered-stardust shimmer that photographs beautifully.
4: Seal and Protect
Once your star details are dry, apply a generous layer of high-shine top coat. This step is non-negotiable — it smooths out the sponge texture, locks in the glitter, and gives your nails that wet, glassy depth that makes galaxy art look professional.
Let the top coat cure fully before using your hands. For extra longevity, cap the free edge of each nail (run the brush along the tip) to prevent early chipping.
Pro Tips for a Flawless Finish
Use a cleanup brush dipped in acetone to tidy up any polish on the skin around your nails before the top coat step.
Try different color combos — a warm galaxy with reds, oranges, and gold is stunning for fall; icy blues and silvers work beautifully for winter.
Peel-off base coat is a game-changer if you love switching up your nail art frequently.
Photograph your nails under natural light or a ring light for the most accurate color representation when sharing online.

Your Galaxy Awaits
Galaxy star nails prove that nail art doesn’t have to be intimidating. The sponging technique is incredibly forgiving, every “mistake” adds to the organic, celestial look, and the final result always photographs like a dream. Whether you’re prepping for a night out or just treating yourself to a creative afternoon at home, this design delivers maximum impact with minimum stress.
Save this tutorial for your next nail night — and tag us when you try it! ✨