How to Create Maroon Ombre Nails with a Seamless Gradient
 By VelvetNesty
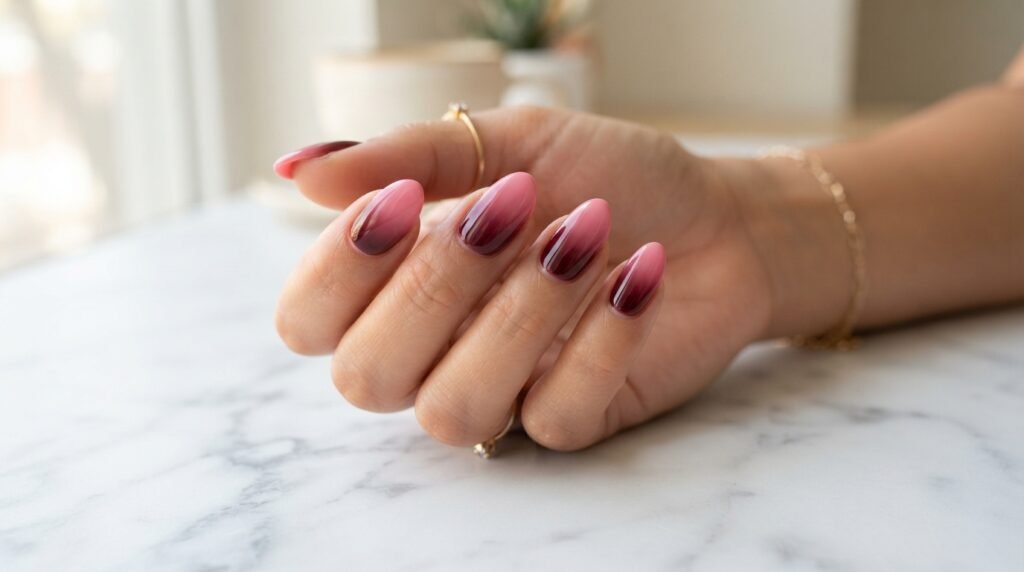
There’s a reason maroon ombre nails keep dominating Pinterest boards and Instagram feeds season after season. That rich, wine-dark hue melting into a softer shade creates a depth and dimension that a single, flat color simply cannot match. It looks expensive. It looks intentional. And the best part? You can pull it off at home with a few basic tools and a little patience.
Whether you’re blending maroon into blush pink, dusty rose, or even black, the ombre technique gives your manicure a custom, salon-quality finish without the salon price tag. Let’s walk through exactly how to get that flawless gradient on your own nails.
What You’ll Need
Before you start, gather your supplies. Having everything within reach makes the blending process much smoother since you’ll be working quickly before the polish dries.
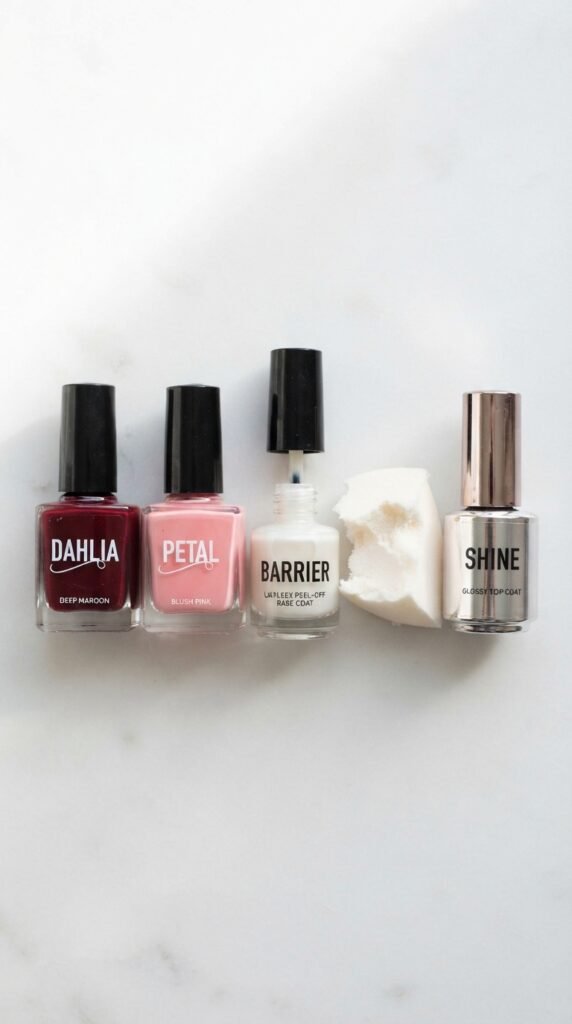
- Base coat — protects your natural nails from staining
- Maroon nail polish — a deep, opaque shade works best
- A lighter transition shade — blush pink, nude, dusty mauve, or even a warm peach
- A makeup sponge — a fine-pored cosmetic sponge gives the smoothest blend
- Liquid latex or peel-off base coat — apply around your cuticles for easy cleanup
- Top coat — a high-shine top coat seals the gradient and smooths out texture
- Acetone and a small brush — for precise cleanup around the edges
- A plastic sheet, foil, or palette — for laying down your polish stripes
Step 1: Prep and Protect Your Nails
Start with clean, dry nails. Push back your cuticles gently, file your nails into your preferred shape, and lightly buff the surface so polish adheres better.
Apply one thin layer of base coat and let it dry completely. This step prevents the dark maroon pigment from staining your natural nails — trust me, you don’t want to skip it.
Next, paint your nails with two thin coats of the lighter shade (your blush, nude, or mauve). This acts as the foundation color that the maroon will fade into. Let each coat dry before adding the next.
While those layers dry, apply liquid latex or a peel-off barrier around your cuticles and the skin bordering your nails. The sponge step gets messy, and this saves you fifteen minutes of cleanup.
Step 2: Build the Gradient with a Sponge
This is where the magic happens.
On your plastic sheet or foil, paint two thick stripes of polish side by side — the maroon and the lighter shade — so they overlap slightly in the middle. You want a small zone where the two colors touch and start mingling.
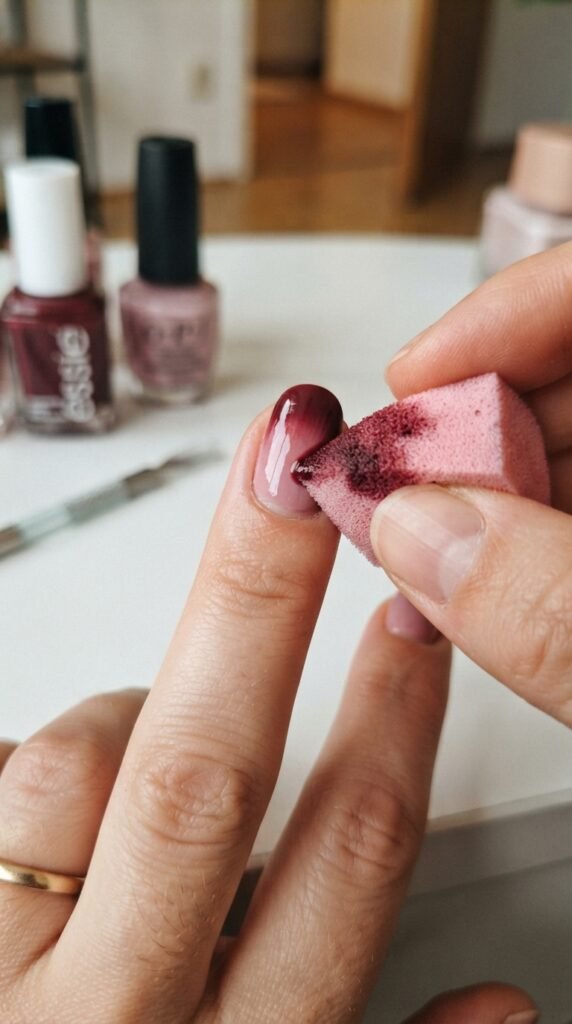
Now take your cosmetic sponge and press it directly onto the polish stripes. Dab the sponge onto your nail using a light, bouncing motion. Don’t drag or swipe. Think of it like stippling — quick, gentle taps that deposit color without smearing what’s underneath.
A few key tips for this step:
- Start at the tip. Position the maroon end of the sponge at your nail tip and let the lighter color fall toward the cuticle.
- Build gradually. One pass won’t give you a rich gradient. Apply 3–4 layers, reloading the sponge with fresh polish each time.
- Rotate the sponge slightly between dabs to avoid pressing the same texture pattern repeatedly, which can create a visible grid effect.
- Work quickly. Polish dries fast on the sponge. Reload and reapply within about 30 seconds each round.
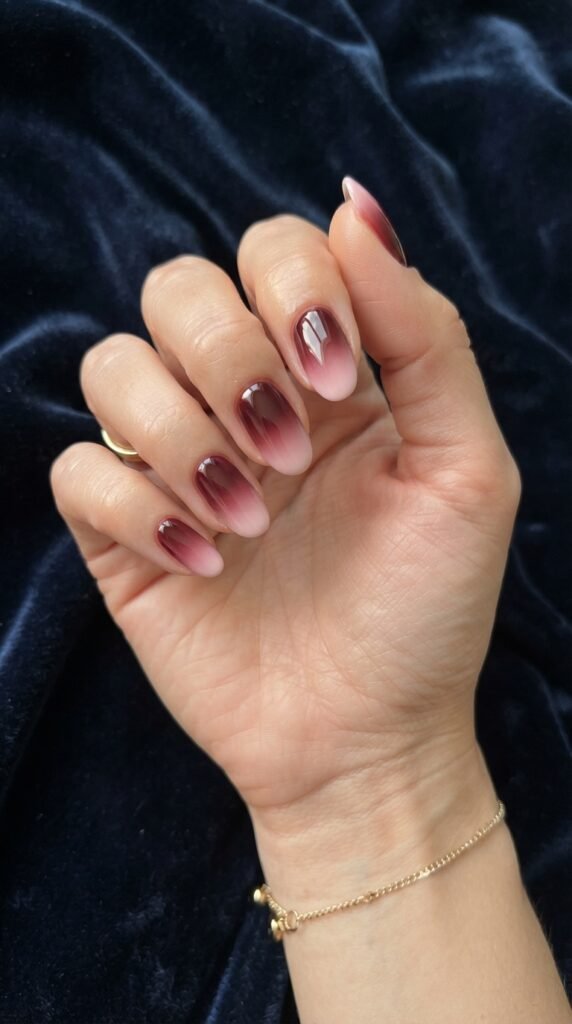
After 3–4 rounds, you’ll see the colors melt together beautifully. The boundary between maroon and your lighter shade should look soft and diffused — no hard lines.
Step 3: Clean Up and Seal the Look
Once you’re satisfied with the gradient, let the final sponge layer dry for about two minutes. Then peel off the liquid latex around your cuticles — this is the satisfying part. All that excess polish lifts right off, leaving clean edges behind.
If any stray color remains on your skin, dip a small angled brush in acetone and trace along the cuticle line and sidewalls to clean up precisely.
Now apply one generous coat of top coat. This step is critical. The sponge leaves a slightly textured, matte finish on the nail, and a good top coat smooths everything into a glassy, seamless surface. It also deepens the maroon and makes the gradient pop.
For extra longevity, cap the free edge of each nail with top coat to prevent chipping.
Pro Tips for a Flawless Maroon Ombre
- Choose polishes with similar formulas. Two polishes from the same brand tend to blend more smoothly than mismatched textures.
- Dampen your sponge slightly before loading polish. A dry sponge absorbs too much product and can create a patchy application.
- Try a three-color gradient for extra dimension — maroon at the tip, a mid-tone mauve in the center, and nude at the cuticle.
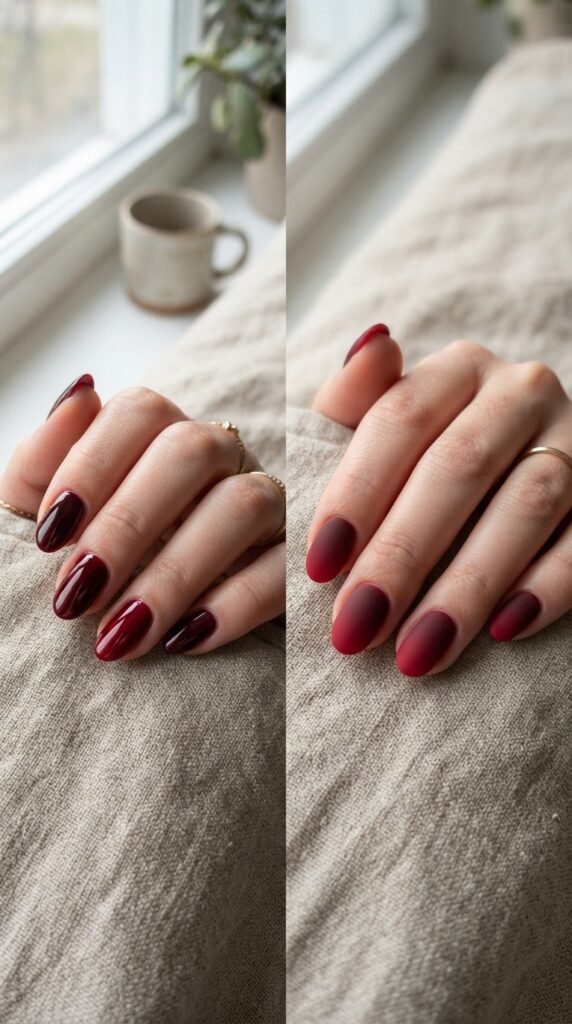
- Matte top coat works too. If glossy isn’t your style, a matte finisher gives the ombre a velvety, modern feel that’s equally striking.
- Almond and coffin nail shapes showcase gradients best because the longer surface gives the colors more room to transition.
The Takeaway
Maroon ombre nails are one of those designs that look far more complicated than they actually are. With a sponge, two polishes, and a little layering patience, you get a manicure that rivals anything you’d walk out of a salon with. The gradient technique is forgiving once you get the rhythm of it — and every set you do will look better than the last.
Save this tutorial for your next at-home mani night, and pin your favorite look for inspiration. Your nails deserve the upgrade.