How to Do Maroon Nail Art at Home Without Salon Costs
 By VelvetNesty
There’s something about maroon nails that just *works*. The shade sits right at the intersection of bold and refined — dark enough to make a statement, warm enough to pair with practically anything in your closet. But here’s the thing: you don’t need a $60 salon appointment to get that polished, editorial look. With a handful of affordable tools and a little patience, you can create maroon nail art at home that rivals any professional manicure.
Whether you’re prepping for a date night, a holiday party, or just want your hands to look put-together on a random Tuesday, this guide walks you through everything — from picking the right shade to mastering simple designs that actually look impressive.
What You’ll Need Before You Start
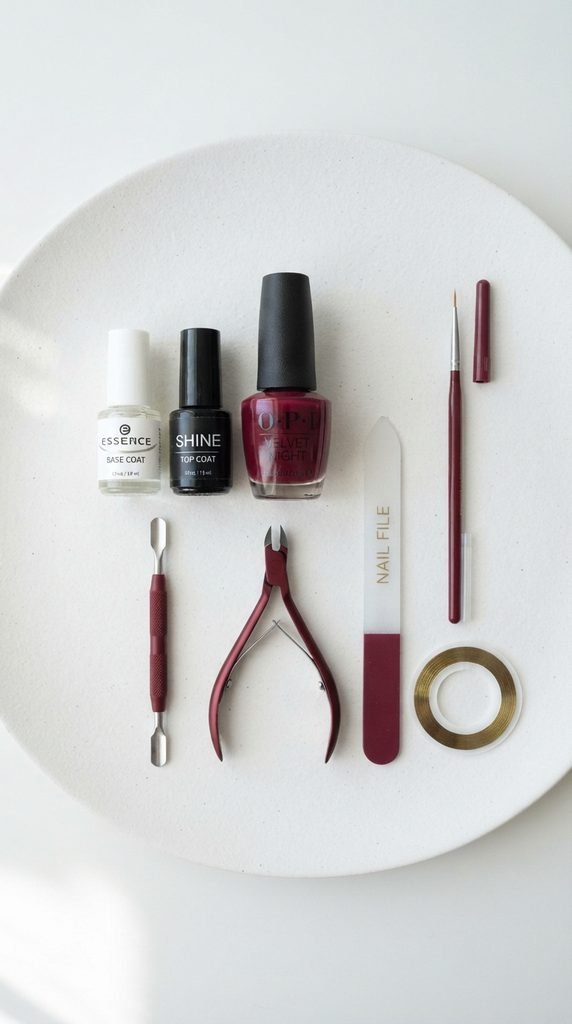
Getting salon-quality results at home starts with having the right supplies within reach. You don’t need to spend a fortune — most of these items are under $10 each and last for months.
Your basic toolkit:
- A maroon nail polish you love (cream, shimmer, or matte — your call)
- Clear base coat
- Clear top coat (quick-dry versions save time)
- Nail file and buffer block
- Cuticle pusher or orange stick
- Cotton pads and nail polish remover
- A thin nail art brush or a toothpick for detail work
- Striping tape or stickers (optional, for geometric designs)
Pro move: If you’re new to at-home manicures, grab a cleanup brush and a small bottle of acetone. Dipping the brush in acetone lets you fix messy edges without starting over. Game changer.
Step 1: Prep Your Nails Properly
Skipping nail prep is the number one reason at-home manicures chip within a day or two. Take five extra minutes here, and your polish will last significantly longer.
- Remove old polish completely. Even clear residue affects adhesion.
- Shape your nails with a file. Stick to one direction — back-and-forth sawing weakens the nail edge. Almond, oval, and squoval shapes all look great with maroon.
- Buff the surface lightly. This removes ridges and gives polish something to grip.
- Push back cuticles gently with an orange stick after softening them with warm water or cuticle oil. Don’t cut them — pushing is safer and cleaner.
- Wipe each nail with a cotton pad soaked in rubbing alcohol or polish remover. This removes oils and dust so your base coat bonds properly.
Step 2: Apply Your Base and Maroon Polish
Now the actual painting begins. Thin, even layers are the entire secret to a smooth finish — resist the urge to glob it on.
- Start with one coat of clear base coat. Let it dry for about 90 seconds. This protects your natural nails from staining (maroon is notorious for leaving a tint) and helps your color stick.
- Apply the first coat of maroon polish. Use three strokes per nail: one down the center, one on each side. Keep the layer thin. It will look slightly streaky — that’s completely normal.
- Wait two minutes, then apply a second coat. This evens everything out and deepens the color. Two coats is usually the sweet spot. Three if your polish runs very sheer.
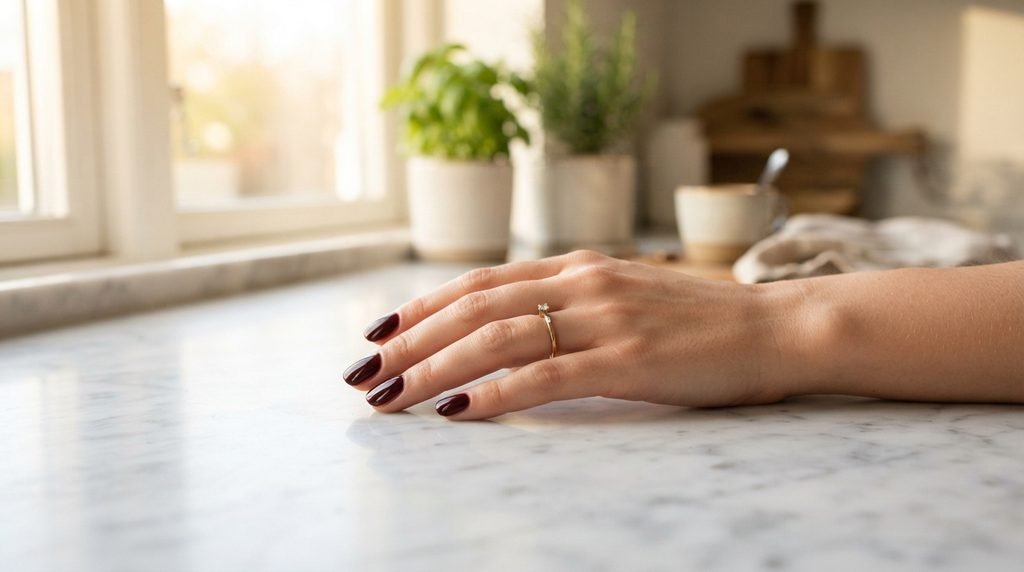
Shade tip: Maroon polishes with a slight berry or wine undertone tend to be the most flattering across different skin tones. If you lean cooler, look for maroon shades with a hint of plum. Warmer skin tones often look great with maroon that leans slightly brick or oxblood.
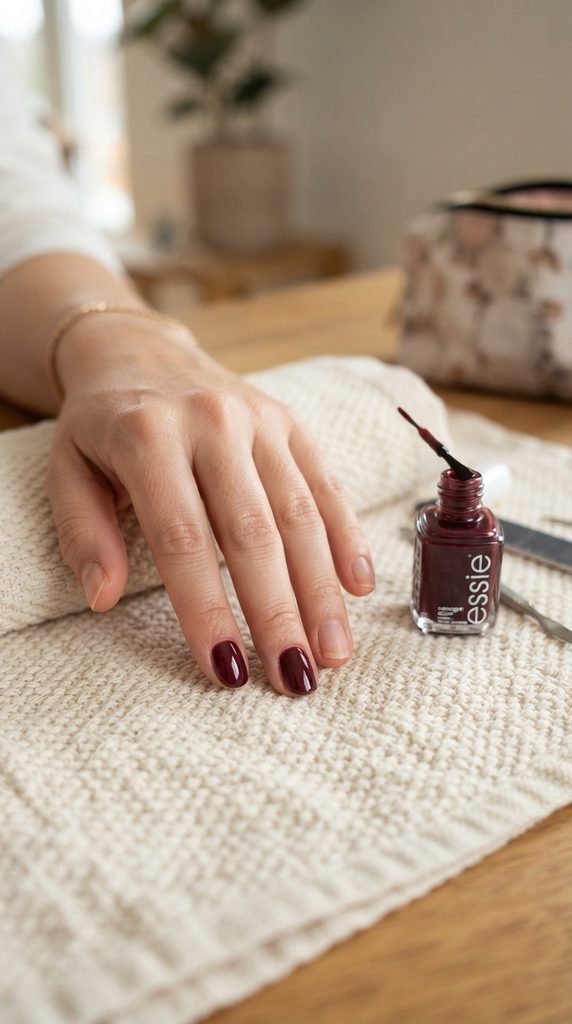
Step 3: Add Simple Nail Art Details
You don’t need to be an artist to add designs that look intentional and polished. Here are three beginner-friendly maroon nail art ideas that work every time:
Accent Nail with Gold Stripes
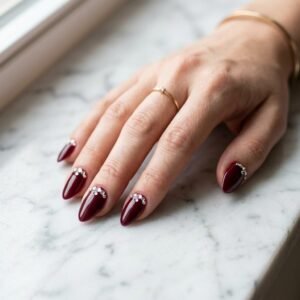
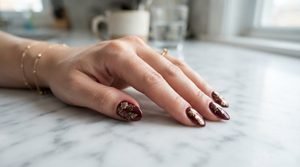
- Paint all nails maroon. On one nail (ring finger is classic), use striping tape or a thin brush dipped in gold polish to add two parallel diagonal lines. Simple, but it immediately elevates the whole set.
Maroon and Nude Half-Moon
- Apply a nude or beige base. Once dry, use a reinforcement sticker (the little hole-punch circles for binder paper) at the base of each nail as a guide. Paint maroon over the exposed area. Peel off the sticker to reveal a clean half-moon in nude. Minimal effort, maximum impact.
Matte and Glossy Mix
- Paint all nails in maroon. Apply a glossy top coat to three nails and a matte top coat to the other two (or alternate). The contrast between finishes on the same color creates a modern, textured look without any actual drawing required.
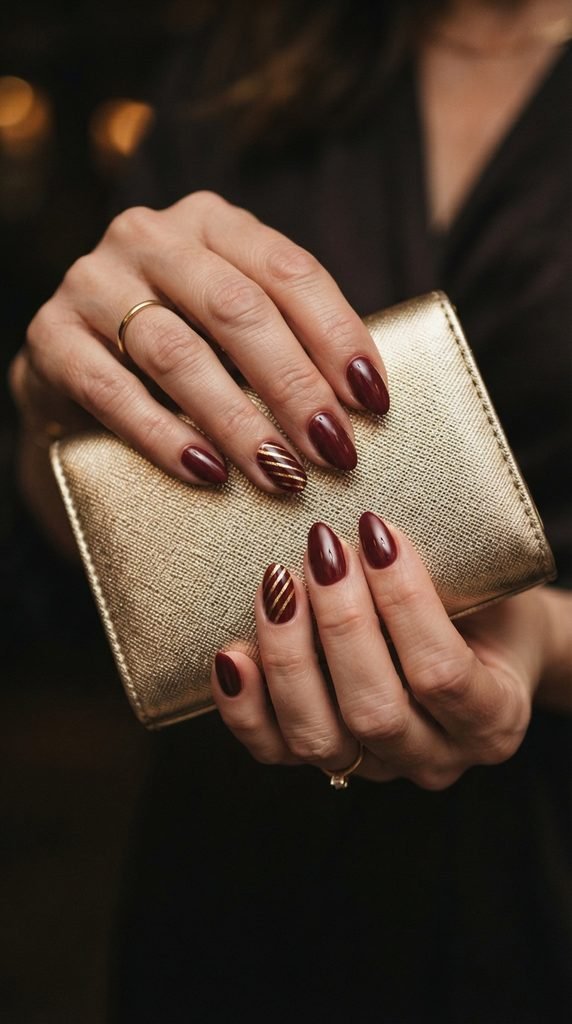
Step 4: Seal and Protect Your Work
This step makes or breaks the longevity of your manicure.
- Apply a generous layer of clear top coat over every nail, including the free edge (the tip). Wrapping the tip seals the polish and prevents early chipping.
- Let your nails dry for at least 10–15 minutes before touching anything. If you’re impatient, a quick-dry top coat or a drop of cuticle oil on each nail after two minutes can speed things up.
- Avoid hot water for the first couple of hours. Heat softens fresh polish and causes dents.
Mistakes to Avoid
Even small errors can undermine an otherwise great manicure. Keep these in mind:
- Thick coats. They take forever to dry and almost always bubble or smudge. Two thin coats will always look better than one thick one.
- Skipping base coat. Maroon stains. Period. A base coat takes 30 seconds and saves you from yellow-tinted nails.
- Painting over tacky polish. If the previous layer isn’t dry to the touch, the next coat will drag and streak. Patience pays off here.
- Ignoring cleanup. Use that acetone cleanup brush to tidy the edges around your cuticles before the top coat. Clean lines are what make at-home nails look professional.

Make It Last: Maintenance Tips
A few small habits can push your at-home maroon manicure from three days to a full week or more:
- Reapply top coat every two to three days. It refreshes the shine and reinforces the seal.
- Wear gloves when washing dishes or cleaning. Water and chemicals are the top enemies of nail polish.
- Keep cuticle oil handy. Hydrated cuticles make the whole manicure look fresher, longer.
- Fix small chips immediately. Dab a tiny bit of maroon polish over the chip, let it dry, and seal with top coat. A quick patch is always better than a full redo.
Your Nails, Your Budget, Your Rules
Salon manicures are a treat — but they shouldn’t be the only way to get nails you’re proud of. With a $7 bottle of maroon polish, basic tools, and 30 minutes of focused effort, you can create nail art that genuinely looks like you sat in someone’s chair for an hour.
Start with a simple solid maroon set. Once you’re comfortable, experiment with the accent designs above. Before long, you’ll have a rotation of go-to looks that cost you almost nothing.
Save this guide for your next at-home mani session — and tag us when you try it!