How to Do Maroon Nail Art with Rhinestones That Actually Stay Put
 By VelvetNesty
We’ve all been there. You spend thirty minutes carefully placing tiny rhinestones on your freshly painted nails, admire your work for about five seconds, and then watch the first stone pop off before you’ve even left the bathroom. Frustrating, right?
Here’s the thing — rhinestones on maroon nails look absolutely incredible. The deep, wine-toned polish creates the perfect backdrop for crystals to catch light and sparkle. But getting those little gems to stay is a skill most tutorials gloss over. Today, we’re fixing that. This is your complete guide to creating a maroon rhinestone manicure that holds up through dishes, gym sessions, and everything in between.
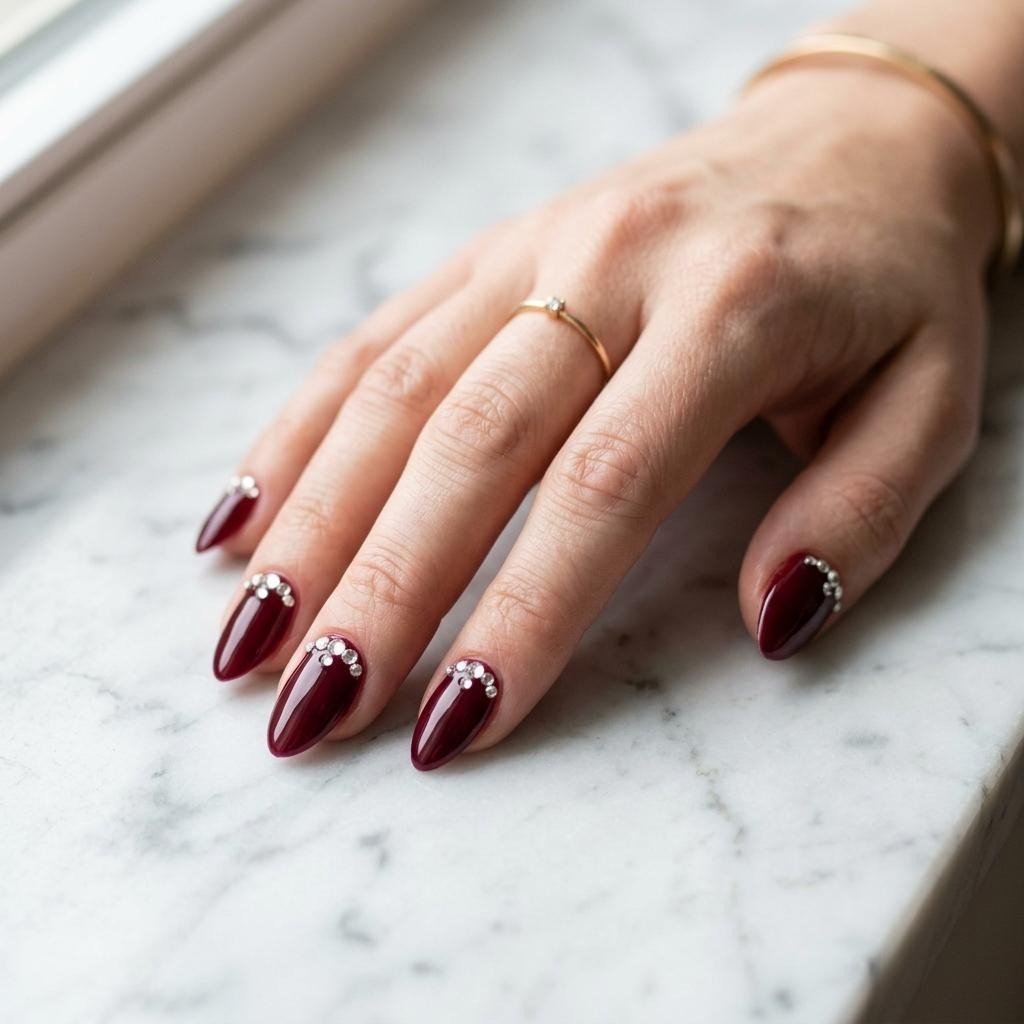
Figure: Maroon nails with crystal rhinestone accents on a marble surface
What You’ll Need Before You Start
Gathering the right supplies makes or breaks this manicure. Skipping even one item — especially the nail glue — is usually the reason rhinestones fall off within hours.
Your supply list:
- A deep maroon nail polish (cream or shimmer finish both work)
- Flat-back glass rhinestones (not plastic — glass grips adhesive better)
- Nail-specific rhinestone glue or gel adhesive
- A wax-tip dotting tool or tweezers for placing stones
- A thick, non-quick-dry top coat
- Base coat
- A lint-free cloth and rubbing alcohol for prepping
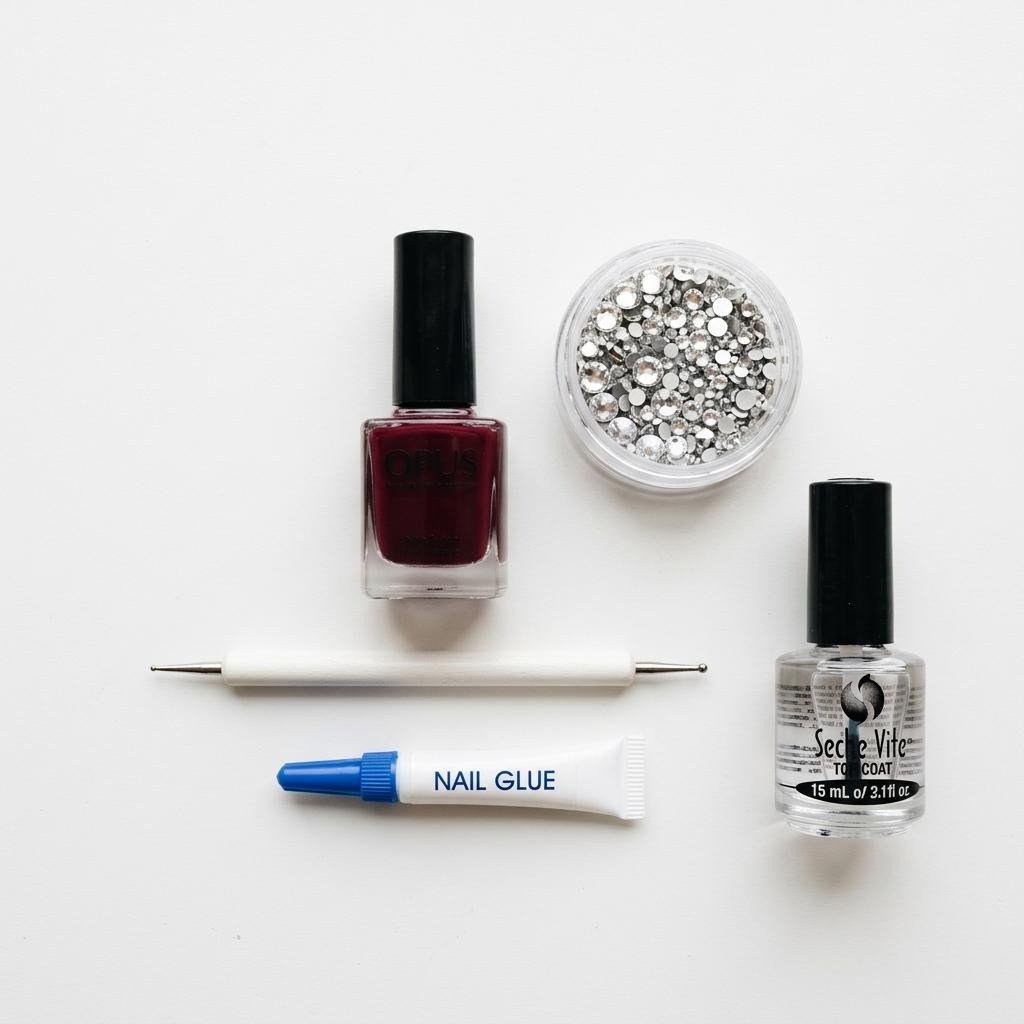
Figure: Flat lay of maroon nail art supplies including polish, rhinestones, dotting tool, and top coat
A note on rhinestone quality: Dollar-store rhinestones have uneven backs that don’t sit flush against the nail. Invest in proper flat-back crystals. Brands like Swarovski or high-grade AB glass stones make a noticeable difference in both sparkle and staying power.
Step 1: Prep Your Nails (Don’t Skip This)
This is where 90% of people go wrong. They paint, they stick, and they wonder why everything falls apart. Proper nail prep is non-negotiable.
- Shape and buff your nails to your preferred length. Smooth out any ridges.
- Wipe each nail with rubbing alcohol on a lint-free pad. This removes natural oils that prevent polish and glue from bonding.
- Apply a base coat and let it dry completely. A tacky base coat gives your maroon polish a stronger foundation.
Once your base coat is set, apply two thin coats of your maroon polish. Thin coats dry faster and create a smoother surface for rhinestones. Thick, goopy layers stay soft underneath and cause stones to sink or shift.
Step 2: Place Your Rhinestones the Right Way
Timing matters here. You don’t want your polish bone-dry, but you also don’t want it so wet that you dent it. Wait about 60–90 seconds after your final color coat — the surface should feel tacky but not stick to your finger when you lightly touch the edge.
Here’s the placement method that works:
- Dab a tiny drop of rhinestone glue directly onto the nail where you want the stone. Less is more — you only need a pinhead-sized amount.
- Pick up a rhinestone with your wax-tip dotting tool. The wax grabs the stone gently without flinging it across the room.
- Press the stone into the glue dot with light, steady pressure. Hold it for 2–3 seconds.
- Repeat for your design. A single accent stone at the cuticle line, a diagonal row, or a small cluster near the corner of the nail all look polished without being overdone.
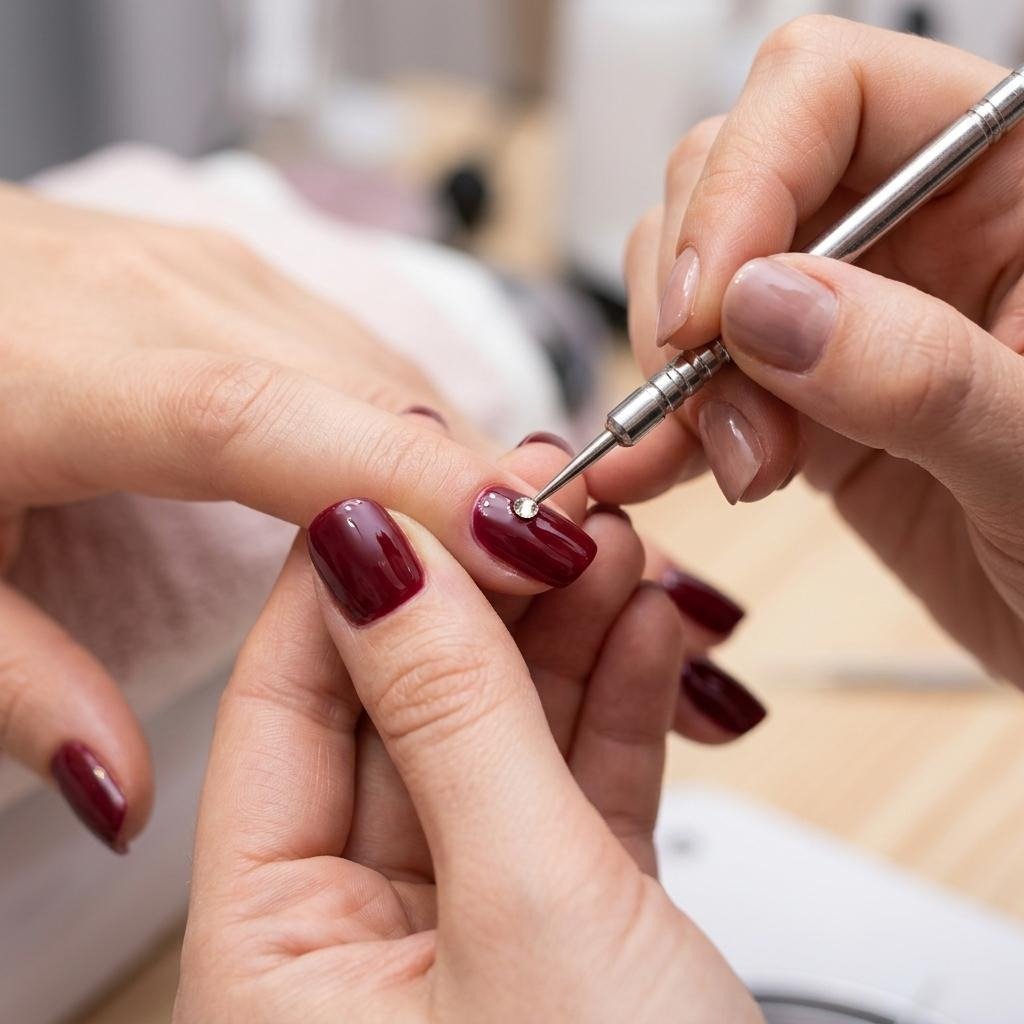
Figure: Close-up of a dotting tool placing a crystal rhinestone onto a maroon-painted nail
Pro tip: Start with your accent nails (ring finger or thumb) so you can practice placement on fewer nails before committing to a full set.
Step 3: Seal Everything In (The Secret Weapon)
This step is the difference between rhinestones that last two days and rhinestones that last two weeks. Most people just slap on a top coat and call it done. That’s not enough.
The two-layer sealing method:
- First, let your glue set for a full five minutes. Don’t rush this.
- Second, apply a generous coat of thick top coat around the base of each rhinestone. Use the brush to push top coat right up to the edges of the stone, almost like you’re building a tiny moat around it.
- Third, apply a second layer of top coat over the entire nail, including over the rhinestones. This locks everything down.
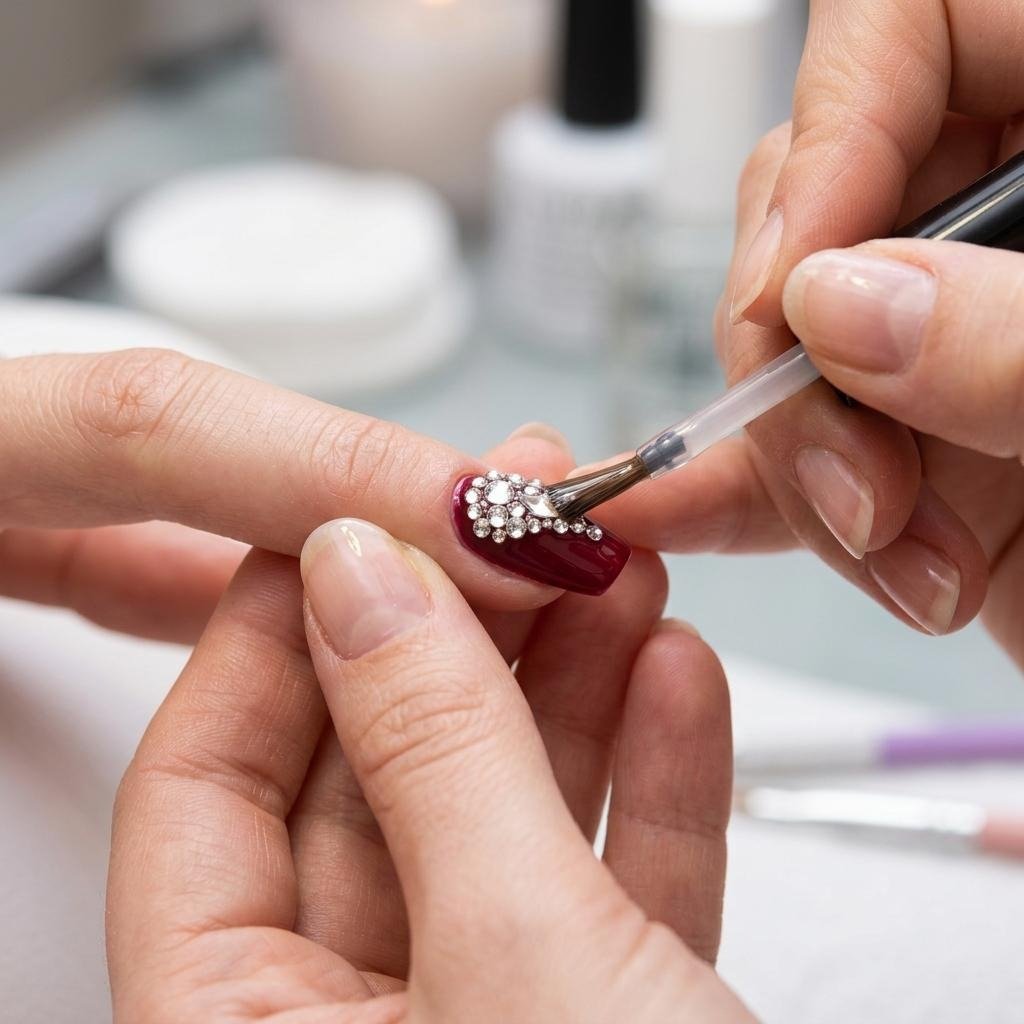
Figure: Applying clear top coat over rhinestones on a maroon nail to seal them in place
Avoid quick-dry top coats for this step. They shrink as they dry and can pull away from the rhinestones, loosening the seal. A standard, slow-dry formula creates a thicker protective layer.
Design Ideas to Try
Once you’ve nailed the technique (pun intended), play with different layouts:
- Single stone accent — One rhinestone at the base of each nail for a minimal, classy look
- Diagonal cascade — Three to five stones in a diagonal line across the ring finger
- Cuticle crown — A curved row of tiny stones along the cuticle edge
- Cluster glam — A small group of mixed-size stones in one corner of the nail
- Full border — Rhinestones lining the entire base or tip of the nail for maximum drama
Mix stone sizes for dimension. Pair one larger crystal with two or three smaller ones to create visual interest without clutter.
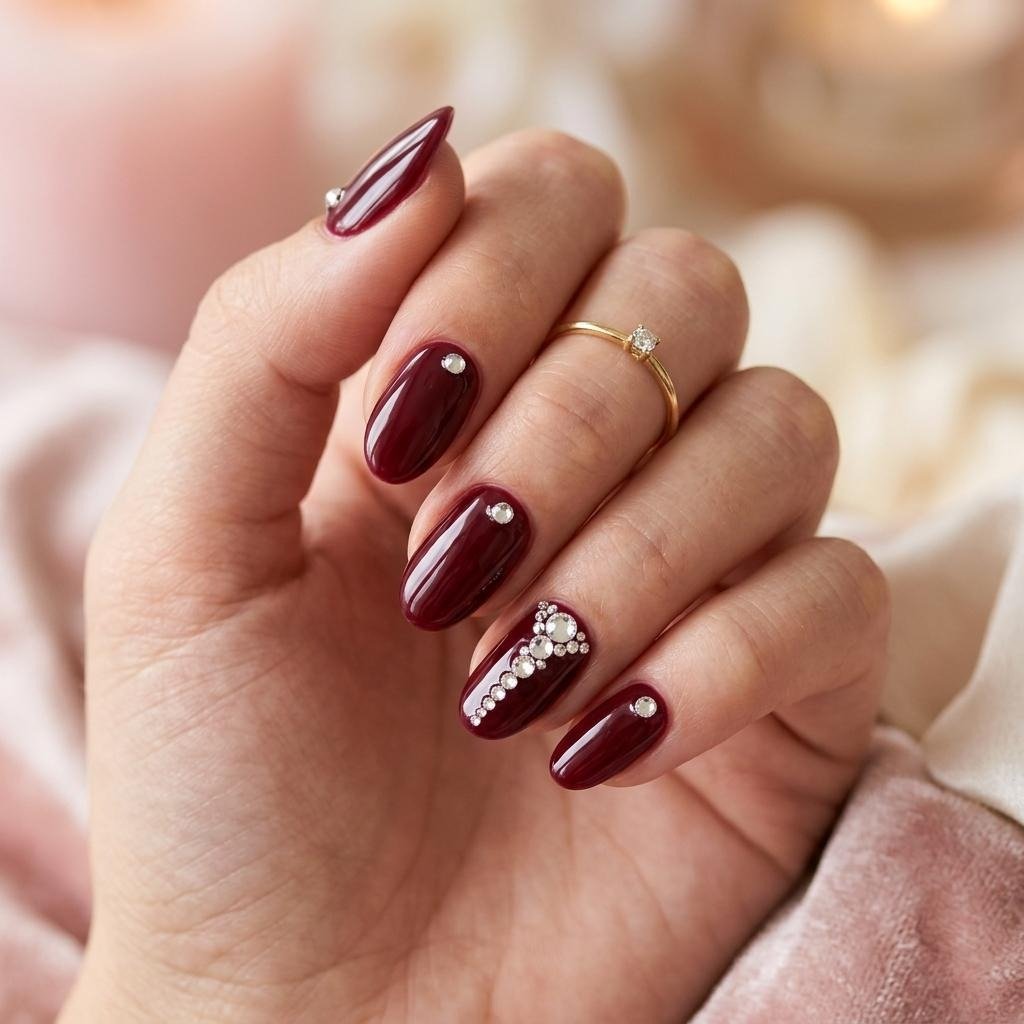
Figure: Finished maroon manicure with rhinestone accents arranged in diagonal lines and single stones
Quick Tips to Make Them Last Even Longer
- Wear gloves when doing dishes or cleaning. Water and harsh chemicals are the biggest enemies of rhinestone adhesion.
- Reapply top coat every three to four days. A quick maintenance layer keeps the seal strong.
- Avoid using your nails as tools. Opening cans, peeling stickers, and scratching surfaces will pop stones off faster than anything else.
- Store your rhinestones properly. Keep them in a small compartmented box so they don’t get scratched or damaged before use.
Your Rhinestones Deserve to Stay
Getting rhinestones to hold on your maroon nails isn’t magic — it’s method. The right prep, quality stones, proper glue, and that two-layer sealing technique are all it takes. Once you get the process down, you’ll wonder why you ever settled for stones that fell off by lunchtime.
Save this guide for your next mani session, and pin your favorite design idea for later! 💅