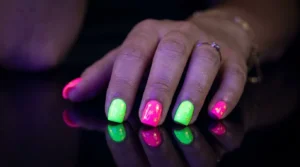
How to Make Glow-in-the-Dark Star Nail Designs
 By VelvetNesty
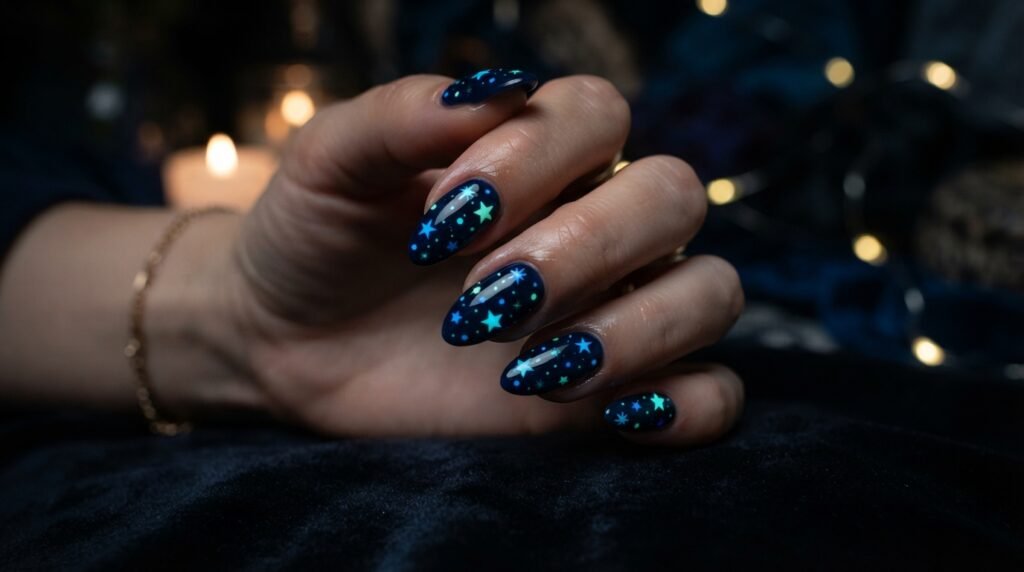
Imagine this: the lights go low, the music starts, and your nails literally light up with a galaxy of tiny glowing stars. Glow-in-the-dark star nails are one of the most head-turning trends in nail art right now — and the best part? You can absolutely do them yourself at home. Whether you’re prepping for a festival, a night out, or just want nails that spark conversation, this step-by-step guide will walk you through everything you need to create your own luminous constellation manicure.
Trust us — once you see these glow in action, you’ll never go back to regular nail art.
What You’ll Need
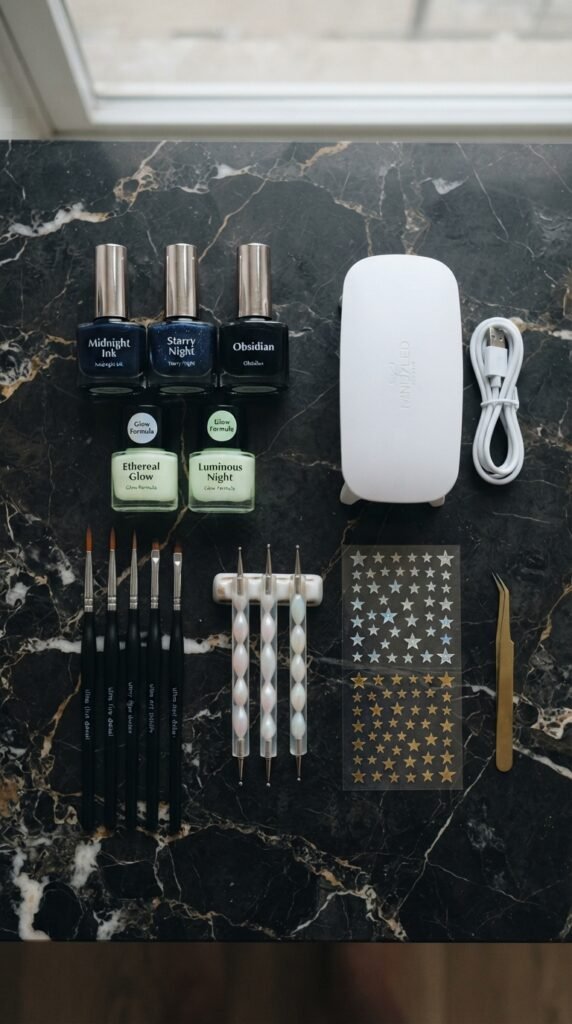
Before you start painting, gather your supplies. Having everything within reach makes the process smoother and way more fun. Here’s your shopping list:
- Dark base polish — deep navy, black, or dark purple works best (the darker the base, the brighter the glow)
- Glow-in-the-dark nail polish — look for phosphorescent formulas in green, blue, or white
- Thin nail art brush — or a fine-tip dotting tool
- Star-shaped nail stickers or stencils — optional, but great for beginners
- Clear top coat — a gel or UV-cure top coat locks everything in
- Base coat — always protect your natural nails first
- Small rhinestones or glitter — optional for extra sparkle
- A UV or LED lamp — if using gel polish
Pro tip: Not all “glow” polishes are created equal. Look for brands that specifically say phosphorescent or photoluminescent — these charge under any light source and glow for hours. Avoid simple neon polishes that only glow under UV blacklight.
Step 1: Prep and Apply Your Base
Great nail art always starts with a clean canvas. Here’s how to prep:
- Shape and buff your nails to your preferred style (almond and coffin shapes look stunning with star designs).
- Push back your cuticles gently — don’t cut them.
- Apply a base coat and let it dry completely. This protects your nails from staining and helps your polish last longer.
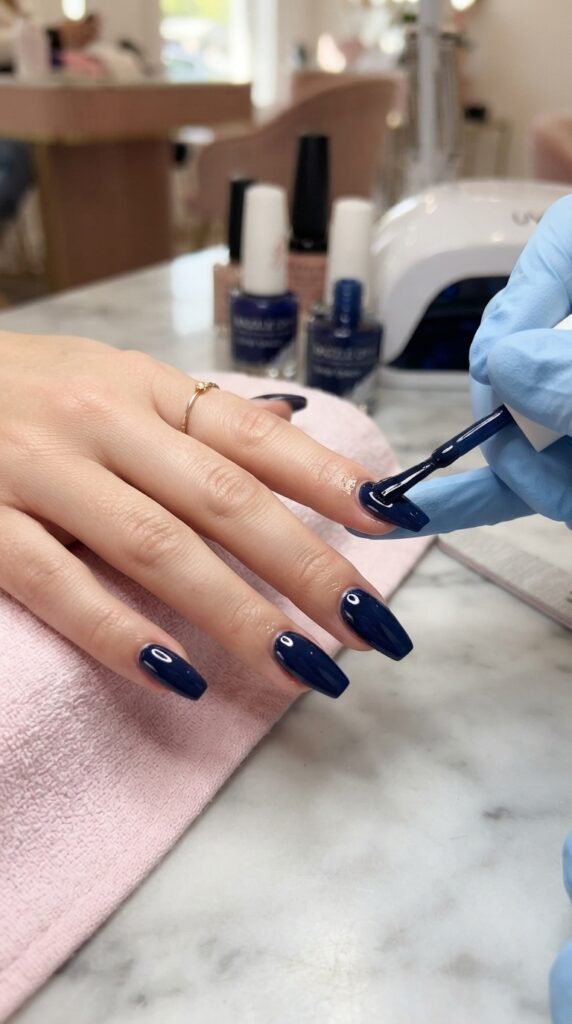
- Apply two coats of your dark base color. Deep navy or black creates the perfect “night sky” effect. Let each coat dry for at least two minutes before adding the next.
Don’t rush this step! A smooth, even base makes your star designs pop so much more.
Step 2: Create Your Star Designs
This is where the magic happens. You have a few options depending on your skill level:
For Beginners: Star Stickers & Stencils
- Wait until your base is completely dry (tacky nails will ruin your stickers).
- Place star stickers wherever you’d like them — scatter a few across each nail for a natural constellation look.
- Press them down firmly with an orangewood stick.
For Intermediate & Advanced: Freehand Stars
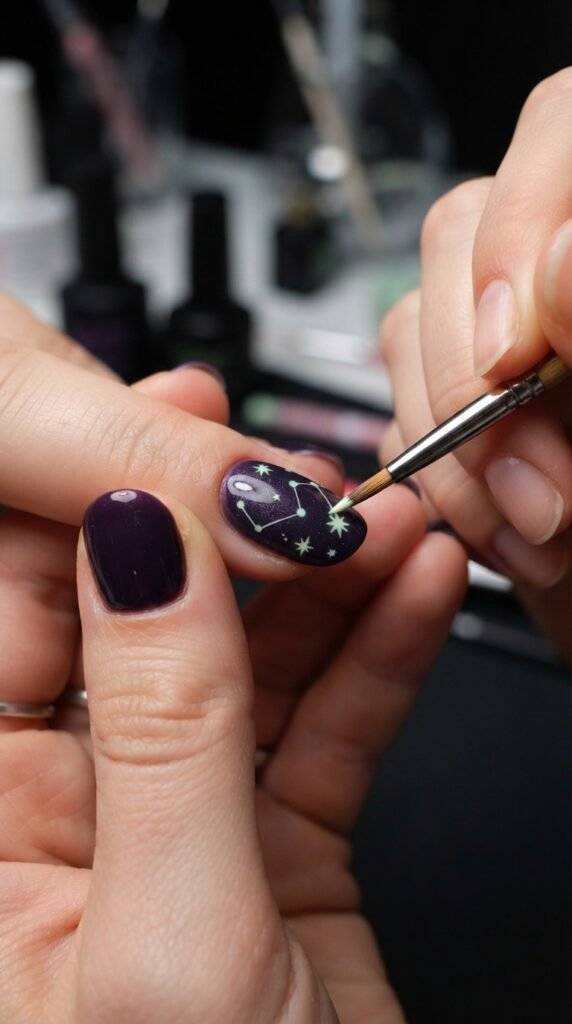
- Dip a thin nail art brush into your glow-in-the-dark polish.
- Paint tiny four- or five-pointed stars at varying sizes. Mix large accent stars with smaller ones for depth.
- Use a dotting tool to add small dots between the stars — these look like distant twinkling stars and fill in the “sky” beautifully.
- For constellation lines, use the thinnest brush you have to draw delicate connecting lines between stars.
Design ideas to try:
- Scattered galaxy — random stars and dots across all nails
- Accent nail — one nail packed with stars, the rest minimal
- Constellation map — recreate Orion, the Big Dipper, or your zodiac sign
- Crescent moon + stars — add a small crescent on your ring finger for extra drama
Step 3: Seal and Charge Your Glow
Once your star designs are dry, it’s time to lock everything in:
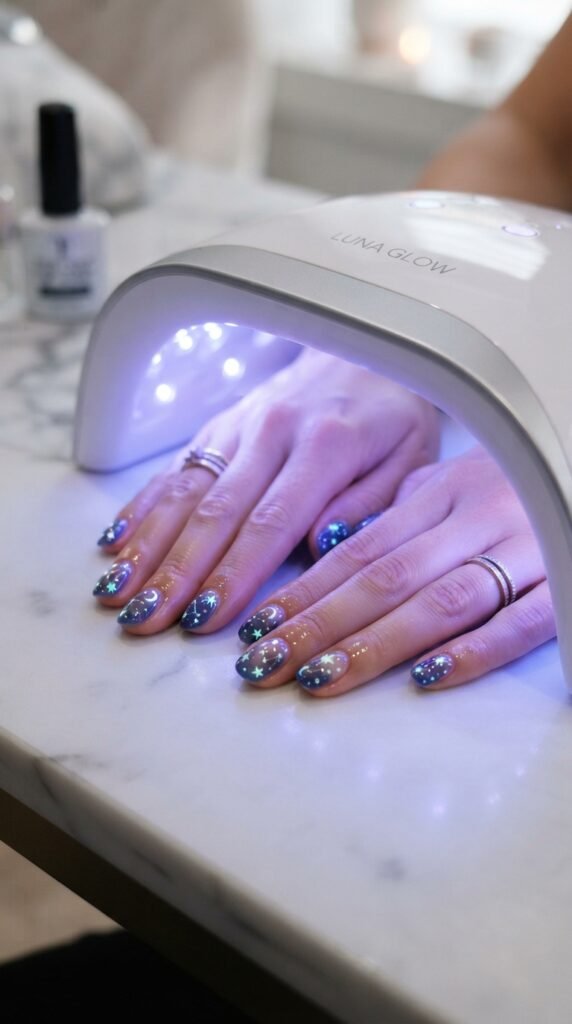
- Apply a generous clear top coat over all your nails. If you’re using gel, cure under your UV/LED lamp according to the brand’s instructions.
- Add a second top coat layer for extra durability — glow-in-the-dark polish can sometimes feel slightly textured, and this smooths everything out.
- Charge your nails! Hold your hands under a bright lamp, direct sunlight, or your phone flashlight for 30–60 seconds. The phosphorescent pigments absorb light and will glow in the dark for several minutes to hours depending on the polish quality.
Tips for the Best Glow Effect
Want your star nails to glow as brightly as possible? Keep these tricks in mind:
- Layer it up: Two coats of glow polish will always glow brighter than one.
- Use white under glow polish: If you want maximum brightness, paint a small white dot first, then layer the glow polish on top — it reflects more light back through the phosphorescent layer.
- Darker rooms = better glow: The contrast between your dark base and glowing stars is what makes this design so stunning.
- Recharge anytime: Just hold your nails under any light source for a quick brightness boost throughout the night.
- Avoid matte top coats: Glossy finishes let more light pass through to charge the glow pigments underneath.
The Final Result
Turn off the lights and prepare to be amazed. Your nails will transform into a miniature galaxy — tiny stars scattered across a dark sky, glowing with an otherworldly luminescence that’s guaranteed to get compliments.
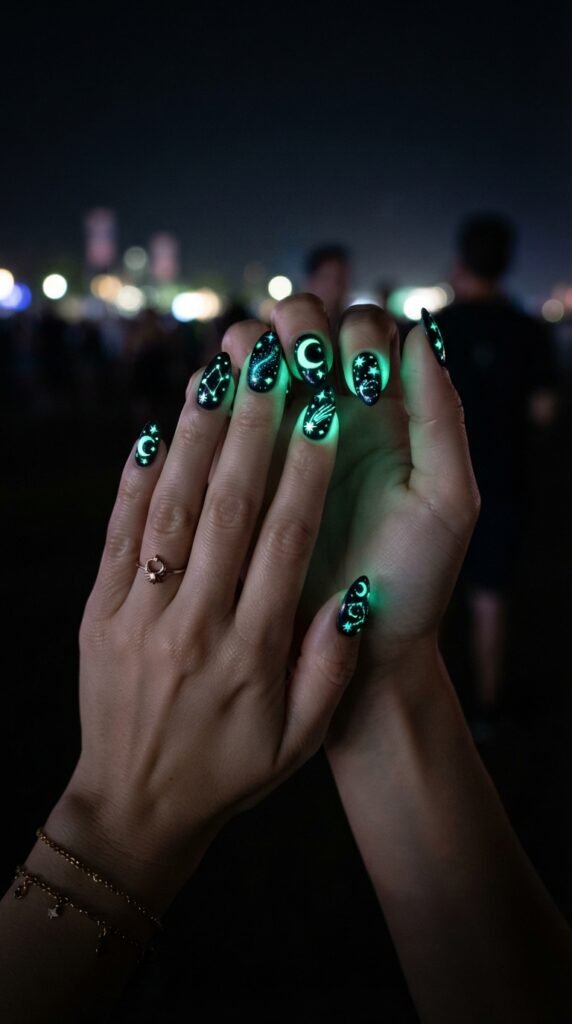
This design is absolutely perfect for:
- Music festivals and concerts
- Halloween parties
- Club nights and raves
- Birthday celebrations
- Anytime you want nails that are pure magic
Save This for Your Next Mani Night!
Glow-in-the-dark star nails are easier than they look and way more impressive than people expect. With the right supplies and a little patience, you can create a show-stopping manicure that works double duty — gorgeous in daylight, absolutely mesmerizing in the dark.
Pin this article for later, share it with your nail-obsessed bestie, and tag us when you try it out — we’d love to see your glowing galaxy nails!