How to Paint Maroon French Tip Nails for a Modern Twist
 By VelvetNesty
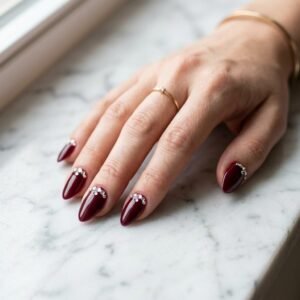
There’s a reason the classic French manicure has never gone out of style — it’s clean, elegant, and works with everything. But let’s be honest: the standard white-tipped look can feel a little predictable. Enter the maroon French tip. It takes that timeless silhouette and gives it a moody, sophisticated edge that feels completely fresh. Deep, rich, and undeniably striking, a maroon tip transforms a simple manicure into a statement.
Whether you’re prepping for date night or just want your nails to look intentional on a Tuesday, this is the upgrade your fingertips have been waiting for.
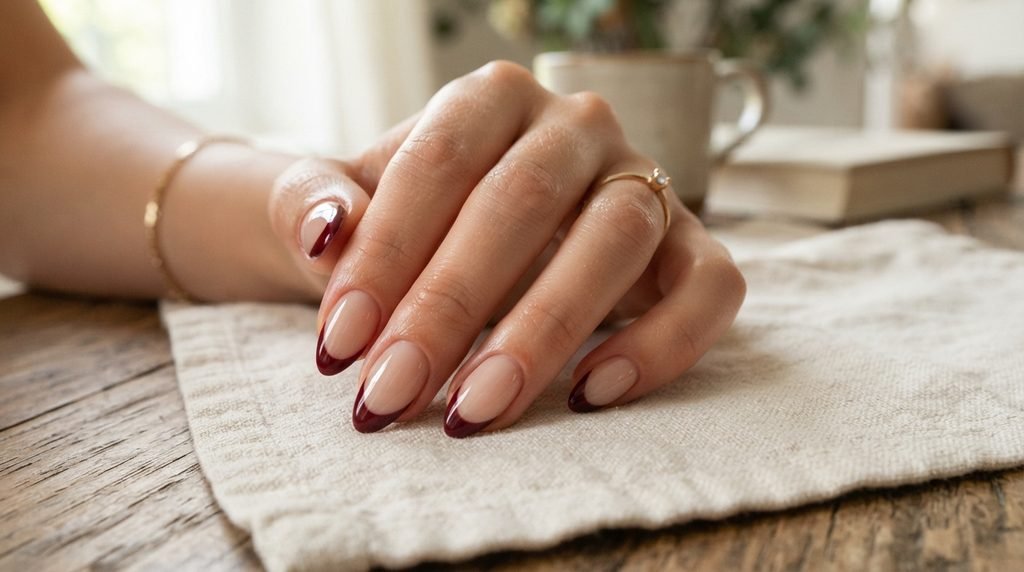
The best part? You don’t need a salon appointment to pull this off. With a few tools and a little patience, you can nail this look at home. Here’s your complete guide.
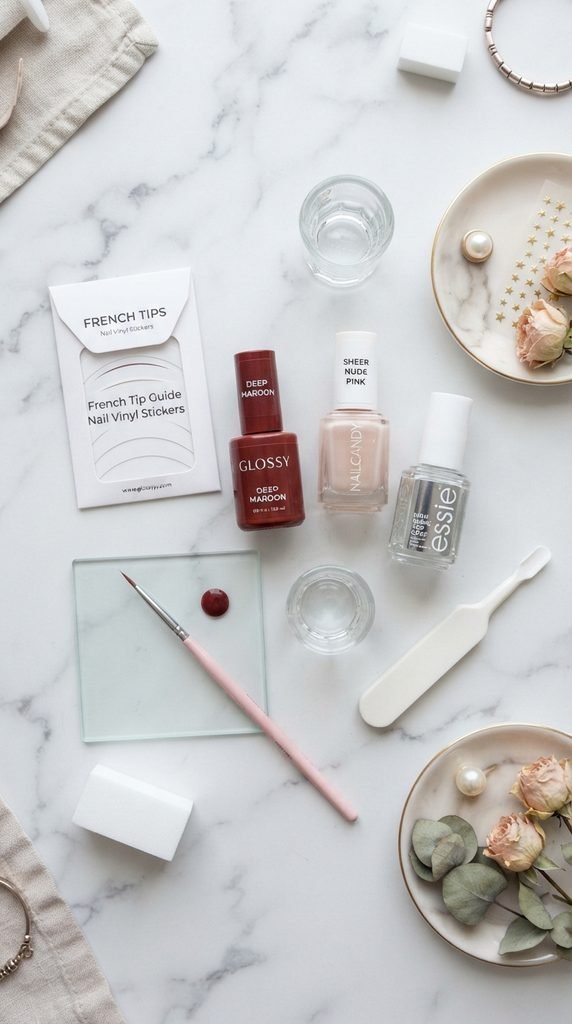
What You’ll Need
Before you start painting, gather your supplies. Having everything within arm’s reach makes the process smoother and helps you avoid smudges from fumbling around mid-manicure.
- Base coat — protects your natural nails and helps polish adhere
- Sheer nude or pale pink polish — this will be your base color
- Deep maroon polish — look for a formula that’s opaque in one coat
- Thin nail art brush or angled liner brush — for precise tip application
- French tip guide stickers (optional) — helpful for beginners
- Quick-dry top coat — seals everything in and adds shine
- Nail polish remover and a small flat brush — for clean-up
- Cuticle oil — for a polished finish
Step 1: Prep Your Nails
Great nail art starts with great nail prep. Skip this step and even the most gorgeous color will chip or look uneven.
- Shape your nails. File them into your preferred shape — almond, square, or coffin all work beautifully with French tips. Keep the filing motion going in one direction to prevent splitting.
- Push back your cuticles. Use a wooden cuticle stick after a warm soak or apply cuticle remover gel. Don’t cut them — just gently nudge them back.
- Buff the surface lightly. A gentle buff removes ridges and gives polish something to grip.
- Wipe nails clean. Use a lint-free pad with a little rubbing alcohol or nail cleanser. This removes oils and dust so your base coat bonds properly.
Step 2: Apply Your Base Layers
Start with a thin coat of base coat on all ten nails. Let it dry for about two minutes.
Next, apply one to two coats of your sheer nude or pale pink polish. This creates a natural-looking canvas that lets the maroon tips pop. Don’t stress about making it perfectly opaque — a slightly translucent base actually looks more modern and flattering.
Let each coat dry for at least three minutes before moving on. Patience here prevents dragging and bubbling later.
Step 3: Paint the Maroon Tips
This is where the magic happens. You have two approaches depending on your confidence level:
Option A: Freehand
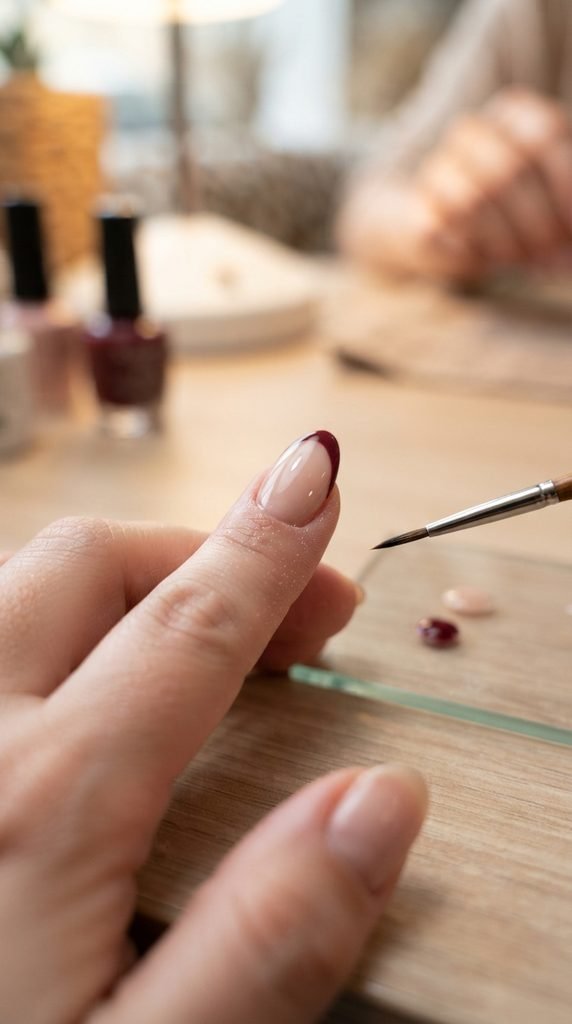
Dip your thin nail art brush into the maroon polish. Starting from one side of the nail tip, draw a smooth curved line across to the other side, following the natural smile line. Fill in the tip below the line. Work on one nail at a time so the polish stays workable.
Option B: Guide Stickers
Place a French tip guide sticker just below where you want the tip to begin. Press it down firmly so polish doesn’t seep underneath. Paint the exposed tip area with your maroon shade. Wait about 30 seconds, then peel the sticker off slowly at an angle.
Whichever method you choose, aim for thin, even coats. One opaque layer of a good maroon polish is better than two thick, gloopy ones.
Step 4: Clean Up the Edges
Nobody gets perfect lines on the first try, and that’s completely fine. Dip a small flat brush or angled cleanup brush into nail polish remover and carefully trace along the edges of each tip. This sharpens the smile line and removes any polish that bled onto the skin or cuticle area.
Take your time here. Clean edges are what separate a DIY manicure from a professional-looking one.
Step 5: Seal and Shine
Once your tips are fully dry — give them at least five minutes — apply a generous layer of quick-dry top coat over each nail. This does three things:
– Locks in the color and prevents chipping
– Smooths out any texture differences between the base and tip
– Adds a high-gloss finish that makes the maroon look even richer
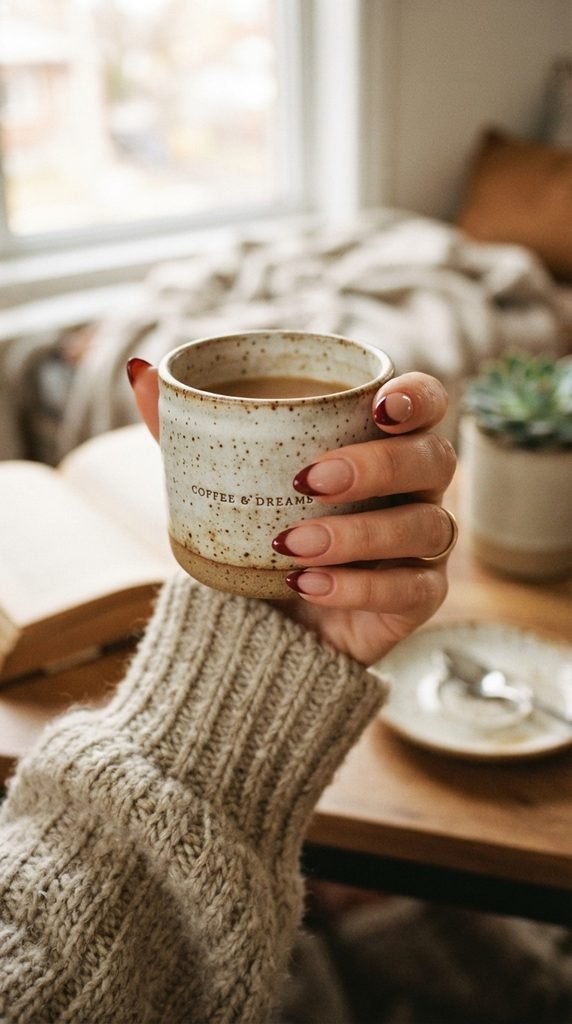
Cap the free edge of each nail (run the brush along the very tip) to seal the polish and extend wear time.
Pro Tips for a Flawless Finish
- Thin coats always win. Multiple thin layers dry faster and look smoother than one thick layer.
- Roll the polish bottle, don’t shake it. Shaking creates air bubbles that show up on your nails.
- Use the right maroon. A blue-based maroon reads cooler and more dramatic. A red-based maroon feels warmer and more approachable. Pick whichever suits your skin tone and vibe.
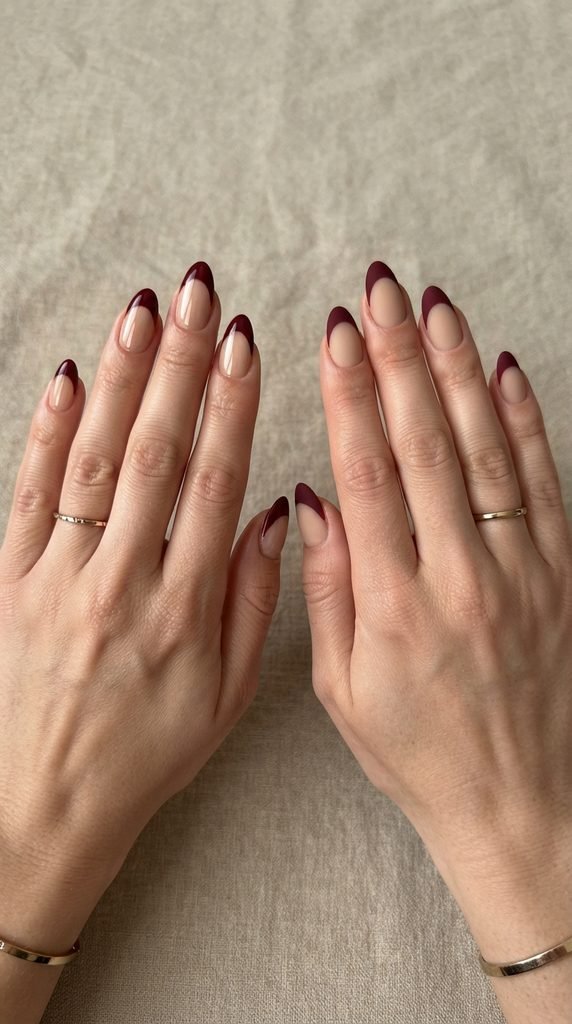
- Try a matte top coat for variety. Swapping glossy for matte gives the same design a completely different personality — more modern, more editorial.
- Finish with cuticle oil. A drop on each nail after everything dries adds hydration and makes the whole manicure look salon-quality.
Save This Look for Your Next Manicure
Maroon French tips hit the sweet spot between classic and bold. They’re polished enough for the office, dramatic enough for evening plans, and interesting enough to earn compliments from strangers. Once you get the technique down, you can experiment with thicker tips, ultra-thin micro tips, or even a diagonal angle for something more editorial.
Pin this guide for your next at-home nail night — your future self will thank you.