How to Remove Acrylic Nails at Home Without Damage (Step-by-Step)
 By VelvetNesty
We’ve all been there: your fresh, gorgeous full set from three weeks ago is now outgrown, lifting at the edges, and catching in your hair. The urge to pry, peel, or pop those acrylics off is almost irresistible—but stop right there! Ripping off acrylic nails strips away the delicate top layers of your natural nail plate, leaving you with thin, paper-like, brittle nails that take months to recover.
The good news? You don’t need an emergency trip to the salon to get them off safely. With a few basic beauty supplies, a little patience, and your favorite Netflix show queued up, you can gently remove your acrylics right from your couch while keeping your natural nails strong and healthy.
What You’ll Need: Your DIY Safe Removal Kit
Before diving in, gather your tools so you don’t have to scramble with foil-wrapped fingertips later.
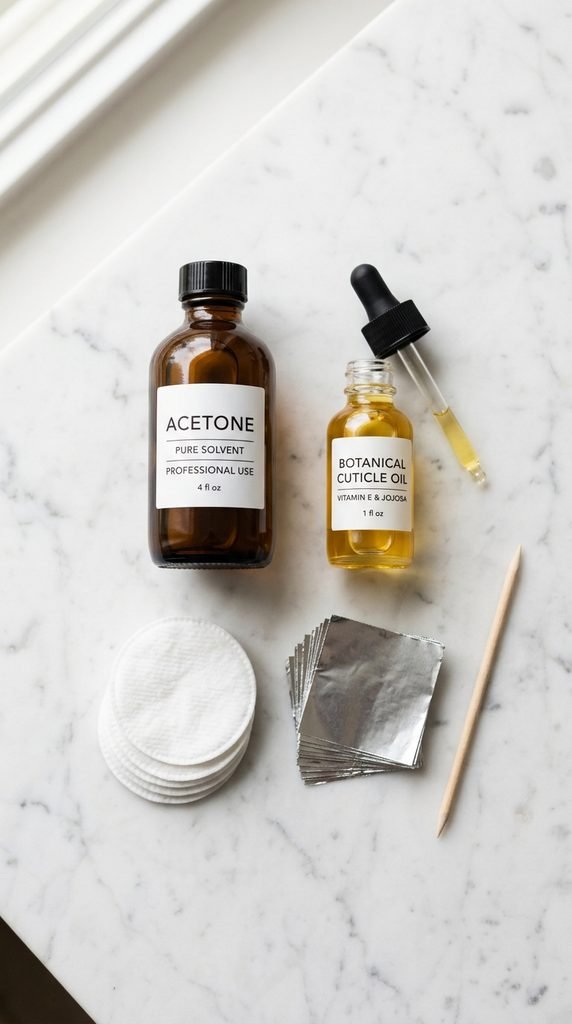
- 100% Pure Acetone: Regular polish remover won’t work—it’s too diluted to break down acrylic polymers.
- Coarse Nail File & Buffer: A 100/180-grit file works best.
- Heavy-Duty Nail Clippers: To safely trim down length.
- Cotton Balls or Cotton Pads: Cut into nail-sized squares.
- Aluminum Foil: Cut into 10 small rectangles (approx. 3×3 inches).
- Wooden Cuticle Stick (Orange Stick): Avoid metal scrapers if possible to prevent gouging.
- Petroleum Jelly or Rich Balm: To protect delicate skin from drying out.
- Nourishing Cuticle Oil: Jojoba or argan oil blends work wonders.
Step 1: Clip and File Down the Bulk
The less acrylic product you have on your nails, the faster and gentler the soak-off process will be.
- Trim the tips: Use your nail clippers to cut off as much artificial length as possible without clipping into your natural nail bed underneath.
- File away the top coat: Take your coarse 100/180-grit nail file and vigorously buff the entire surface of each nail. Your main goal here is to remove the shiny, non-porous gel topcoat and thin down the bulk of the acrylic.
- Dust off residue: Wipe away the powder with a clean towel so the acetone can penetrate directly into the porous acrylic underneath.
Tip: You’re only filing the artificial product. Stop filing as soon as you get close to your natural nail plate!
Step 2: Protect Your Skin with a Moisture Barrier
Pure acetone is incredible at melting acrylic, but it is notoriously drying to your cuticles and fingertips.
Before applying any chemicals, smooth a generous layer of petroleum jelly, thick lotion, or cuticle oil around the skin surrounding your nails and down your fingertips. Avoid getting it directly on the acrylic surface, as you want the acetone to make direct contact with the nail.
Step 3: The Warm Acetone Foil-Wrap Method
The foil-wrap technique creates an airtight seal that traps heat, allowing the acetone to soften the acrylic significantly faster.
- Saturate the cotton: Soak a piece of cotton thoroughly in 100% pure acetone.
- Place and wrap: Place the soaked cotton directly over the acrylic nail, then wrap a piece of foil tightly around your fingertip to lock it in place. Fold the top edge down to prevent air from getting in.
- Repeat on all ten fingers: If doing both hands at once is tricky, do one hand at a time.
- Relax and wait (15–20 minutes): Let the acetone do the hard work.
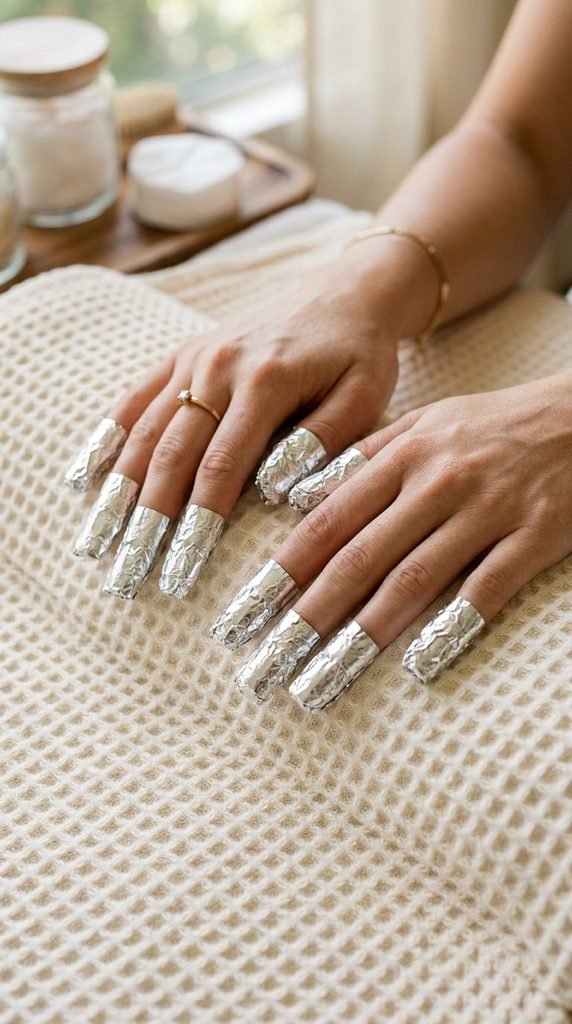
Pro Tip: Place a warm, damp towel inside a plastic ziplock bag and rest your wrapped hands on top. The gentle warmth accelerates the chemical reaction and cuts your soaking time in half.
Step 4: Gently Slide Off the Softened Acrylic
Once your timer goes off, remove the foil wraps one finger at a time.
- Twist and pull: Press down lightly on the foil and twist it off your finger.
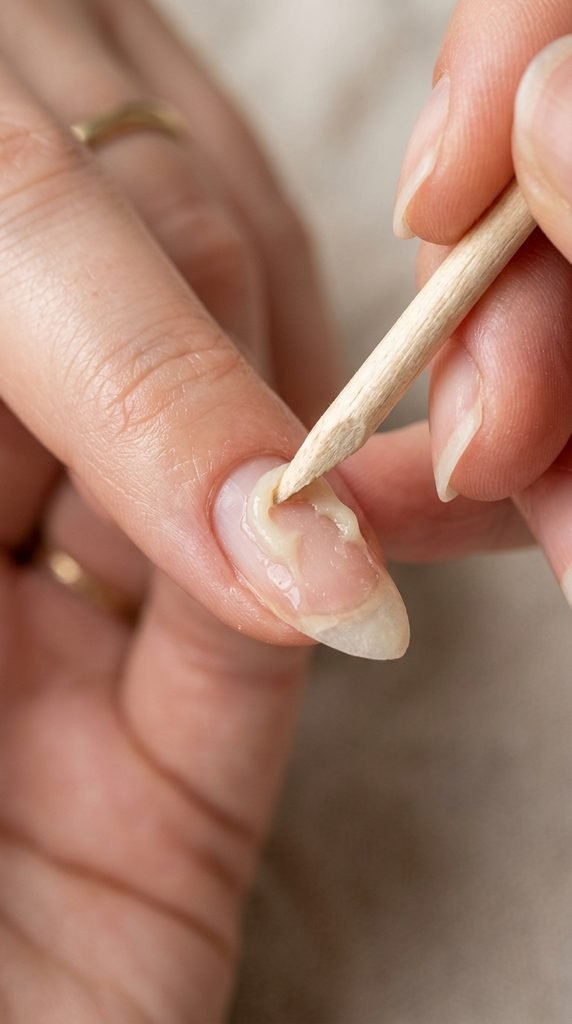
- Inspect the nail: The acrylic should look gummy, jelly-like, and flaky.
- Gently glide it away: Using the slanted edge of your wooden orange stick, gently push the melted acrylic from the cuticle toward the tip of the nail. It should slide off with zero resistance.
- Re-wrap if needed: If any stubborn patches remain glued down, never pry or scrape aggressively. Simply re-soak the cotton, wrap the foil back on, and let it sit for another 5 to 10 minutes.
Step 5: Post-Removal TLC & Nail Recovery
Congratulations—your natural nails are free! Now it’s time to restore hydration and seal in strength.
- Wash your hands: Cleanse your hands thoroughly with lukewarm water and a gentle moisturizing soap to remove all traces of acetone.
- Buff lightly: Use a super-fine buffer block (240-grit or higher) to gently smooth away any micro-residue left behind.
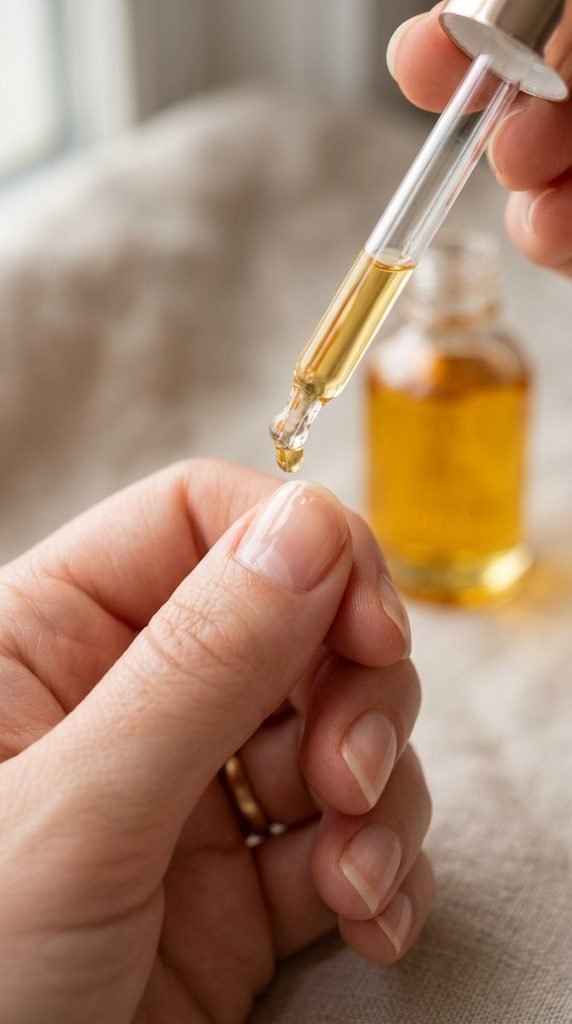
- Drench in moisture: Massage a rich cuticle oil deep into your nail beds, cuticles, and under the free edges. Follow up with a thick hand cream.
- Apply a strengthener: If your nails feel slightly flexible, finish with a coat of keratin-infused nail strengthener or peptide treatment.
Golden Rules for Damage-Free Removal
- Never use dental floss or credit cards to rip off lifted enhancements.
- Always use 100% pure acetone instead of regular nail polish remover.
- Patience is everything: If it doesn’t slide off easily, soak it longer.
- Give your nails a breather: Let your natural nails breathe for at least a week with regular oiling before applying a new set.
Ready to Reset Your Nails?
Removing acrylic nails at home doesn’t have to be a painful ordeal that ruins your natural nails. By taking your time, keeping moisture front and center, and letting the acetone do the heavy lifting, you’ll reveal smooth, intact nails ready for your next manicure look.
Love this guide? Pin this tutorial to your Pinterest Beauty Board so you have it ready for your next DIY spa day!