How to Use Nail Stamps for Star Patterns
 By VelvetNesty
If you’ve ever scrolled through Instagram wondering how people get those perfectly crisp star designs on their nails — the secret is probably a nail stamping plate. Forget freehand painting (unless you have the steady hands of a surgeon). Nail stamps give you salon-quality star patterns in minutes, and they’re shockingly easy to use once you know the technique.
Whether you’re going for a dreamy celestial vibe or bold graphic stars, this guide walks you through everything you need to nail it — pun absolutely intended.
What You’ll Need
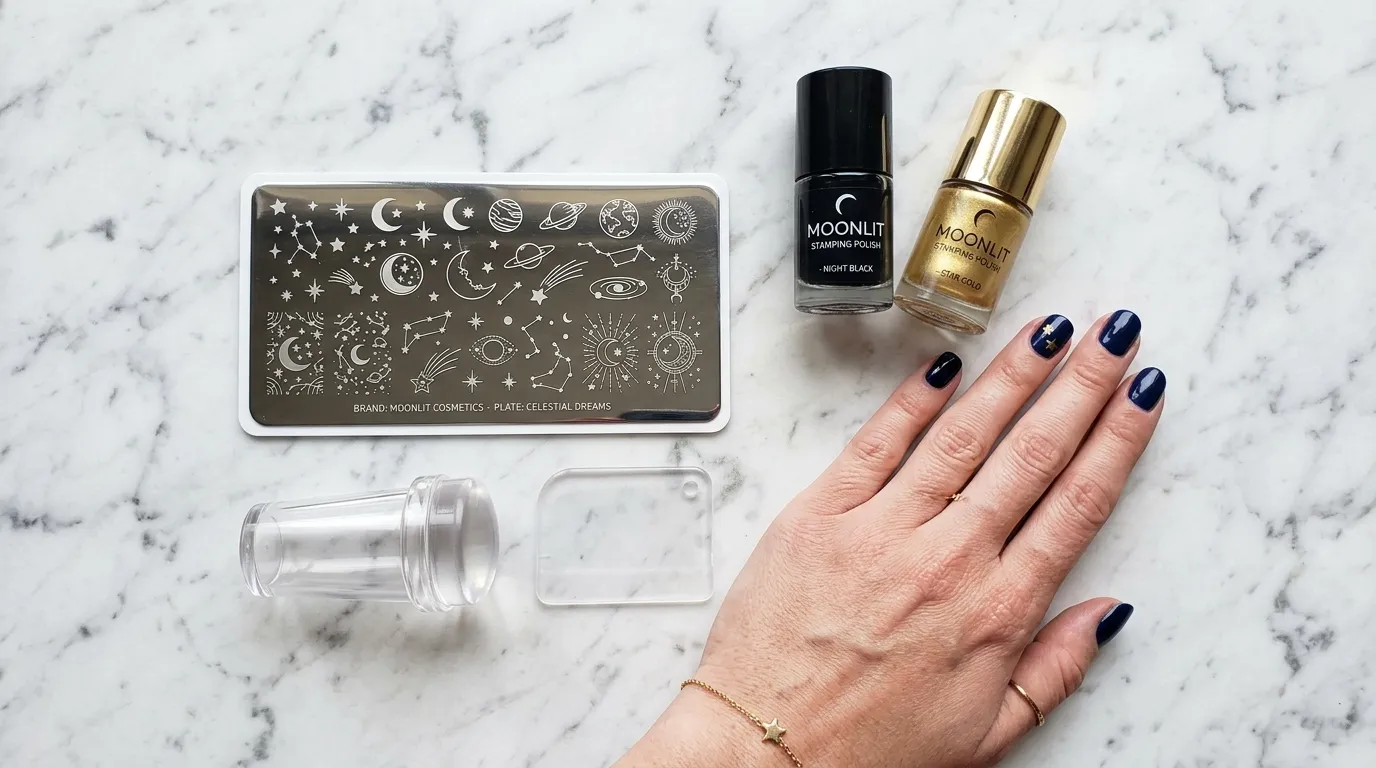
Before you dive in, gather your supplies. Having everything within reach makes the process smoother and prevents your polish from drying too fast.
- A nail stamping plate with star designs (brands like Maniology, MoYou London, and Born Pretty have gorgeous celestial plates)
- Stamping polish — this is non-negotiable. Regular polish is too thin and won’t transfer well. Stamping polish is thicker and more pigmented.
- A silicone stamper — clear stampers are a game-changer because you can see exactly where you’re placing the design
- A scraper card — usually comes with your stamper kit
- Base color nail polish — already applied and fully dry
- Top coat — to seal everything in
- A lint roller or tape — for cleaning your stamper between uses
- Pure acetone and a small brush — for cleanup around the cuticles
Pro tip: Avoid quick-dry top coats as your base layer. They can cause stamped designs to smudge. Use a regular top coat or a stamping-specific one.
Step 1: Prep Your Nails with a Base Color
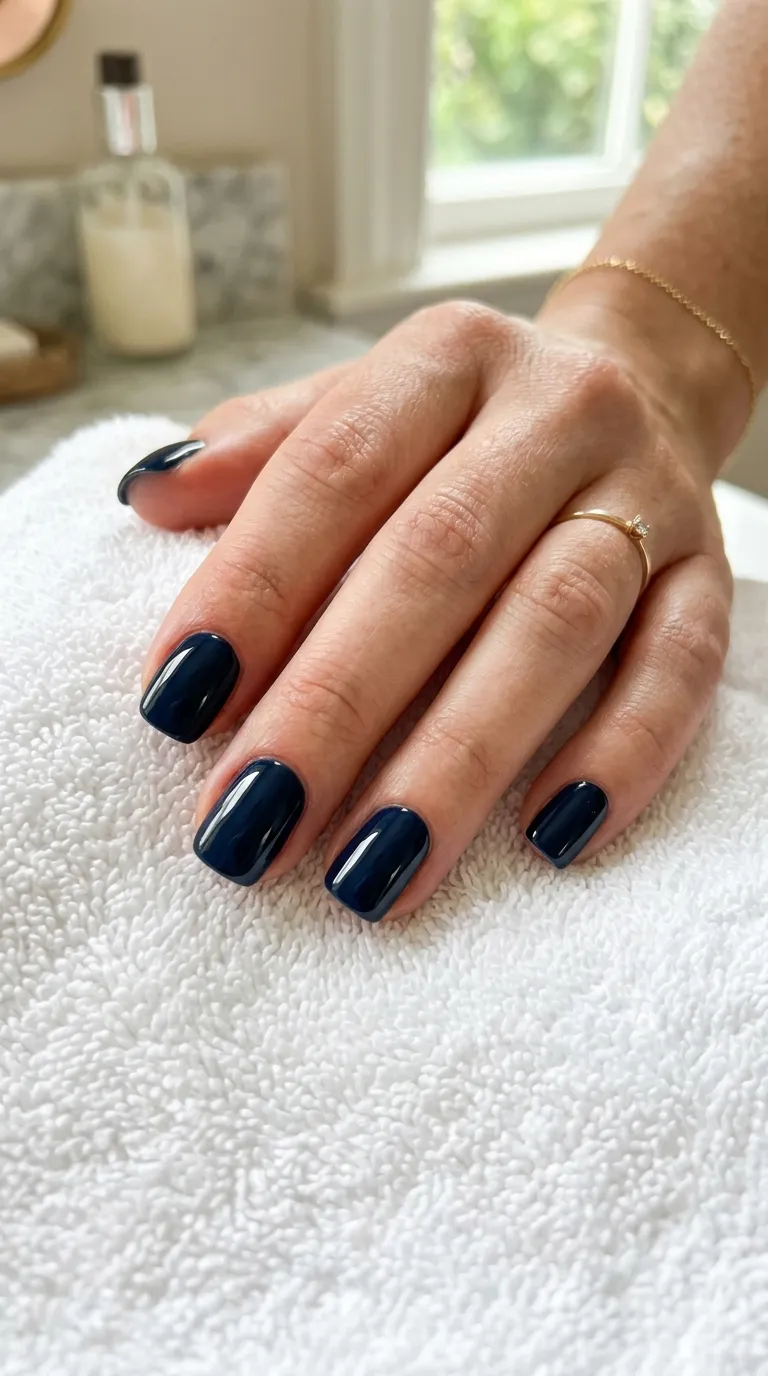
Start with clean, shaped nails. Apply your base coat, then two coats of your chosen base color. For star patterns, darker shades like navy, black, deep plum, or even a matte nude create stunning contrast.
Let your base color dry completely — at least 15 to 20 minutes, or use a UV/LED lamp if you’re working with gel polish. Stamping over tacky polish is one of the most common mistakes beginners make, and it will ruin the transfer.
Step 2: Apply Stamping Polish to the Plate
Here’s where the magic happens.
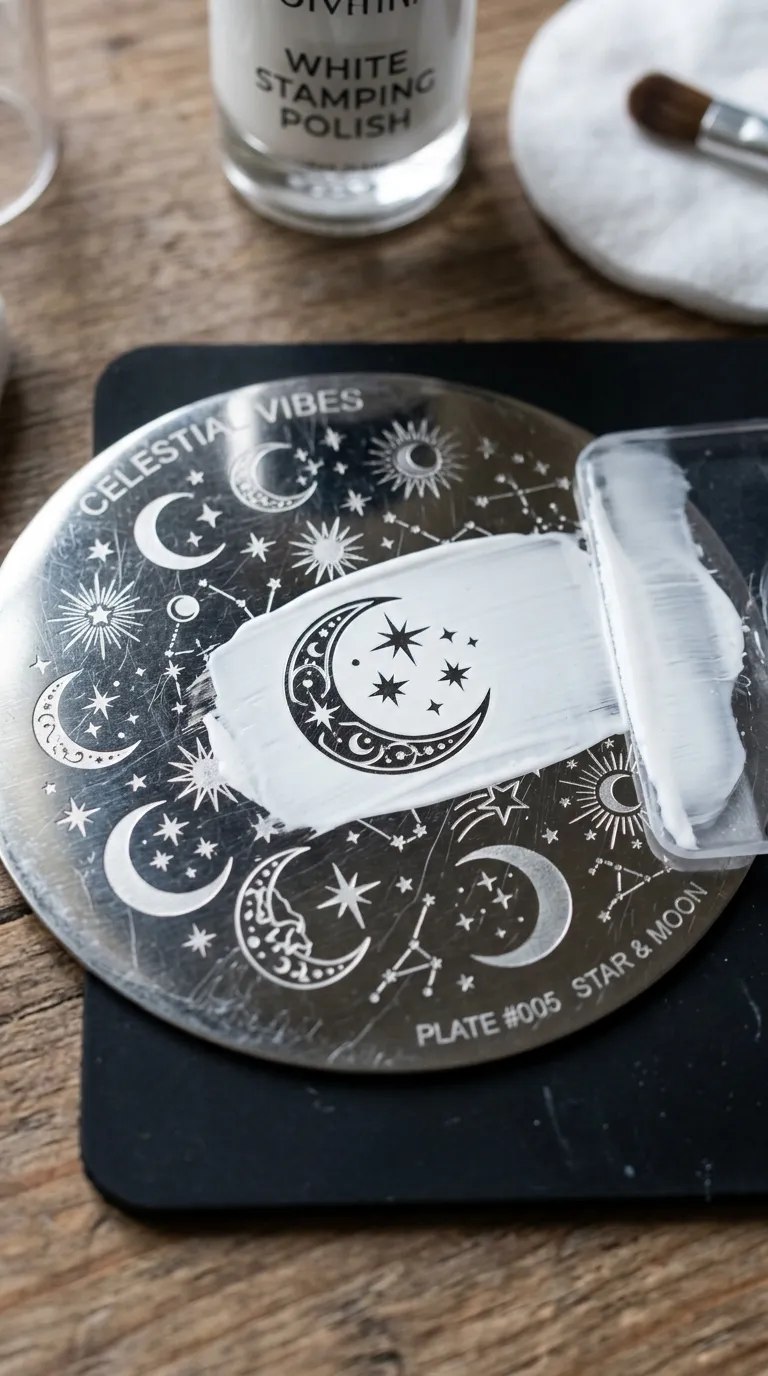
- Drop a generous line of stamping polish directly over your chosen star design on the plate. Don’t be shy — you need enough polish to fill the etched grooves.
- Scrape firmly across the plate at a 45-degree angle in one swift motion. You want to remove excess polish from the flat surface while leaving the design grooves filled.
- Work quickly — stamping polish dries fast. You have roughly 5 to 10 seconds between scraping and picking up the design.
The key is confidence. One smooth scrape, not multiple back-and-forth swipes. Multiple passes pull polish out of the grooves and give you a patchy transfer.
Step 3: Pick Up and Transfer the Design
With your stamper in hand:
- Roll the stamper over the design on the plate using gentle, even pressure. A light rolling motion works better than pressing straight down.
- Check the stamper — if you’re using a clear one, you should see the full star design picked up cleanly on the silicone head.
- Position and roll the stamper onto your nail, again using a smooth rolling motion from one side to the other.
Don’t press too hard onto the nail. Let the stamper do the work. Pressing down aggressively can distort the design or cause it to blur.
Repeat for each nail. Clean the stamper between each use with a lint roller or a quick press onto tape — this removes leftover polish without damaging the silicone.
Step 4: Clean Up and Seal the Design
Once your stars are stamped on all ten nails:
- Dip a small angled brush in pure acetone and carefully clean up any polish that transferred outside your nail onto the cuticles or skin.
- Let the stamped design sit for about two minutes so it sets slightly before applying top coat.
- Apply a generous layer of quick-dry top coat to seal everything in. Use gentle, floating brush strokes — don’t drag the brush over the stamped design, or you’ll smear it.
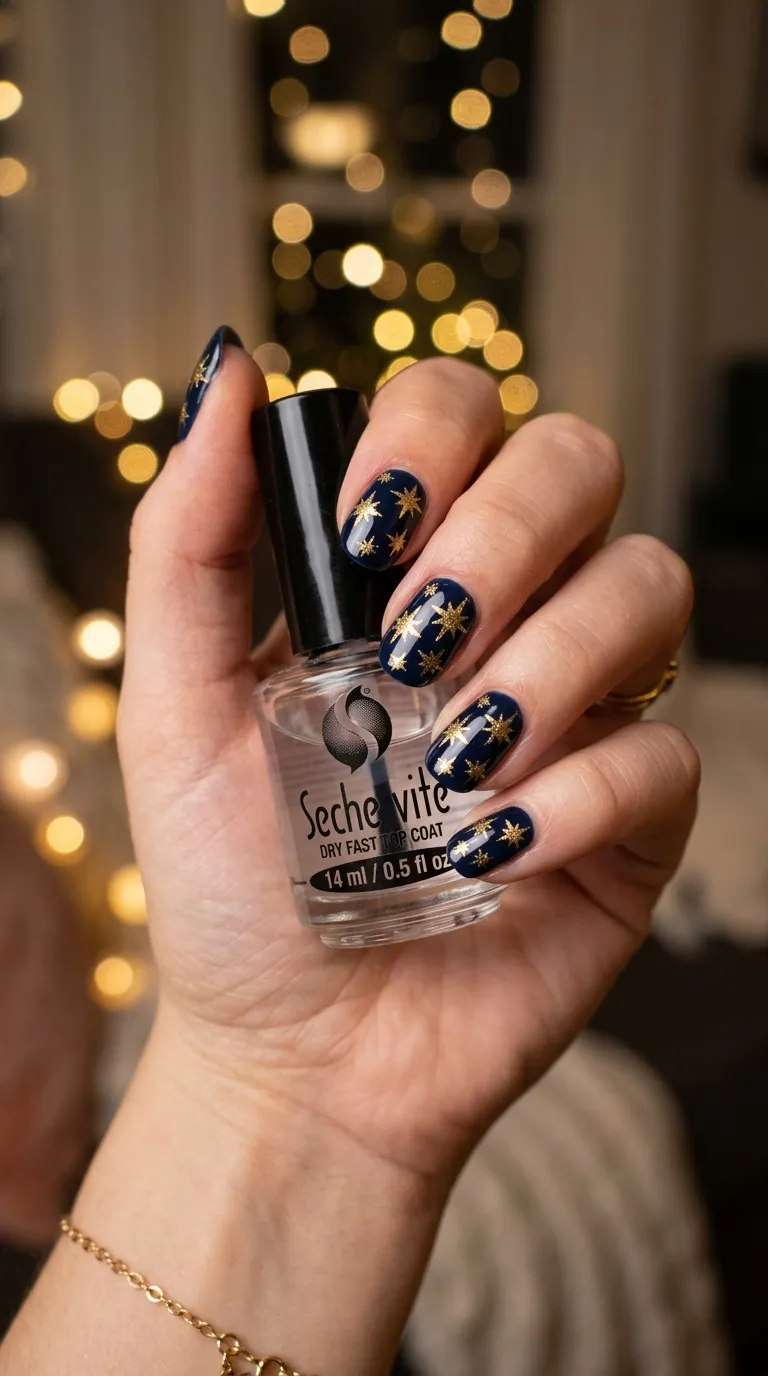
Tips for Flawless Star Stamps Every Time
Even with practice, little things can make a big difference. Keep these in mind:
- Temperature matters. If your room is too cold, stamping polish dries slower and can get gloopy. If it’s too warm, it dries before you can transfer. Room temperature (around 68–72°F) is ideal.
- Replace your stamper head if it becomes too smooth or stops picking up designs well. Lightly buffing it with a fine file can sometimes restore grip.
- Layer different sizes. Stamp larger stars first, then go back with a second pass of smaller stars for a scattered, celestial look.
- Mix metallics. Try gold stars on one hand and silver on the other, or layer both on the same nail for dimension.
- Practice on a silicone mat or plastic bag before going straight onto your nails. It helps you get the pressure and speed right without wasting polish.

Final Thoughts
Nail stamping is one of those skills that feels intimidating the first time but becomes second nature after a few tries. Star patterns are especially forgiving because a slightly imperfect star still looks intentional and artistic — like a tiny constellation on your fingertips.
Once you get the hang of it, you’ll start experimenting with layering designs, mixing plate patterns, and combining stamps with hand-painted accents.
Save this guide for your next mani night 💅 and tag your star nail creations — we’d love to see them!