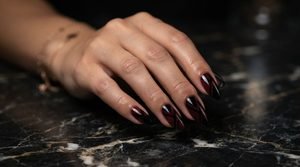
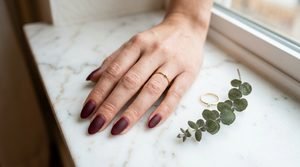
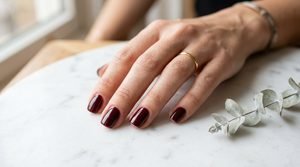
23 Gorgeous Burgundy Nail Art for Fall That Look Expensive
 By VelvetNesty
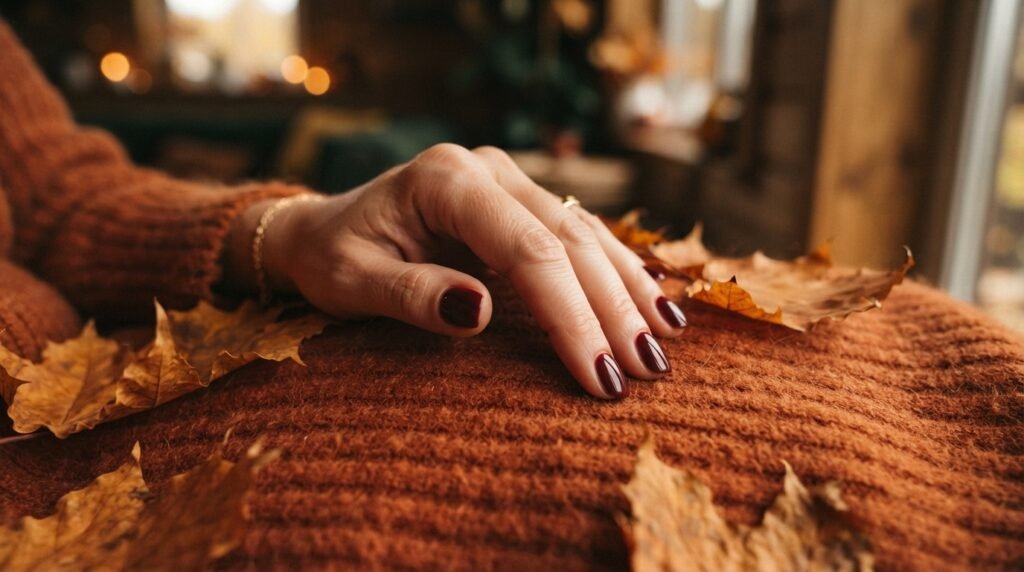
Burgundy nails and fall go together like pumpkin spice and cozy sweaters. There’s something about that deep, wine-stained shade that instantly makes your hands look polished and put-together — even if you did them yourself on the couch. Whether you’re into simple one-color manicures or want to try something a little more artistic, burgundy is the shade that does it all without trying too hard. It works on short nails, long nails, almond shapes, and coffin tips alike. And the best part? Most of these looks cost almost nothing to recreate at home with a few affordable polishes and basic tools. This roundup covers 23 stunning burgundy nail art ideas that look like you walked out of a high-end salon — but won’t drain your wallet. Grab your base coat and let’s get into it.
1. Classic Glossy Burgundy
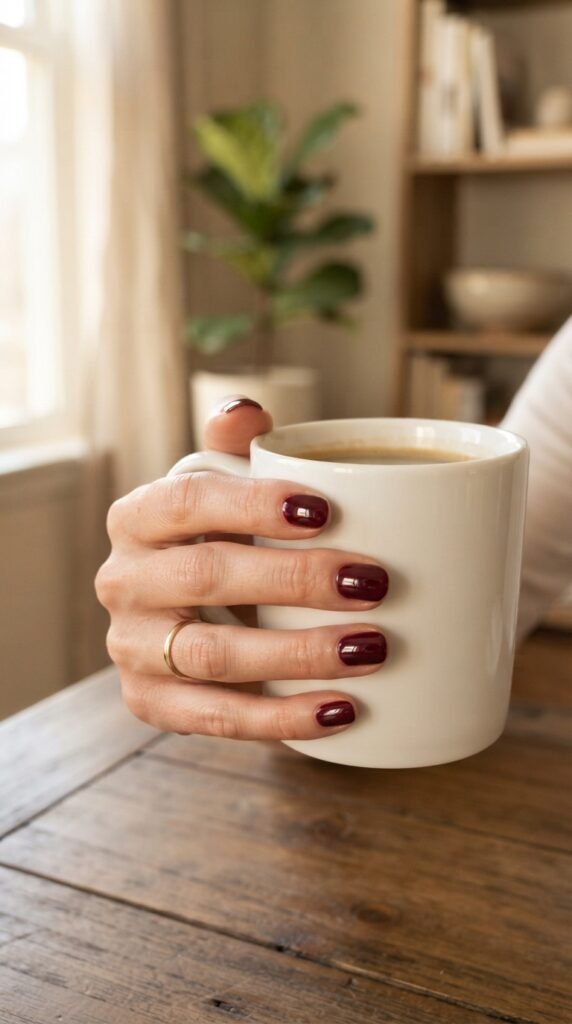
Sometimes the simplest look hits the hardest.
A single coat of deep, glossy burgundy on clean nails is all you need to look expensive.
Pick a gel-effect polish from brands like Essie or Sally Hansen — they run about $8 and dry with a salon-quality shine.
The trick is in the prep.
File your nails into a soft oval or rounded square shape first.
Push your cuticles back gently with an orange stick.
Apply a thin base coat, then two thin layers of burgundy.
Let each coat dry for at least two minutes before the next.
Finish with a glossy top coat — that’s where the magic happens.
Budget tip: Dollar store top coats actually work well for added shine.
Just make sure you cap the free edge of your nail (paint across the tip) to prevent chipping.
This look pairs with literally everything.
Work meetings, date nights, grocery runs — it doesn’t matter.
Glossy burgundy is the little black dress of nail polish.
You’ll get compliments, and nobody needs to know it took you ten minutes at home.
2. Matte Burgundy Finish
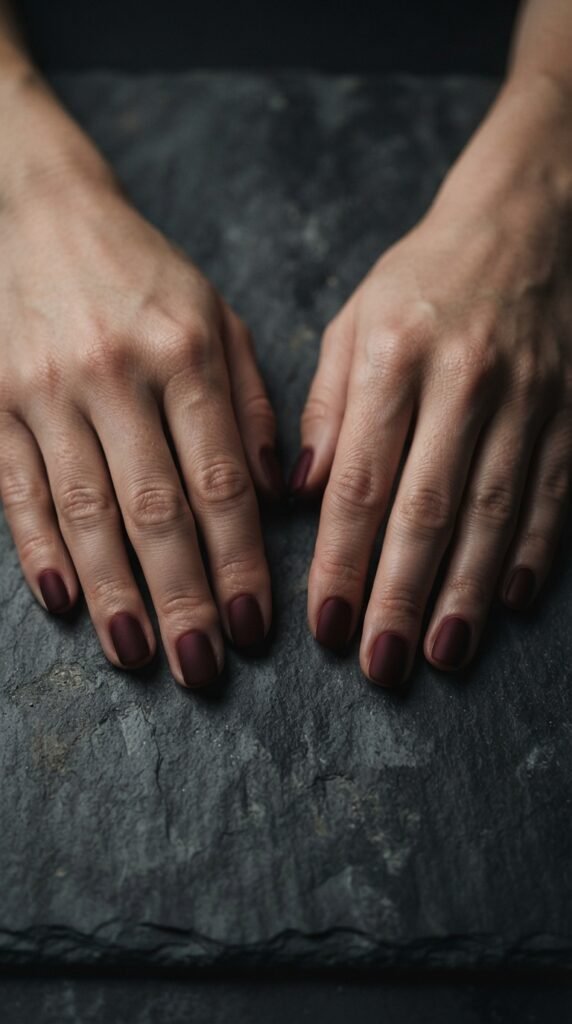
Matte burgundy looks like velvet on your fingertips.
It’s the same color but with a completely different vibe — more moody, more editorial, more “I know what I’m doing.”
You don’t need a special matte polish to pull this off.
Just paint your nails with any burgundy shade you love, then finish with a matte top coat.
OPI and Essie both sell matte toppers for under $10.
The matte finish hides small imperfections, too.
So if your application isn’t perfectly smooth, nobody will notice.
Keep your nails on the shorter side for this look.
Short to medium length with a square or squoval shape gives it that clean, modern edge.
DIY hack: If you don’t have a matte top coat, lightly steam your freshly painted nails over a pot of boiling water for a few seconds.
It dulls the shine just enough.
Be careful not to burn yourself, though.
Matte burgundy screams fall sophistication without any fuss.
Throw on a chunky knit sweater and gold hoop earrings, and you’ve got an entire mood.
3. Burgundy French Tips
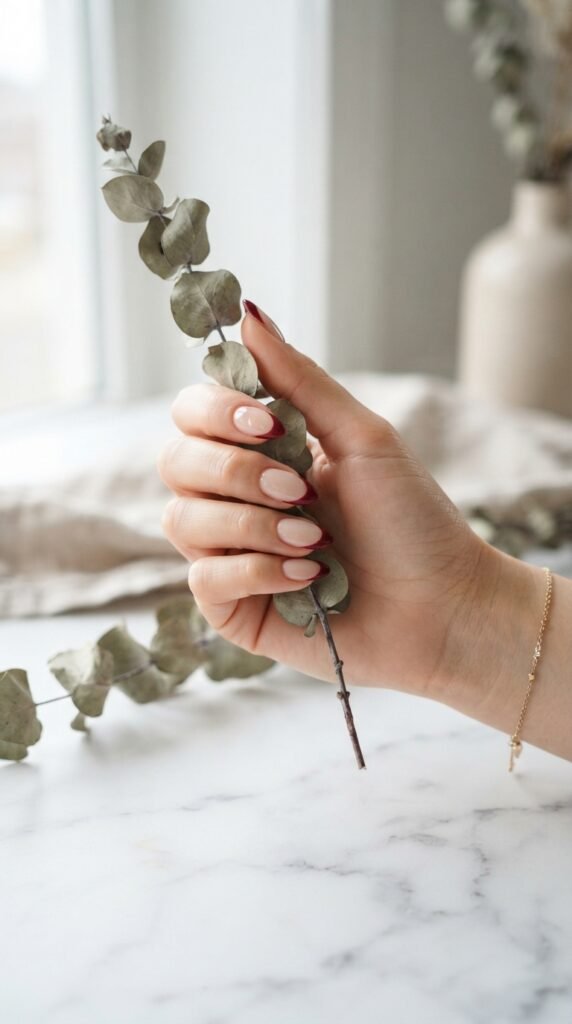
French tips don’t have to be white.
Swap in a rich burgundy on the tips, and suddenly you’ve got a fall-ready manicure that feels both classic and modern.
Start with a sheer nude or pale pink base.
Let it dry completely.
Then use a thin nail art brush or striping tape to paint clean burgundy tips.
If freehand lines stress you out, grab some French tip guide stickers.
They come in packs of 50+ for about $2 on Amazon.
Stick them on, paint the tip, peel off, done.
The width of the tip is up to you.
A thin, delicate line looks dainty and refined.
A thicker tip feels bolder and more graphic.
Pro move: Try a micro-French with just a sliver of burgundy at the very edge.
It’s subtle, chic, and looks incredibly expensive for zero effort.
This style works on all nail lengths but looks especially gorgeous on medium almond or oval shapes.
Pair it with a clear glossy top coat to lock everything in and add that glass-like finish.
4. Burgundy and Gold Foil Accents
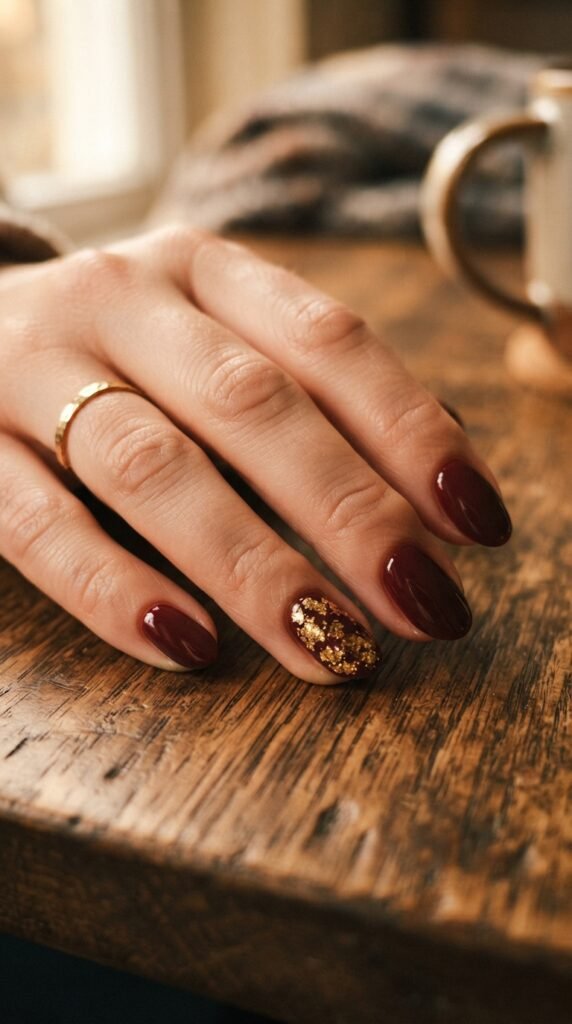
Gold foil over burgundy is the fastest way to make a home manicure look like it cost $80.
The contrast between deep wine tones and metallic gold is stunning.
Paint all your nails in your favorite burgundy.
While the polish on your accent nails is still tacky (not fully dry), press small pieces of gold leaf foil onto the surface.
Use a silicone tool or your fingertip to press it down gently.
You can find gold foil sheets at craft stores or online for about $3-5 for a whole pack.
A little goes a long way — you only need tiny, irregular fragments.
Don’t try to cover the whole nail.
The beauty is in the randomness.
A few scattered pieces of gold catching the light is all you need.
Seal everything with a thick top coat so the foil doesn’t lift.
Budget tip: Use the gold foil from chocolate wrappers in a pinch.
Smooth it out, tear off small bits, and press them on.
It actually works.
This look screams holiday party without being over the top.
5. Burgundy Ombré Nails
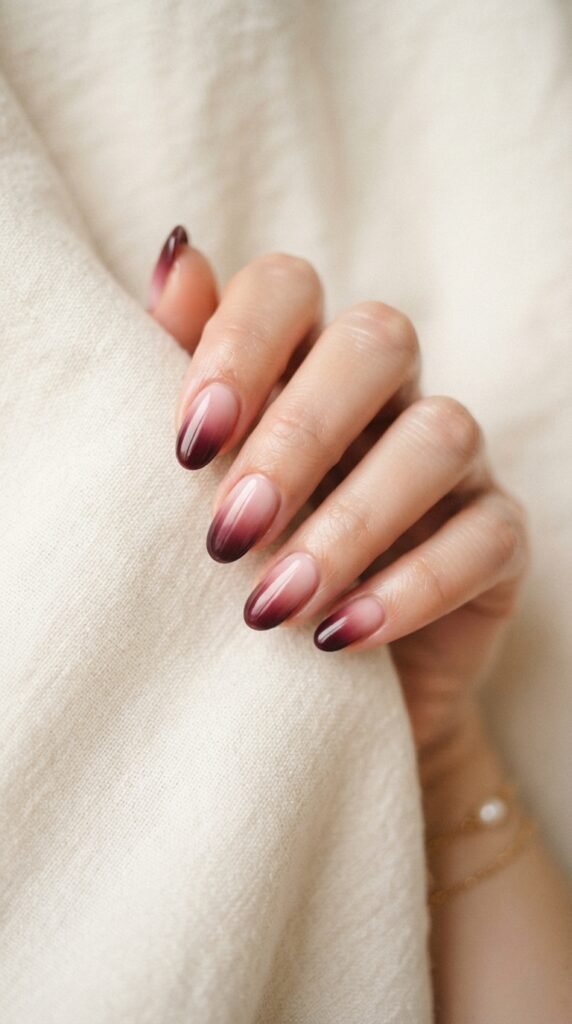
Ombré nails look wildly impressive, but they’re surprisingly doable at home with a makeup sponge.
The burgundy-to-pink fade is a gorgeous fall gradient.
Start by painting your nails with a light pink or nude base.
Let it dry.
Then paint stripes of your burgundy and pink polish side by side on a small cosmetic sponge.
Dab the sponge onto your nail in a bouncing motion.
Repeat two or three times for intensity.
The sponge blends the colors where they meet, creating that seamless fade.
It’s messy — your cuticles will be a disaster — but that’s what cleanup brushes dipped in acetone are for.
Budget tool: Cut up an old makeup sponge instead of buying nail-specific ones.
Works the same way.
Keep the gradient consistent across all ten nails.
Burgundy heavy at the tips, lighter at the base.
Finish with a glossy top coat to smooth out any sponge texture.
This look gets so many compliments because it looks like it requires serious skill.
Your secret? A $1 sponge and ten minutes of patience.
6. Burgundy with Thin Gold Stripes
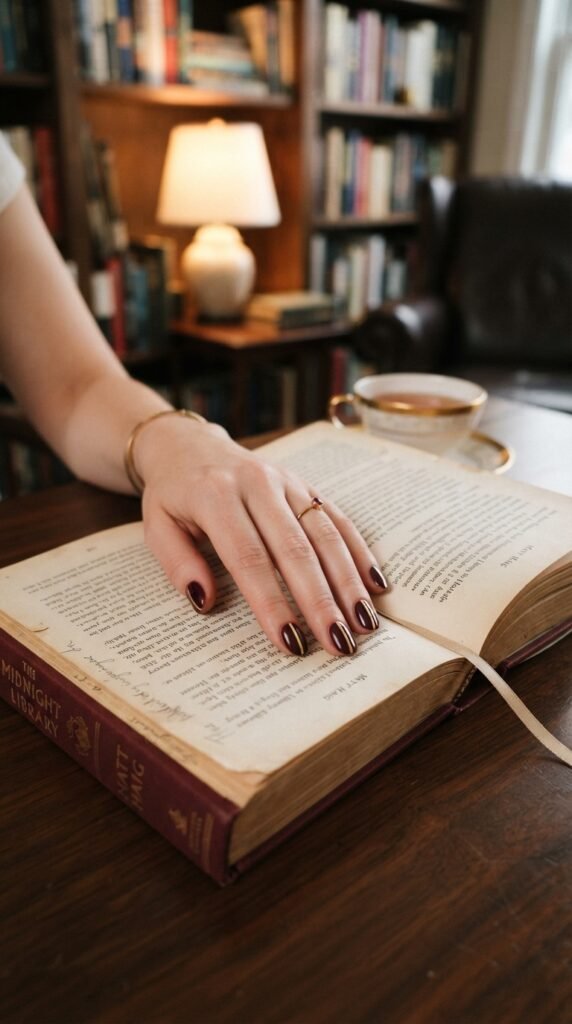
One thin gold line down the center of a burgundy nail — that’s it.
That’s the whole look.
And it’s absolutely stunning.
Paint your nails burgundy and let them dry completely.
Then use a gold striping tape (less than $2 for a roll) and lay a single strip down the middle of each nail.
Press it down firmly, then seal with top coat.
If you prefer painting freehand, use a very thin nail art brush dipped in gold polish.
Steady your painting hand by resting your pinky on the table.
One slow, confident stroke from cuticle to tip.
Simple rule: The thinner the line, the more expensive it looks.
Thick lines can look crafty.
Thin lines look designer.
You can also try placing the gold stripe off-center for an asymmetric, editorial feel.
Or do two parallel lines on just one accent nail.
This is a perfect “quiet luxury” manicure.
It says you care about details without shouting for attention.
Five extra minutes of effort for a look that punches way above its weight.
7. Burgundy Marble Effect
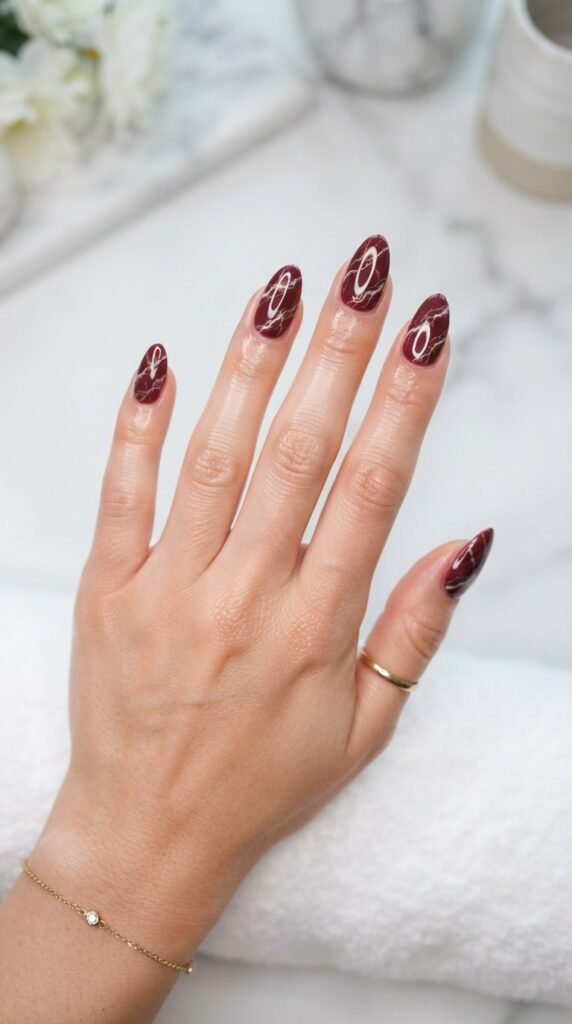
Marble nails look like they belong in a salon portfolio, but you can fake this at home with plastic wrap.
Paint your nails burgundy.
While the polish is still wet, scrunch up a small piece of cling wrap and press it onto the nail, then lift.
The plastic creates random, organic veining patterns that mimic marble.
For white veins, dab a tiny bit of white polish onto the cling wrap before pressing.
For gold veins, use a thin brush and lightly drag gold polish across the surface in wavy, irregular lines.
Don’t overthink the pattern.
Real marble is random and imperfect, so your nails should be too.
Cost breakdown: Burgundy polish ($5), white polish ($3), cling wrap (you already have it).
Total investment: about $8 for a look that genuinely appears custom.
Seal with two coats of glossy top coat.
The extra layer smooths out any texture and gives that glassy, polished-stone look.
Marble nails work best on longer nail shapes — almond and coffin are ideal.
But even on shorter nails, the effect is eye-catching and conversation-starting.
8. Half-Moon Burgundy Manicure
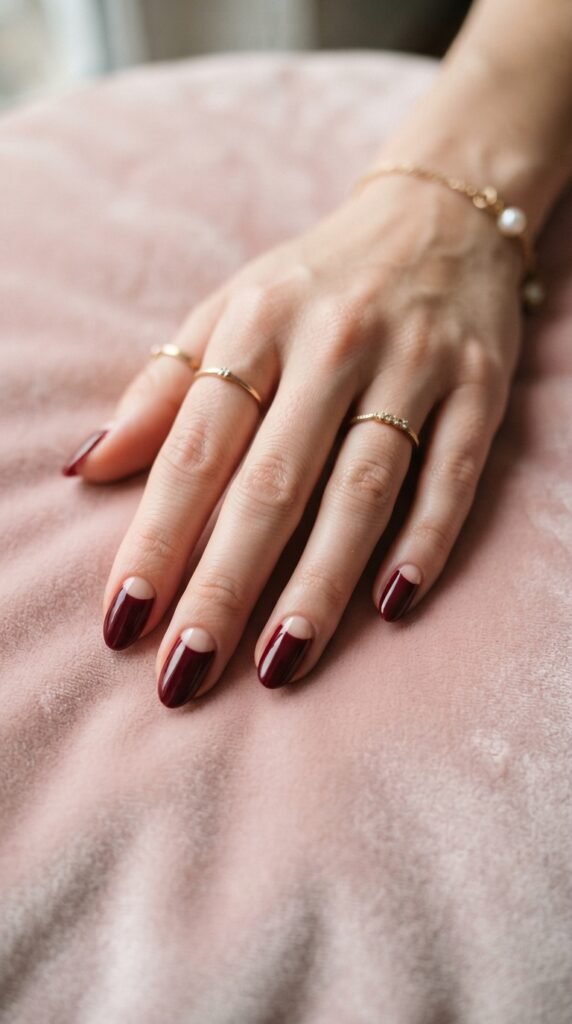
The half-moon manicure is a vintage look that keeps coming back — and burgundy makes it feel right at home in fall.
The idea is simple: leave a small crescent shape at the base of your nail bare or painted in a contrasting shade, then fill the rest with burgundy.
Use reinforcement stickers (the little round ones for binder paper holes) as guides.
Place them at the base of your nail, paint burgundy over everything above, and peel the sticker off before it dries.
Instant clean half-moon.
A pack of reinforcement stickers costs about $1 and gives you enough for dozens of manicures.
For a modern twist, try a nude or blush half-moon with burgundy on top.
For something bolder, go gold or black at the base.
Tip for clean lines: Make sure your base color is fully dry before applying the sticker.
Otherwise you’ll pull up polish when you remove it.
This design looks deliberate and polished.
It’s got a 1920s glamour vibe that feels timeless.
Short or medium-length nails in a rounded shape really make this pop.
9. Burgundy Glitter Gradient
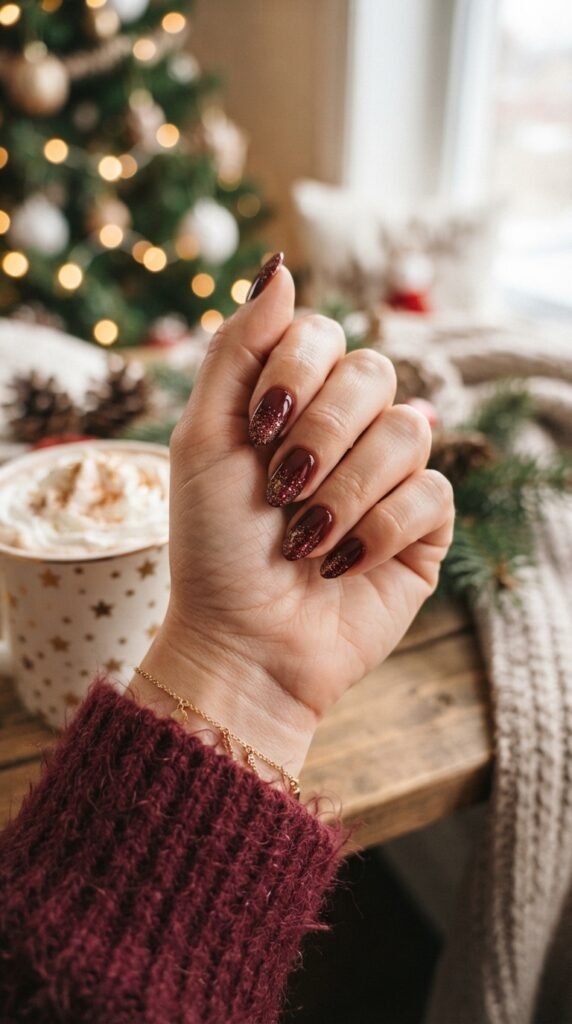
Glitter from the tips fading down — it’s a party on your nails without going full disco ball.
Start with a solid burgundy base on all nails.
Let it dry.
Then take a fine burgundy or rose gold glitter polish and apply it heavily at the tips.
Use a second stroke a little further back, and a third even further, using less polish each time.
The result is a concentrated sparkle at the tips that gradually fades to solid color at the base.
It’s controlled, intentional, and gorgeous.
Budget find: LA Colors and Sinful Colors both make glitter polishes for $2 or less.
A burgundy glitter over a matching burgundy base creates a tonal, monochromatic sparkle that looks refined rather than costume-y.
If loose glitter is more your style, sprinkle cosmetic-grade glitter over wet top coat at the tips.
Press gently with your finger, let dry, then seal with another layer of top coat.
This is a fantastic option for holiday parties, Thanksgiving dinners, or any time you want a little extra shimmer without committing to full glitter nails.
10. Burgundy and Black Color Block
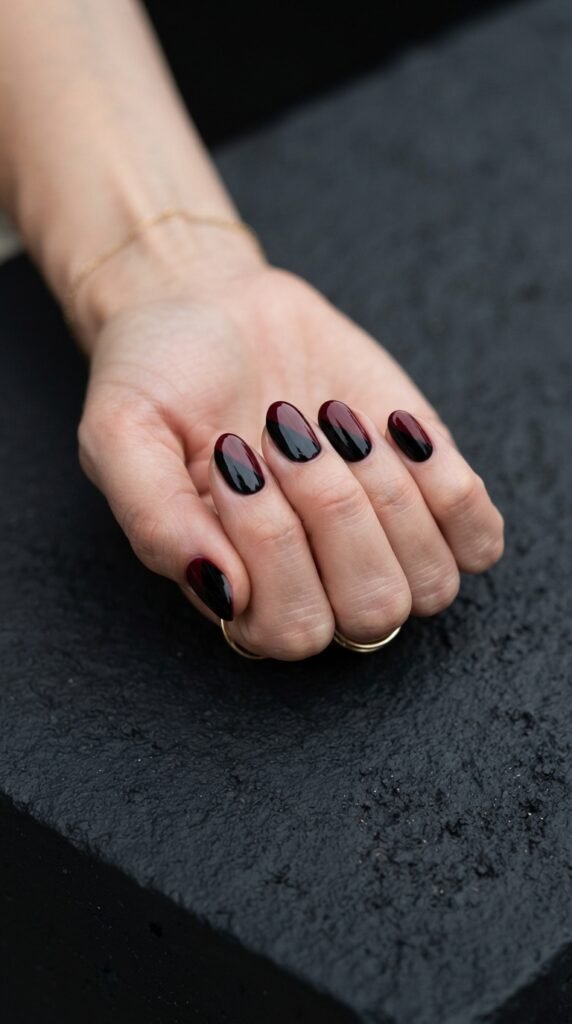
Color blocking is bold, graphic, and surprisingly easy to tape off at home.
Pick your split — diagonal, vertical, or horizontal.
Diagonal looks the most dynamic.
Lay a piece of striping tape or thin painter’s tape across your nail at an angle.
Paint one side burgundy, let it dry, then flip the tape direction and paint the other side black.
The key is patience between coats.
Rush it, and you’ll smudge.
Wait a full five minutes between colors.
Clean edge trick: Pull the tape off while the top color is still slightly wet.
This gives you a crisper line than waiting until it’s fully dry.
Burgundy and black together feel powerful and edgy.
It’s a color combo that works for both office settings and weekend outings.
You can alternate the pattern — some nails diagonal one way, others the opposite — for a more artistic look.
Or keep them all the same for uniformity.
This manicure looks like it took real planning.
The secret? Two polishes and a strip of tape.
Total cost: under $10.
11. Burgundy Velvet Nails
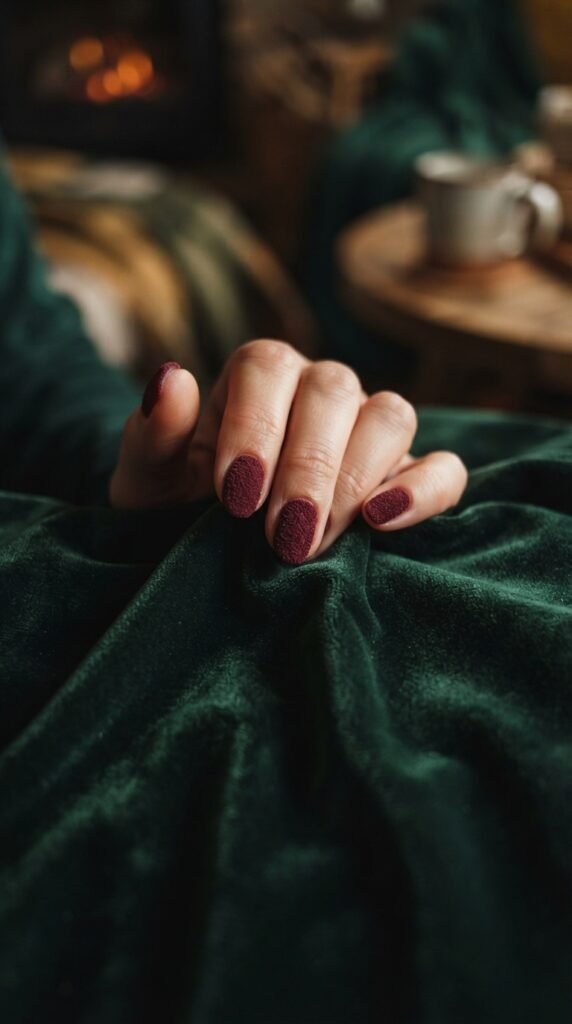
Velvet nails feel like something out of a fashion editorial, and the texture is so fun to touch.
The process is simple.
Paint your nails with burgundy gel or regular polish.
While the polish is still wet, use a fluffy eyeshadow brush to dust burgundy flocking powder (or crushed velvet powder) directly onto the wet surface.
Press lightly with a clean finger to set it.
Flocking powder is available online for about $4-6 a jar, and one jar lasts forever.
Shortcut: If you don’t have flocking powder, finely crushed burgundy eyeshadow works in a pinch.
The effect isn’t as dramatic, but it still gives a soft, matte-velvet texture.
These nails don’t last as long as regular polish since the texture wears off with washing.
Consider this a special-occasion look — perfect for a fall dinner party or weekend event.
Skip the top coat on this one.
The top coat would flatten the velvet texture and defeat the purpose.
Velvet burgundy nails are a showstopper.
People will literally want to touch your hands.
That’s how you know a manicure is working.
12. Burgundy with Dried Flower Accents
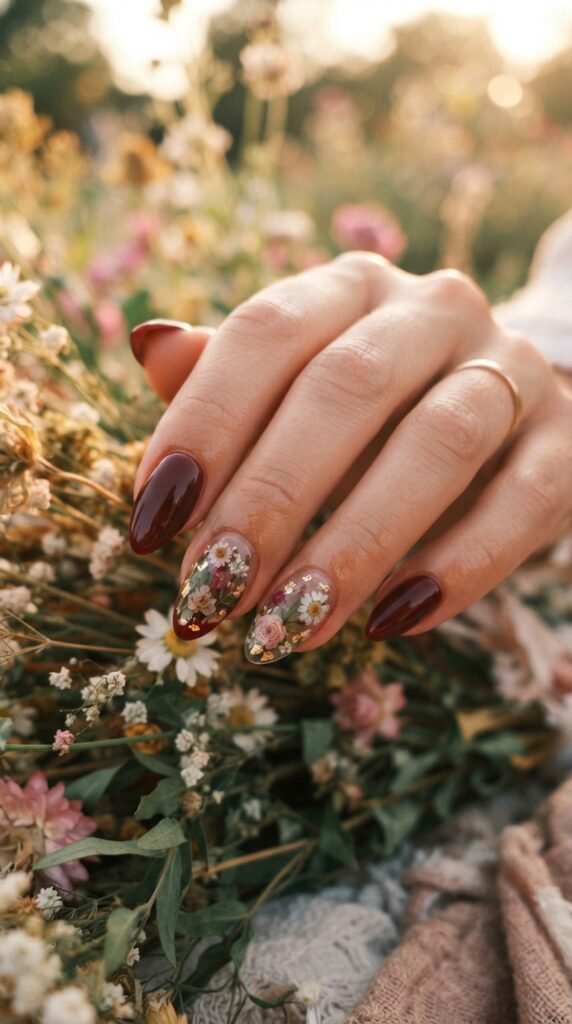
Tiny dried flowers pressed into your nails — it sounds fancy, but it’s one of the easiest accent nail techniques out there.
Paint your nails burgundy.
On your accent nails, apply a thick, clear top coat while it’s still wet.
Use tweezers to place tiny pressed flowers onto the surface.
Gently press them down and let it set.
Once dry, seal with one or two more layers of top coat to smooth everything over.
Dried flower nail packs are all over Amazon and Shein for $2-4.
They come in assorted colors, and you only need a few per manicure.
Best pairings with burgundy: Pale pink flowers, white baby’s breath, tiny yellow buds, or lavender petals.
The contrast against the dark burgundy background makes the flowers pop.
Keep the flowers small.
Oversized pieces lift off easily and don’t sit flat.
This look is perfect for fall weddings, engagement photos, or just feeling like a romantic heroine picking wildflowers in a field.
It’s feminine, delicate, and gets an absurd amount of attention for how little effort it takes.
13. Burgundy and Nude Negative Space
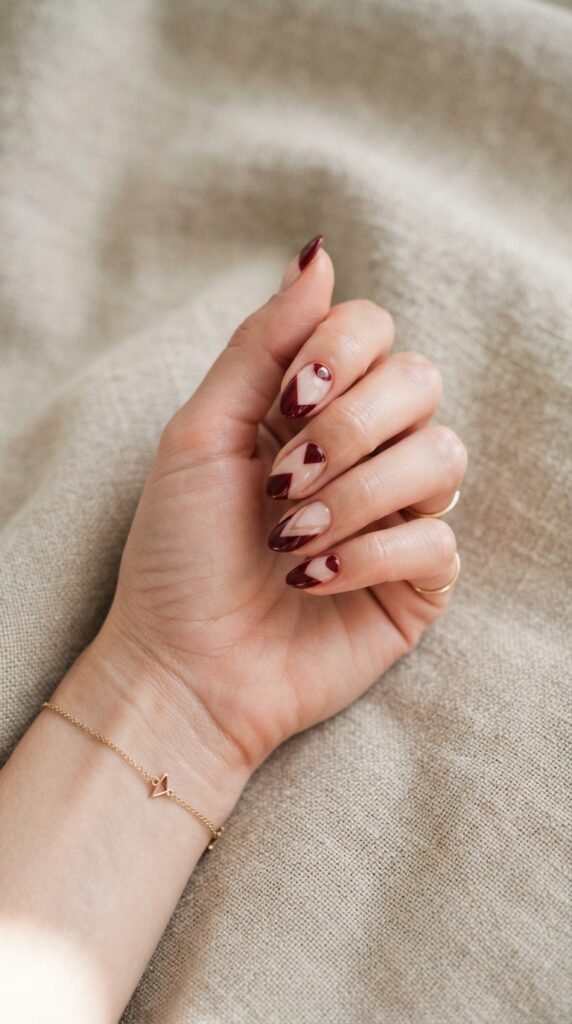
Negative space nail art uses your bare nail as part of the design — and it looks wildly expensive.
The concept: leave parts of your nail unpainted and fill in geometric shapes with burgundy.
Think triangles at the cuticle, diagonal halves, or thin stripes with bare gaps between them.
Use striping tape to section off the areas you want to leave bare.
Paint burgundy over the exposed sections.
Peel the tape, and you’ve got clean lines with natural nail peeking through.
Clean nail prep is key here.
Since part of your natural nail is showing, make sure it’s buffed, smooth, and free of ridges.
A coat of clear strengthener on the bare sections helps them look polished.
This style works best on shorter to medium-length nails.
The contrast of skin-toned bare nail against deep burgundy is striking and modern.
Cost: Striping tape ($2), burgundy polish ($5), and a clear base coat ($3).
That’s a designer-looking manicure for $10.
Negative space designs photograph beautifully, too.
If you’re into posting nail art or just want something that looks incredible in selfies, this is your style.
14. Burgundy Tortoiseshell Nails
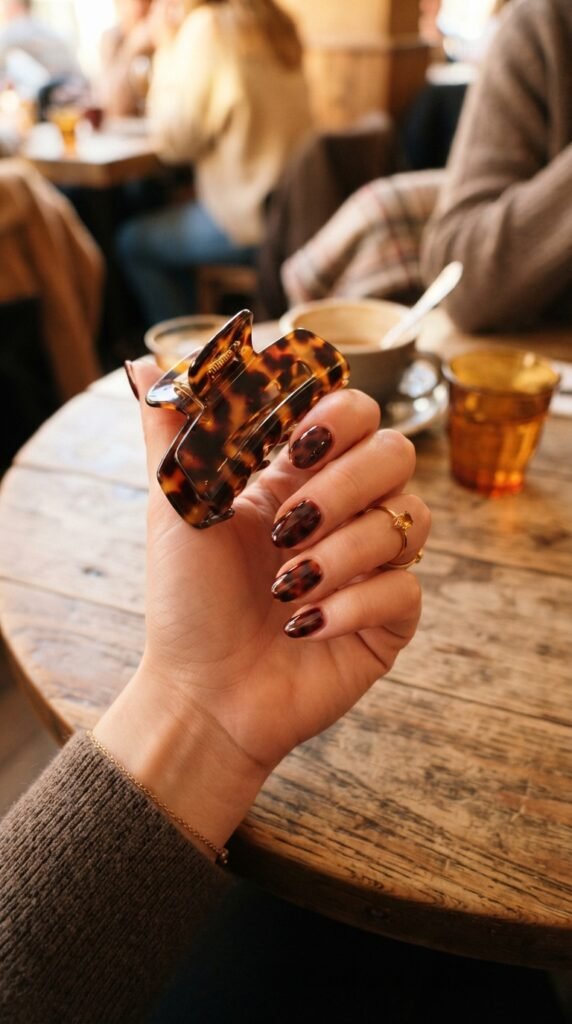
Tortoiseshell nails had a huge moment, and burgundy gives the trend a richer, fall-appropriate twist.
Start with a sheer nude or golden base.
Let it dry.
Then, using a thin brush, drop small, irregular spots of burgundy, amber-brown, and dark brown polish onto the nail.
While the spots are still wet, gently swirl them together with the brush tip or a toothpick.
Don’t over-mix.
The beauty of tortoiseshell is the variation — some areas dark, some light, some amber, all melting together.
Finish with a glossy top coat.
The glossiness is what makes tortoiseshell nails look like actual polished shell.
Without it, the effect falls flat.
Color combo: Use three polishes — burgundy, a warm caramel brown, and a very dark brown or black.
Layering these in random patches creates that authentic tortoiseshell depth.
Budget tip: If you only have burgundy, mix it with a tiny dot of yellow polish to create your amber shade.
This look works on any nail length but really shines on medium to long nails where the pattern has room to breathe.
It’s artsy, seasonal, and always gets second glances.
15. Burgundy Chrome Nails
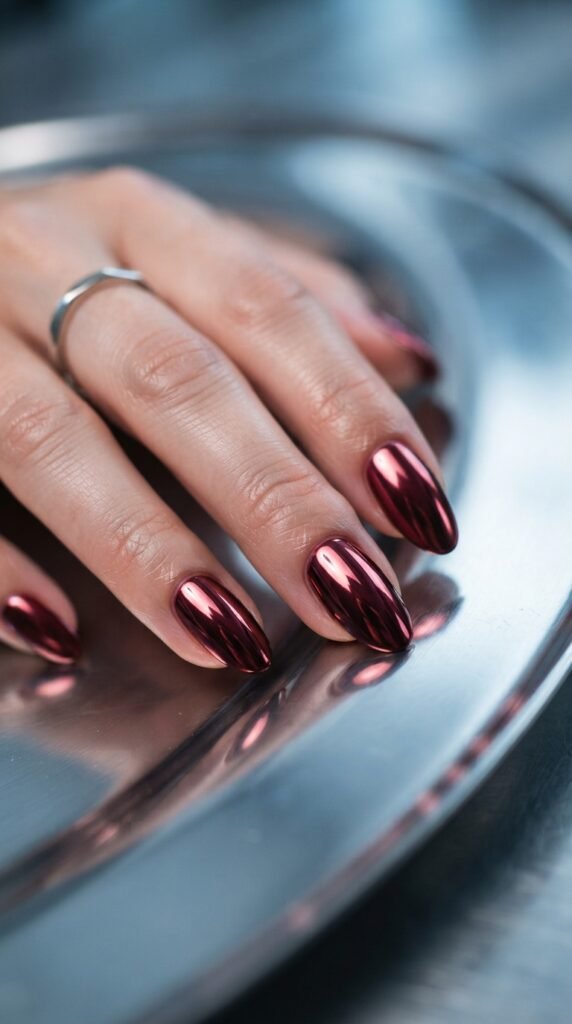
Chrome nails have that “I just stepped off a runway” energy, and burgundy chrome is next-level gorgeous.
For a true mirror-chrome finish, you’ll need a chrome powder and a gel base.
Apply burgundy gel polish, cure it, then rub chrome powder over the surface with a silicone tool or eyeshadow applicator.
The powder bonds to the gel and creates that liquid-metal reflection.
No gel lamp? No problem.
Several brands now make chrome-effect regular polishes.
Sally Hansen Chrome and Essie’s metallic range both offer deep wine-toned chromes for under $10.
The chrome effect looks best on smooth, well-prepped nails.
Buff out any ridges before you start.
Application tip: Use a ridge-filling base coat first.
It creates a flawlessly smooth surface for the chrome to reflect off of.
Keep these nails simple — no extra art, no glitter.
The chrome finish is the statement.
Anything else would compete.
Burgundy chrome nails are perfect for holiday events, New Year’s, or any night you want your hands to steal the show.
They catch light from every angle and look like liquid wine.
16. Burgundy Plaid Pattern
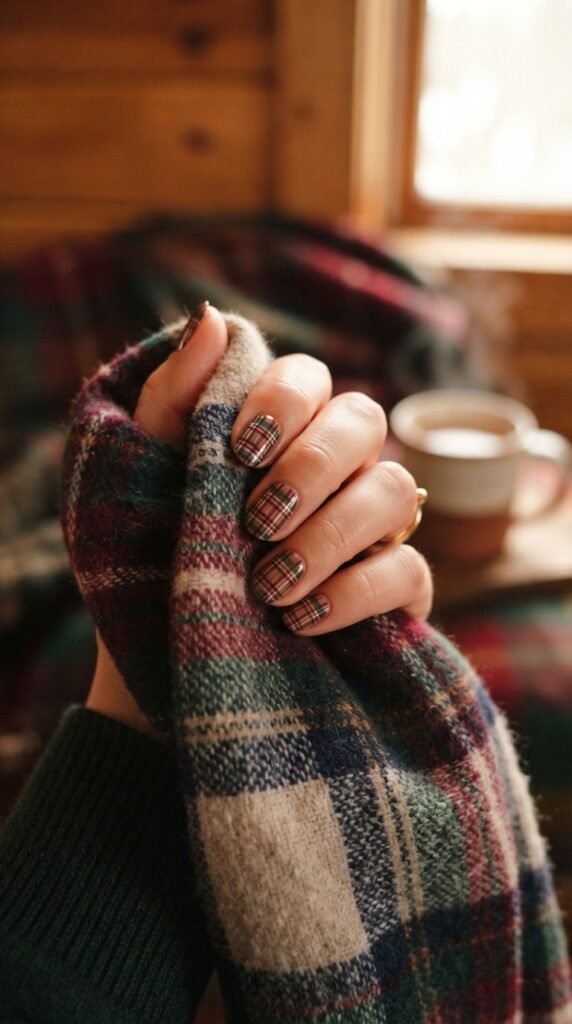
Plaid nails for fall? Absolutely.
Burgundy plaid feels like a flannel shirt for your fingertips.
This one takes a little patience, but the tools are cheap.
Paint your nails in a cream or tan base color.
Let it dry fully.
Then use a thin nail art brush to paint horizontal and vertical lines in burgundy.
Add a second set of thinner lines in forest green or dark navy.
The grid doesn’t have to be perfect.
Slightly imperfect lines actually look more authentic — real plaid fabric isn’t laser-straight either.
Easiest method: Use striping tape as a guide.
Lay strips in a grid pattern, paint between them, and peel.
Clean plaid in minutes.
Thin nail art brushes cost about $3-5 for a full set online.
They’re reusable and work for dozens of different designs.
You can do plaid on all ten nails or keep it to just one or two accent nails with the rest in solid burgundy.
The accent approach is faster and still gets the point across.
This pattern is pure fall comfort and looks amazing in photos next to a pumpkin spice latte.
17. Burgundy Swirl Abstract Art
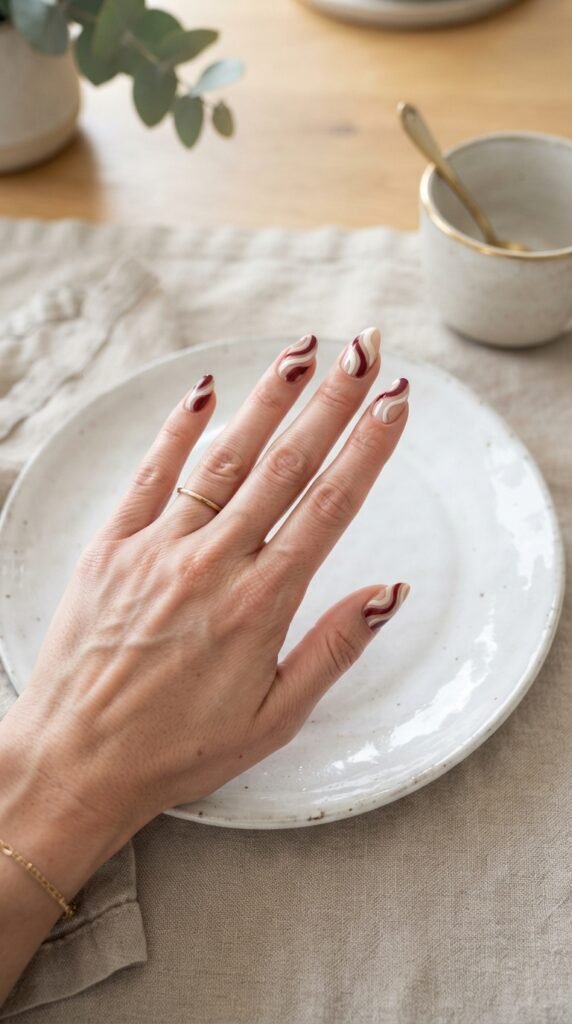
Abstract swirls are forgiving, fun, and look like wearable art.
No two nails need to match, which takes the pressure off completely.
Paint your nails in a cream, beige, or light pink base.
Let it dry.
Dip a thin brush into burgundy polish and draw flowing, curved lines across the nail.
Think loose S-shapes, spirals, and waves.
Don’t aim for symmetry.
The whole point of abstract art is that it’s freeform.
Wobbly lines? That’s character.
Uneven thickness? That’s intentional.
Beginner trick: Practice your swirls on a piece of paper first.
Get comfortable with the brush pressure and flow.
Two minutes of practice makes a huge difference.
You can also add a second color — try a thin line of tan or gold alongside the burgundy swirls for more depth.
This look works beautifully on all nail shapes and lengths.
It’s one of the most forgiving nail art styles because there’s no “wrong” way to do it.
Cost: two polishes and a thin brush.
That’s it.
You’ll feel like an artist, and your nails will prove it.
18. Burgundy with Pearl Studs
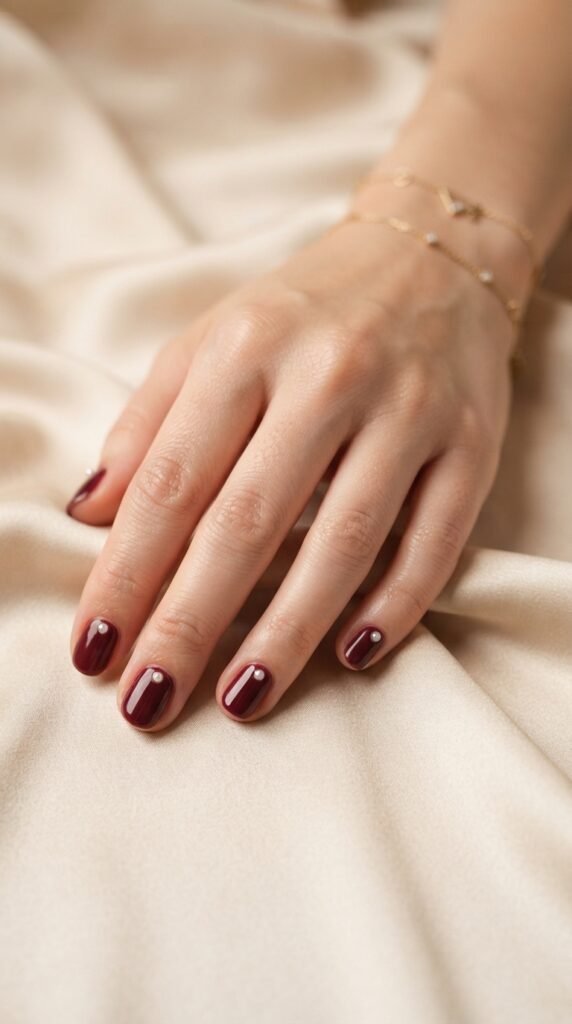
A single pearl on each nail — that’s the kind of detail that makes people ask, “Where did you get your nails done?”
Paint your nails in glossy burgundy.
While the top coat is still wet, place a tiny flat-back pearl near the base of each nail using tweezers or a dotting tool.
Press gently to set it into the polish.
Let everything dry, then apply one more layer of top coat over the pearl to lock it in place.
Flat-back pearls for nail art come in bulk packs — you can get 100+ for about $3 on Amazon.
Placement options:
– One pearl centered at the cuticle line — clean and classic.
– A row of three tiny pearls along one side — more decorative.
– A single pearl on just the ring finger — minimalist accent.
The pearl against burgundy gives serious old-money vibes.
It’s the kind of manicure that looks like it costs ten times what it actually did.
These nails are perfect for weddings, formal events, or any day you want to feel a little extra elegant.
The pearl adds dimension without being flashy.
19. Burgundy Coffin Nails with Matte-Gloss Combo
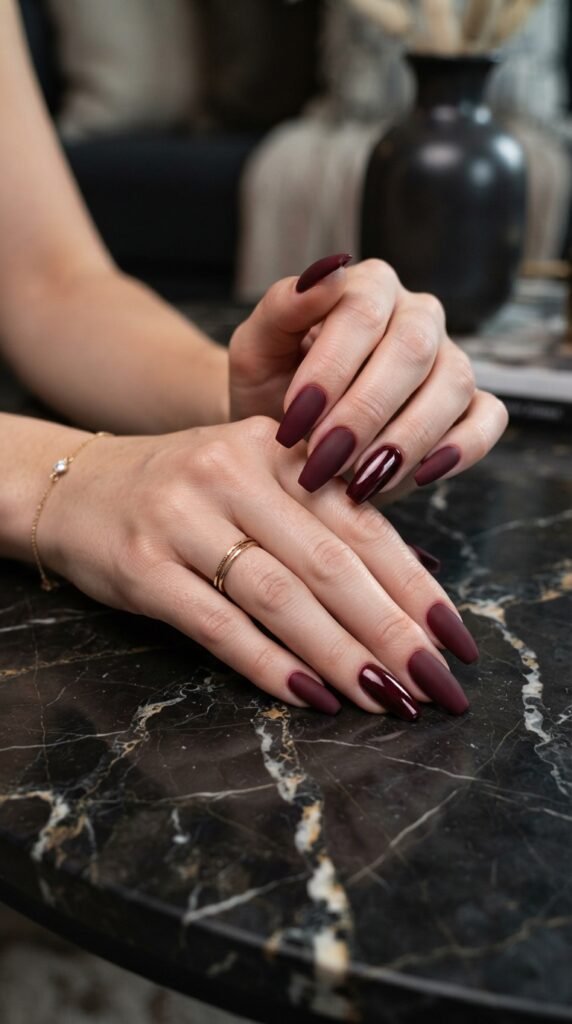
Same color, two finishes — this contrast trick looks like a salon design but takes zero extra skill.
Paint all your nails in burgundy.
On alternating nails, apply a glossy top coat.
On the others, apply a matte top coat.
That’s literally it.
The visual contrast between the shiny and velvety finishes creates depth and interest using just one polish color.
Pattern ideas:
– Alternate every other nail (glossy, matte, glossy, matte).
– All matte with just the ring fingers glossy.
– Three glossy, two matte on each hand.
Coffin-shaped nails show this effect off best because the flat, wide tip gives both finishes room to shine (or not shine).
Budget math: One burgundy polish ($5), one glossy top coat ($4), one matte top coat ($5).
Total: $14 for a look that appears custom-designed.
This combo works year-round but feels especially right in fall.
The matte nails bring a cozy, velvety warmth while the glossy ones add a polished, dressy contrast.
Together, they’re a conversation starter.
20. Burgundy Watercolor Nails
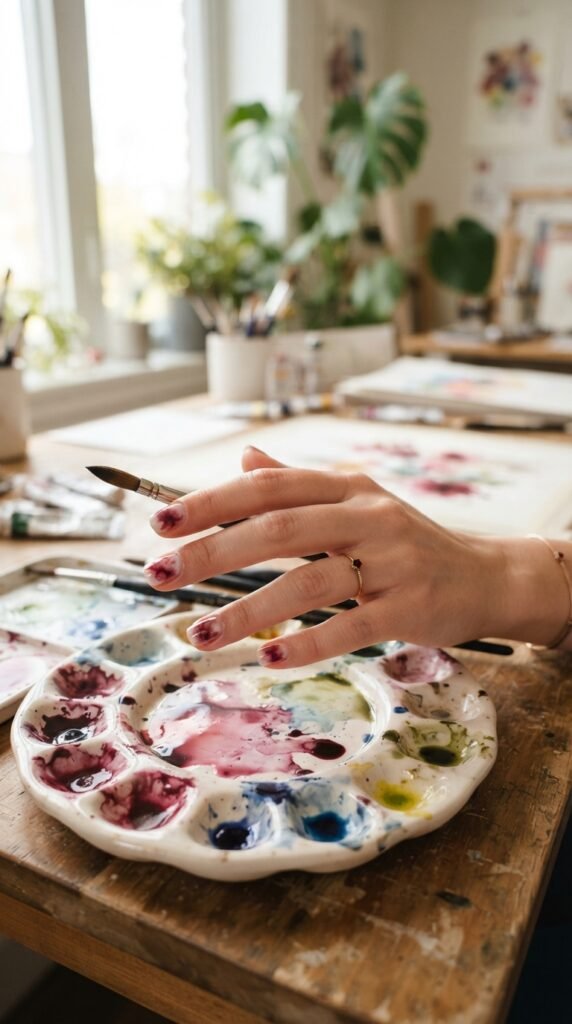
Watercolor nails look delicate, artistic, and completely unique — and you can do them with rubbing alcohol and polish.
Start with a white base coat.
Let it dry.
Dip a small brush into burgundy polish mixed with a drop of rubbing alcohol (or acetone) to thin it out.
Dab and drag the thinned polish across the nail in soft, washy strokes.
The diluted polish creates that transparent, watercolor effect.
Layer a few strokes for more depth, or keep it light for a barely-there wash.
Key tip: Less is more.
Watercolor art is about soft, diffused color — not opaque coverage.
If you can still see the white base peeking through, you’re doing it right.
Add a second color if you want — a soft pink or dusty rose alongside the burgundy creates a gorgeous palette.
This technique is messy and imprecise by nature, which makes it incredibly beginner-friendly.
There’s no way to mess it up because imperfection is the whole point.
Seal with a glossy top coat to protect the delicate color and add a glassy, finished look.
These nails are pure art.
21. Burgundy Cat-Eye Nails
Cat-eye nails have that mesmerizing, shifting light stripe that makes people stare.
In burgundy, it’s like having liquid garnet on your fingertips.
You’ll need two things: a magnetic cat-eye gel polish and a magnet stick.
Both are available in sets online for about $8-12.
Apply the magnetic polish to one nail.
Before it dries, hold the magnet close to the surface (don’t touch) for about 15-20 seconds.
The metallic particles in the polish shift toward the magnet, creating that signature glowing stripe.
Magnet tip: Hold the magnet at different angles to change the stripe pattern.
Straight across, diagonal, or even a starburst effect — it all depends on magnet placement.
If you’re using gel polish, cure under a UV/LED lamp after the magnet step.
Regular magnetic polishes exist too, but the effect is subtler.
Each nail will look slightly different, and that’s part of the charm.
The shifting light stripe catches and changes as your hands move, giving your nails a hypnotic, liquid quality.
This look is dramatic enough for a night out and still wearable enough for everyday.
It’s one of those designs that never gets old.
22. Burgundy Minimalist Dot Art
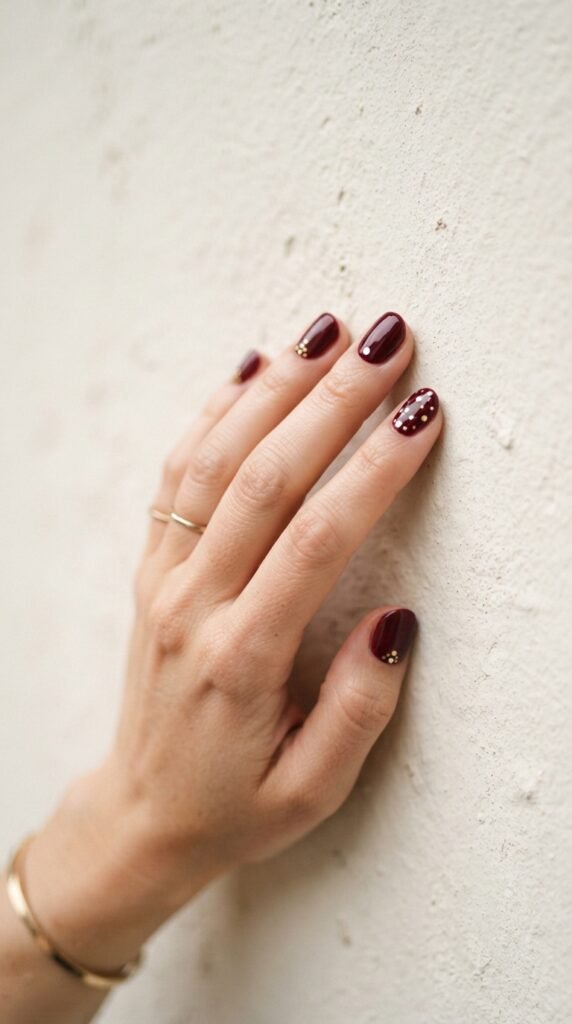
Sometimes all you need is a dot.
Or three.
Dot art on burgundy nails is the definition of “less is more.”
Paint your nails burgundy and let them dry fully.
Dip the rounded end of a bobby pin or a dotting tool into gold or white polish.
Place dots wherever you like.
Pattern ideas:
– A single dot in the center of each nail.
– Three dots in a diagonal line near the cuticle.
– A tiny cluster of five dots on the ring finger only.
– Random scattered dots across all nails.
The beauty of dot art is its precision.
Each dot is a tiny, intentional mark that adds sophistication without clutter.
Budget dotting tool: A toothpick works for tiny dots.
The blunt end of a bobby pin works for medium dots.
The head of a pin gives you micro-dots that look incredibly refined.
Gold dots on burgundy look regal.
White dots on burgundy feel fresh and modern.
Try both on different hands if you can’t decide.
This is a 5-minute upgrade to any solid manicure that makes it look three times more intentional.
23. Burgundy Accent Nail with Statement Ring Finger
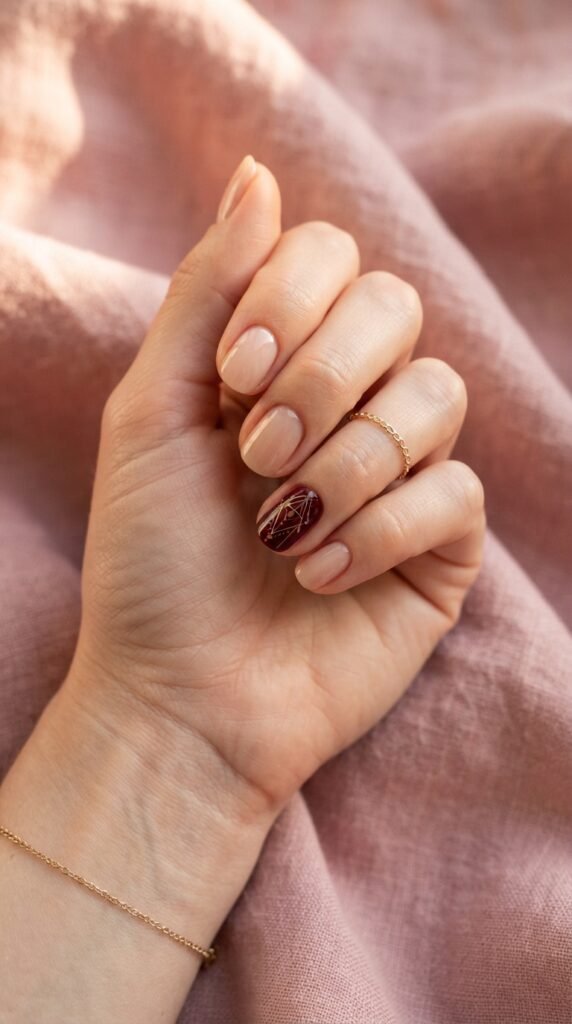
The accent nail approach is perfect for anyone who loves burgundy but doesn’t want it on all ten fingers.
Paint nine nails in a neutral shade — nude, beige, soft pink, or even sheer clear.
Then go all out on your ring finger (or any single nail) with rich burgundy.
The contrast draws the eye right to that one statement nail.
And because it’s just one, you can afford to spend extra time making it perfect — or adding a design.
Accent nail ideas:
– Solid glossy burgundy — simple and effective.
– Burgundy with a single gold stripe.
– Burgundy with a tiny pressed flower.
– Burgundy with a fine glitter top coat.
This is also the most beginner-friendly approach on this entire list.
You’re only doing detailed work on one nail, so the pressure is way lower.
Budget win: If you’re buying a new burgundy polish just to try it out, the accent nail method lets you test the color without committing to a full set.
You’ll know within one nail if it’s the right shade for your skin tone.
Conclusion
Burgundy nail art is fall’s easiest style upgrade — and not a single idea on this list requires a salon visit or a big budget. From the simplicity of a glossy single shade to the drama of cat-eye magnetic polish, every look here is designed to be done at home with affordable tools and polishes you probably already own. The trick isn’t perfection — it’s picking a style that makes you feel good and going for it. Your nails are a tiny canvas, but they carry a lot of impact. So grab that $5 bottle of burgundy, clear off your kitchen table, and give one of these designs a try this weekend. You’ll be surprised how many compliments a ten-minute manicure can earn you.