How to Do Burgundy Nail Art with Rhinestones That Last
 By VelvetNesty
There’s something about burgundy nails studded with rhinestones that feels both regal and completely effortless. It’s the kind of manicure that gets compliments at dinner, catches light during a coffee run, and still looks fresh a week later — if you do it right. The problem? Most rhinestone manicures start popping off within days. Gems roll under your couch cushions, your accent nail looks bare by Tuesday, and you’re left wondering why you bothered.
Good news: it doesn’t have to go that way. With the right prep, adhesive, and sealing technique, you can lock those stones down for the long haul. This guide walks you through every step so your burgundy rhinestone nails actually last.
What You’ll Need
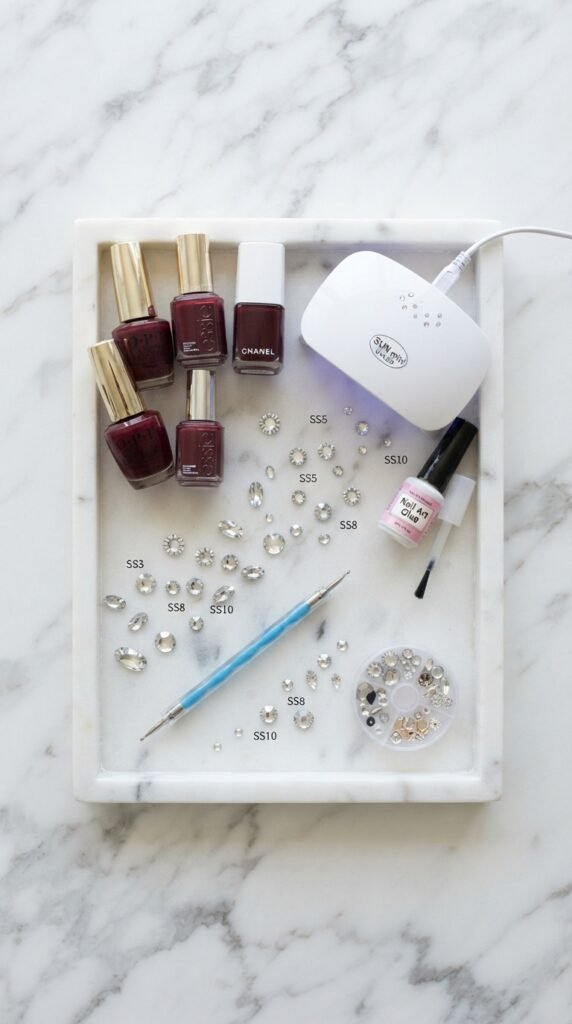
Before you start, gather everything in one spot. Stopping mid-manicure to hunt for a dotting tool is a recipe for smudged polish and crooked gems.
Essentials:
- Base coat
- Burgundy nail polish (two coats’ worth — pick a shade with depth, not one that reads brown)
- Nail rhinestones in mixed sizes (flat-back crystals work best for adhesion)
- Nail glue or gel adhesive (not craft glue — ever)
- Top coat (a thick, self-leveling formula)
- Dotting tool or wax pencil for placing stones
- Cleanup brush and acetone
- UV or LED lamp (if using gel products)
Optional but helpful:
- Matte top coat for a velvet-and-crystal contrast
- Tweezers for micro-adjustments
- Cuticle oil for finishing
Step 1: Prep Your Nails Properly
Rhinestones stick to smooth, clean surfaces — not oily, bumpy ones. Skipping prep is the number one reason gems fall off early.
- Shape and file your nails to your preferred length. Shorter nails (almond or squoval) tend to hold rhinestones better because there’s less leverage to catch and pop them off.
- Push back cuticles gently. Don’t cut them unless you know what you’re doing.
- Buff the nail surface lightly with a fine-grit buffer. You want to remove the natural shine without thinning the nail.
- Wipe each nail with a lint-free pad soaked in rubbing alcohol or nail cleanser. This removes oils and dust so your base coat bonds directly to the nail plate.
Step 2: Apply Your Burgundy Base
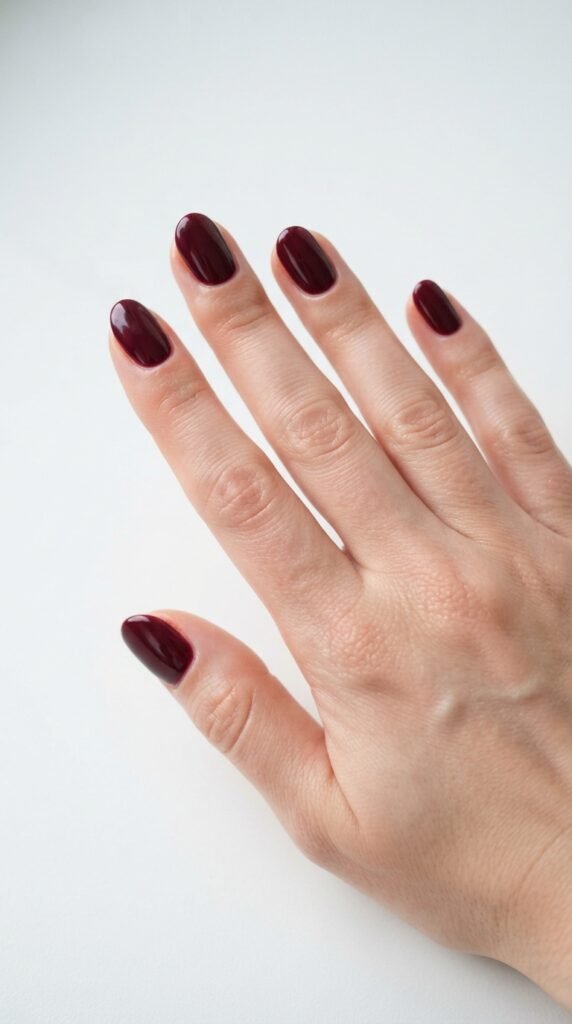
Now for the color. Apply a thin, even base coat first and let it dry completely — rushing this step causes peeling later.
Then apply your burgundy polish:
- First coat: Thin and slightly sheer. Don’t try to get full opacity here.
- Second coat: A bit more product for rich, even coverage. Cap the free edge (brush along the tip) to prevent chipping.
- Let each coat dry for two to three minutes before moving on. If you’re using gel polish, cure under your lamp according to the bottle’s instructions (usually 30–60 seconds per coat).
The goal is a smooth, fully opaque burgundy surface with no streaks or texture. Rhinestones magnify imperfections underneath them, so take your time here.
Step 3: Place Your Rhinestones
This is where the design comes together. Plan your layout before you start sticking stones down — once they’re set, repositioning gets messy.
Popular placement patterns:
- Single accent stone at the base of each nail near the cuticle
- Diagonal line of graduated stones across one or two feature nails
- Clustered arrangement on the ring finger with scattered singles on the rest
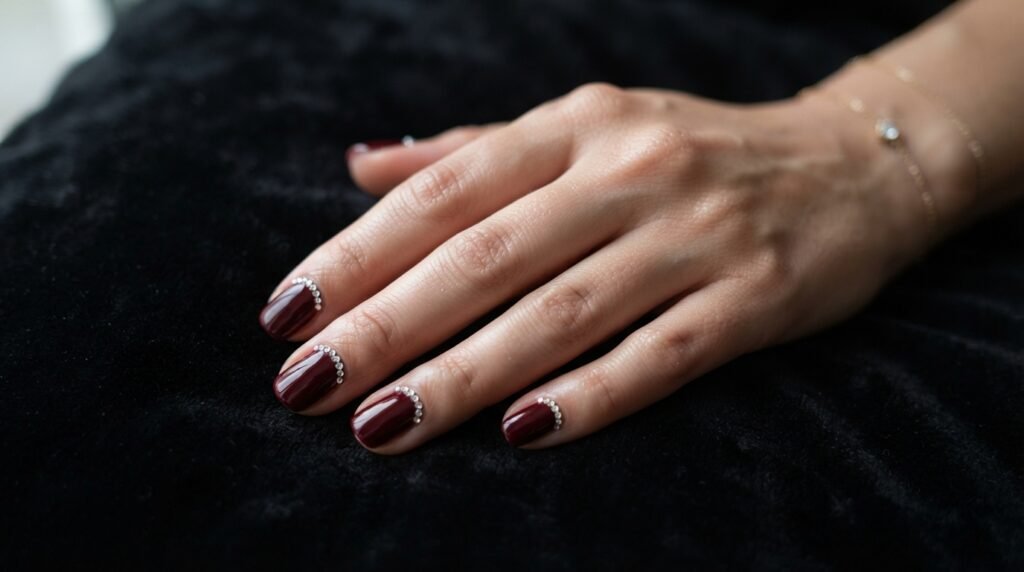
- Half-moon arc of tiny crystals following the cuticle curve
How to attach them:
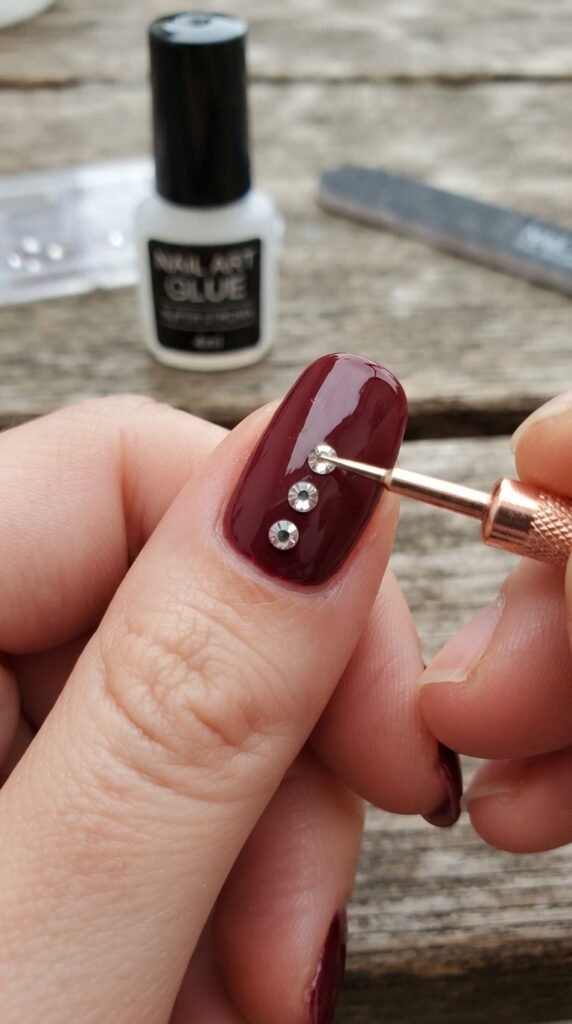
- Apply a small drop of nail glue (or a dot of clear gel) exactly where you want the stone.
- Pick up the rhinestone with a wax pencil or dotting tool — the wax grips the top of the stone without disturbing the glue.
- Press the stone firmly into the adhesive and hold for five seconds.
- If using gel adhesive, cure under the lamp after placing all stones on that nail.
Key tip: Use less glue than you think. A tiny dot spreads under pressure. Too much glue oozes around the stone and creates a cloudy ring that dulls the crystal’s sparkle.
Step 4: Seal Everything In
This step separates a two-day manicure from a two-week one. Sealing rhinestones properly is non-negotiable.
- Apply a generous layer of thick top coat around and over each rhinestone. You want the top coat to grip the edges of the stone and anchor it to the nail surface.
- For larger stones, apply top coat around the base like a moat — don’t try to coat the entire top of the crystal, or you’ll dull the facets.
- Cure or dry completely. Then apply a second layer of top coat over the entire nail for extra insurance.
If you want a modern twist, use a matte top coat on the burgundy areas and leave the rhinestones glossy. The contrast between velvety matte polish and sparkling crystals is striking.
Tips to Make Your Rhinestone Manicure Last Longer
- Wear gloves when washing dishes or cleaning. Water and chemicals loosen adhesive faster than anything else.
- Avoid picking or fidgeting with the stones. Even strong bonds weaken with repeated lateral pressure.
- Apply cuticle oil daily around (not on top of) the stones to keep nails flexible and prevent dry, brittle edges from cracking the seal.
- Carry a mini nail glue in your bag for emergency re-attachment. A quick dab and press takes ten seconds.
Your Next Manicure Starts Here
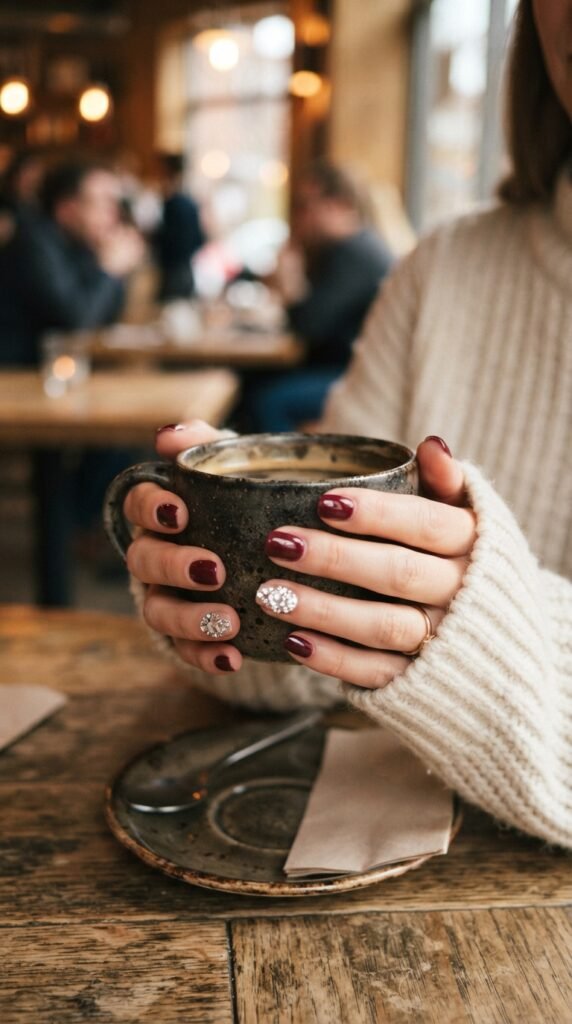
Burgundy and rhinestones are one of those combinations that never looks overdone — it’s bold without being loud, detailed without being fussy. And when you seal those stones properly, you get to enjoy the look for well over a week without stress.
Try it this weekend. Snap a photo. And save this guide for your next manicure night — you’ll want it handy when you’re ready to go again.