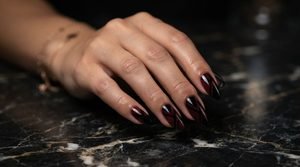
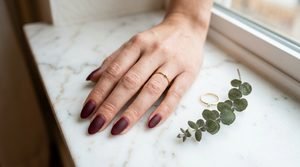
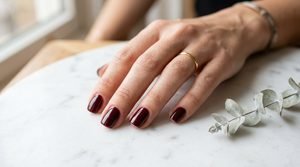
How to Apply Burgundy Nail Art Stickers for an Effortless Manicure
 By VelvetNesty
There’s something about burgundy nails that feels instantly polished — rich, moody, and perfect for just about any season. But what if you could skip the freehand painting, ditch the salon appointment, and still walk away with nails that look like a professional did them? Enter: burgundy nail art stickers.
These little peel-and-press sheets have come a long way from the chunky decals of the early 2000s. Today’s nail stickers are ultra-thin, flexible, and available in designs that range from minimalist line art to full-coverage wraps with intricate patterns. The best part? The entire process takes about 15 minutes from start to finish.
If you’ve been curious about trying them but weren’t sure where to start, this guide walks you through every step — plus a few insider tips to make your sticker manicure last well over a week.
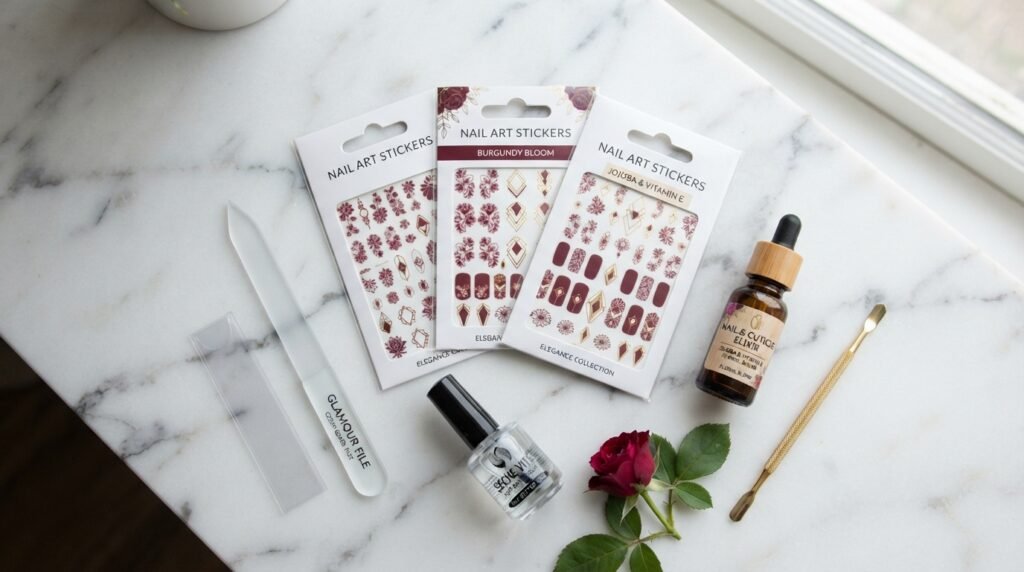
What You’ll Need
Before you start, gather these supplies so everything is within arm’s reach:
- Burgundy nail art stickers — full-wrap or accent stickers, your choice
- Nail file — a glass or fine-grit file works best
- Base coat — optional but recommended for longevity
- Top coat — a quick-dry formula saves time
- Cuticle pusher or orange stick — for clean edges
- Rubbing alcohol or nail cleanser — to prep the nail surface
- Small scissors or nail clippers — for trimming excess sticker material
Having everything ready prevents you from fumbling mid-application with half a sticker dangling off your thumb.
Step 1: Prep Your Nails
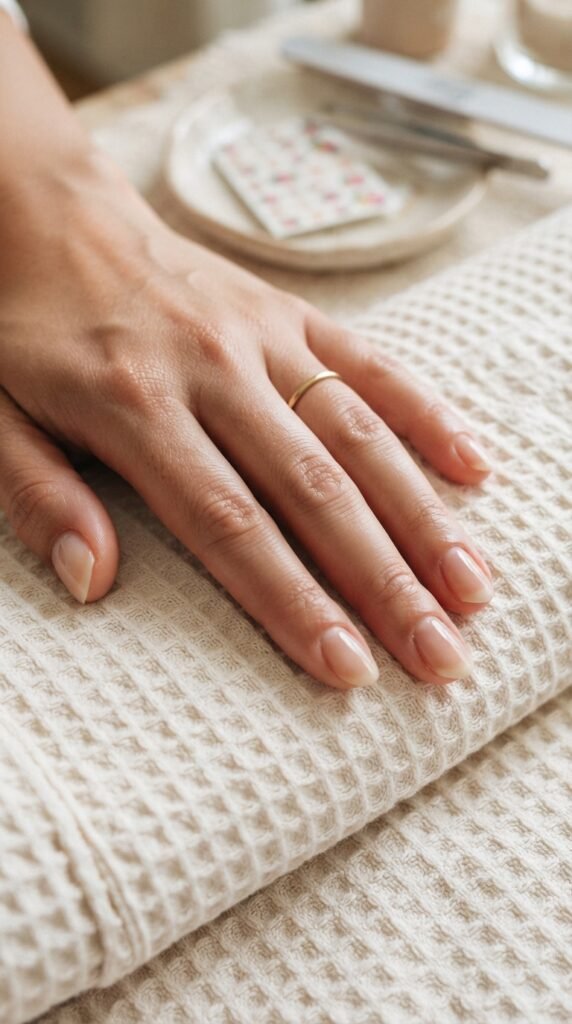
This step matters more than most people think. Nail stickers adhere best to a clean, dry, slightly rough surface — so a quick prep makes a real difference in how long your manicure holds up.
- Push back your cuticles gently with an orange stick.
- Shape your nails with a file. Rounded, almond, or squoval shapes all work well with stickers.
- Wipe each nail with a cotton pad soaked in rubbing alcohol. This removes natural oils and any leftover lotion that could prevent the sticker from bonding.
- Optional: Apply a thin layer of base coat and let it dry completely. This adds a barrier between the sticker adhesive and your nail, which makes removal easier later.
Step 2: Size and Place Your Stickers
This is where the fun starts. Most sticker sets come in a range of sizes to fit each finger, so take a moment to match them up before peeling anything off.
- Hold each sticker over your nail (without removing the backing) to find the closest size match. It’s better to go slightly smaller than your nail bed — you can always trim, but you can’t add width.
- Peel the sticker from the sheet slowly. Avoid touching the adhesive side with your fingers, since oils from your skin weaken the bond.
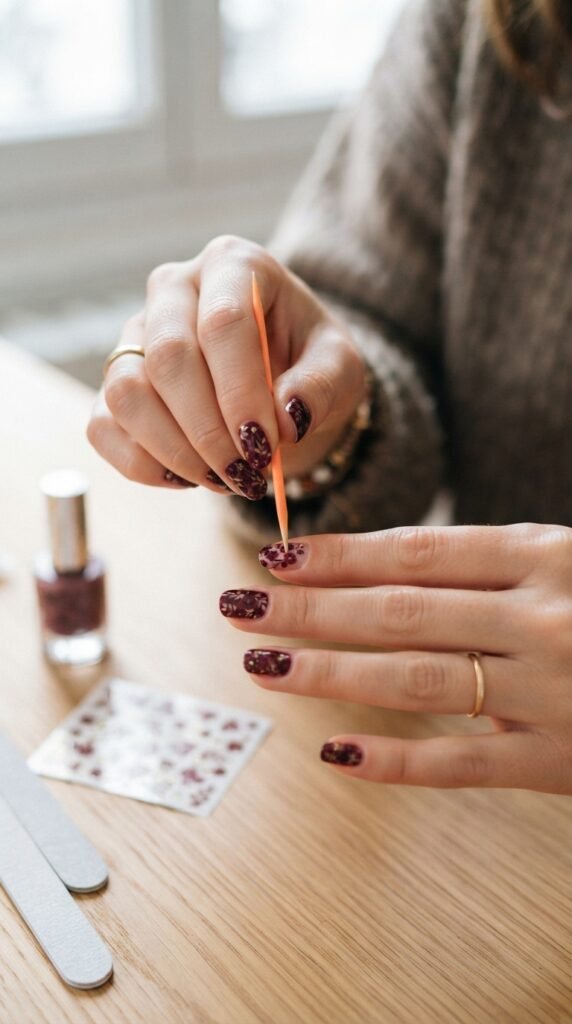
- Align the sticker just below your cuticle line, leaving a tiny gap (about 1mm). Press down from the center outward, smoothing toward the edges to push out any air bubbles.
- If wrinkles appear near the curves of your nail, use the tip of an orange stick to press them flat.
Pro tip: Warm the sticker between your fingers for a few seconds before applying. The heat makes the material more flexible and easier to mold around the natural curve of your nail.
Step 3: Trim and File the Edges
Once the sticker is pressed down, you’ll likely have excess material hanging over the tip of your nail. Here’s how to get a seamless edge:
- Fold the excess sticker over the free edge of your nail.
- Use a glass nail file and file downward in one direction along the tip. The sticker will snap off cleanly right at the edge.
- Repeat on all fingers, checking for any lifted corners or edges that need extra pressing.
Filing downward rather than back-and-forth prevents the sticker from peeling up — a small detail that makes a big difference.
Step 4: Seal with Top Coat
A top coat is non-negotiable if you want your sticker manicure to last. Without it, edges lift within a day or two. With it, you’re looking at seven to ten days of wear.
- Apply a thin, even layer of top coat over each nail, making sure to cap the free edge (run the brush along the very tip of the nail).
- Let it dry for at least two minutes before using your hands.
- For extra durability, apply a second thin coat after the first one dries.
Avoid quick-dry drops that contain oil — they can seep under the sticker edges and cause lifting. A quick-dry top coat formula in the bottle is fine, though.
Tips to Make Your Sticker Manicure Last Longer
A few habits go a long way:
- Wear gloves when washing dishes or using cleaning products. Water and harsh chemicals are the top enemies of nail sticker adhesion.
- Reapply top coat every two to three days. A fresh layer reseals the edges and keeps the shine alive.
- Avoid using your nails as tools. Opening cans, peeling labels, or scratching stickers off surfaces puts stress on the edges.
- Apply cuticle oil daily around — not on — the sticker. It keeps your cuticles healthy without loosening the adhesive.
Why Burgundy Works So Well for Nail Stickers
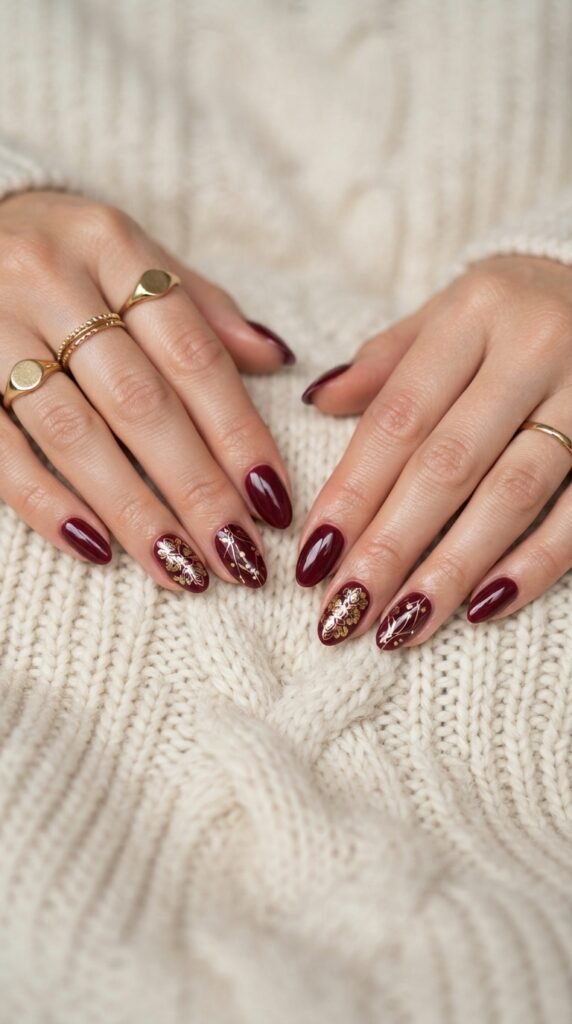
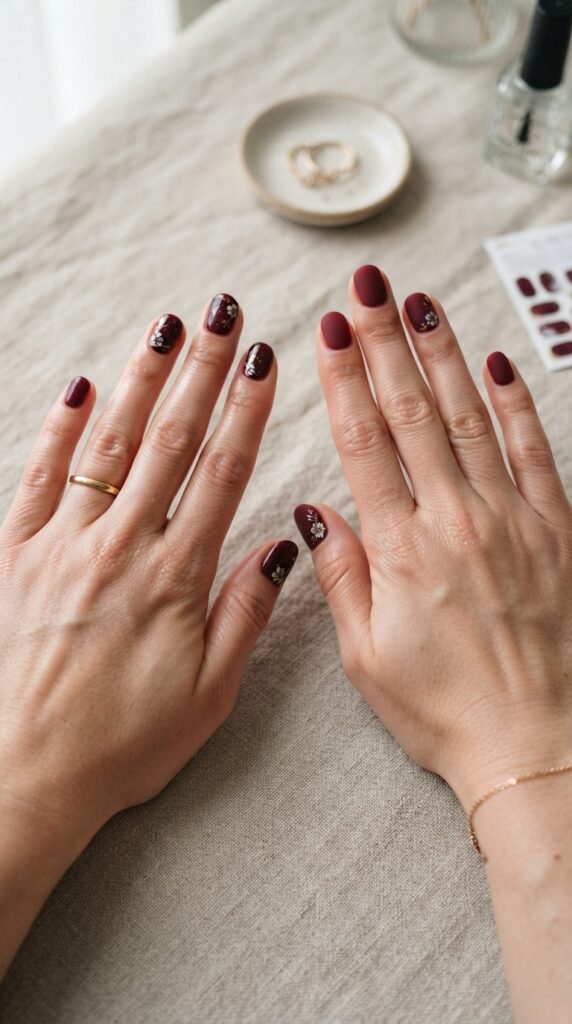
Burgundy is one of those rare shades that looks intentional no matter the design. Solid wraps give off a classic, clean look. Pair them with gold foil accents, and suddenly you’ve got a holiday-ready manicure. Add a matte top coat instead of glossy, and the same stickers take on a completely different vibe — modern and understated.
Because the color is deep and saturated, it also hides any minor imperfections in application, making it a forgiving choice for beginners.
Time to Try It Yourself
Burgundy nail art stickers are one of the easiest ways to get a put-together manicure without the time, cost, or skill that traditional nail art demands. Once you nail the prep and sealing steps, the results genuinely rival salon work.
Grab a set, clear 15 minutes from your evening, and give it a try. You’ll wonder why you didn’t start sooner.
Save this guide for your next at-home mani day — and share it with a friend who’s always admiring your nails!