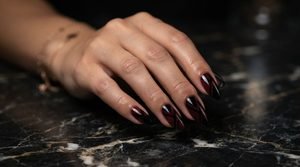
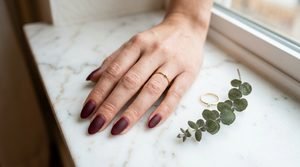
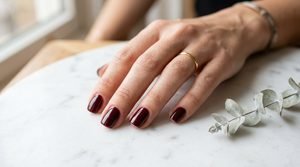
How to Create Burgundy Ombre Nails Step by Step
 By VelvetNesty
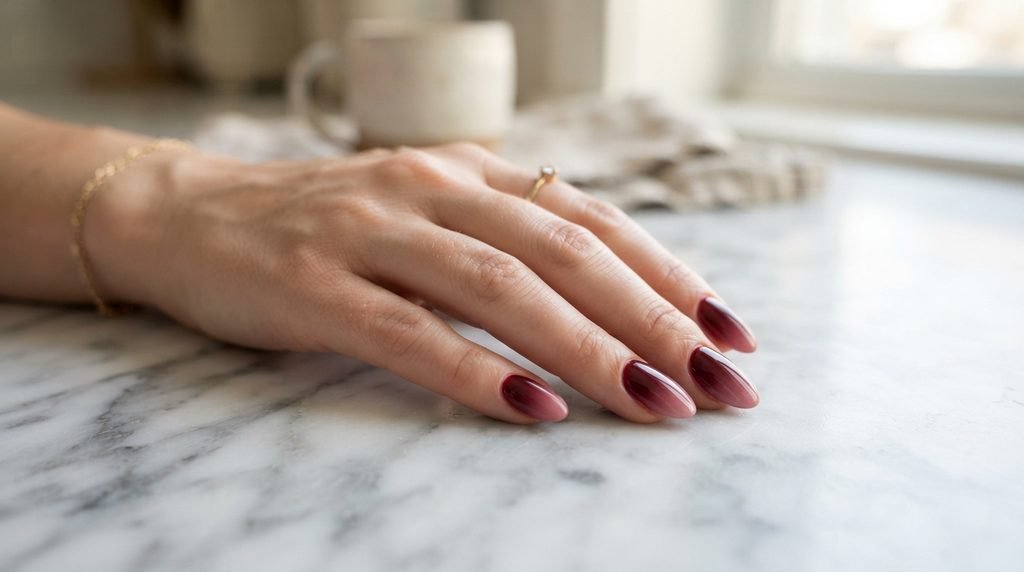
There’s something about burgundy ombre nails that feels instantly luxurious. That smooth, seamless fade from deep wine to soft blush (or jet black to rich burgundy) turns your fingertips into tiny works of art — and the best part? You can absolutely do it yourself at home with a few basic tools and about 30 minutes of patience.
Whether you’re prepping for a date night, a holiday party, or just want nails that look like you dropped serious cash at the salon, this guide walks you through every single step. No guesswork. No streaky disasters. Just gorgeous, blended color.
What You’ll Need
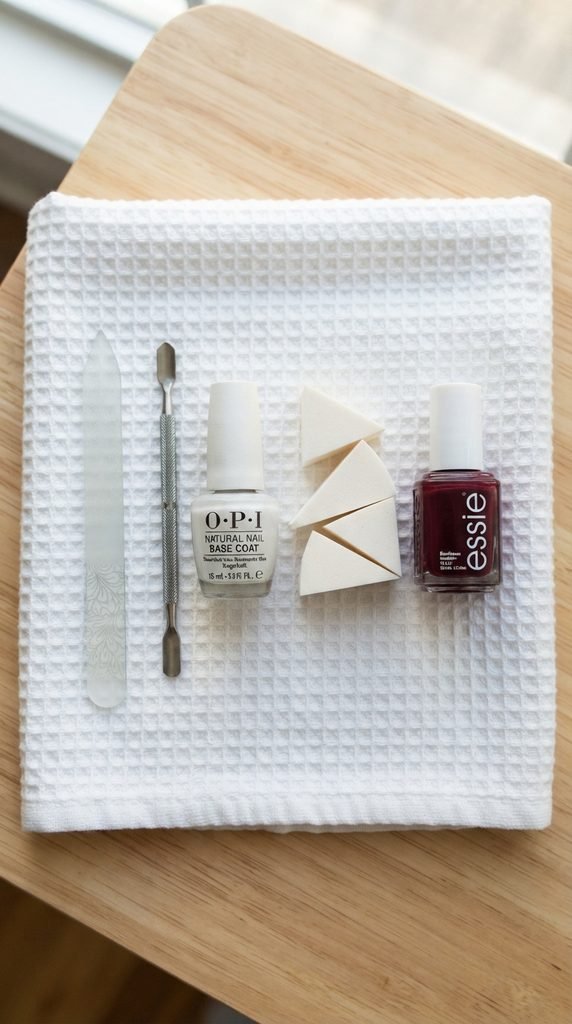
Before you start, gather everything so you’re not scrambling mid-manicure with wet nails. Here’s your supply list:
- Base coat — protects your natural nails from staining
- Burgundy nail polish — a deep, rich shade (think oxblood or cabernet)
- Light pink or nude nail polish — this is your fade-out color
- A makeup sponge — the small, wedge-shaped ones work best
- A piece of foil or a plastic lid — for mixing and loading polish
- Cleanup brush or small angled brush — dipped in acetone for crisp edges
- Top coat — a glossy one for that salon-quality shine
- Nail polish remover and cotton pads — for cleanup
Pro tip: If you want an even moodier look, swap the light pink for a shimmery gold or matte black. The technique stays the same.
Step 1: Prep Your Nails
Great ombre nails start with a clean canvas. Here’s how to set yourself up for success:
- File your nails into your preferred shape (almond and coffin shapes look especially striking with ombre).
- Push back your cuticles gently with an orangewood stick.
- Buff the surface lightly so the polish grips better.
- Wipe each nail with a cotton pad soaked in nail polish remover to remove any oils.
Apply one thin layer of base coat and let it dry completely. Skipping this step is a recipe for stained, yellowish nails — don’t do it.
Step 2: Apply the Base Color
Paint all ten nails with one coat of the lighter shade (your pink or nude). This gives the ombre gradient a smooth background to blend over, and it prevents any gaps from showing through.
Let this coat dry for at least two to three minutes before moving on.
Step 3: Create the Ombre Gradient
This is where the magic happens.
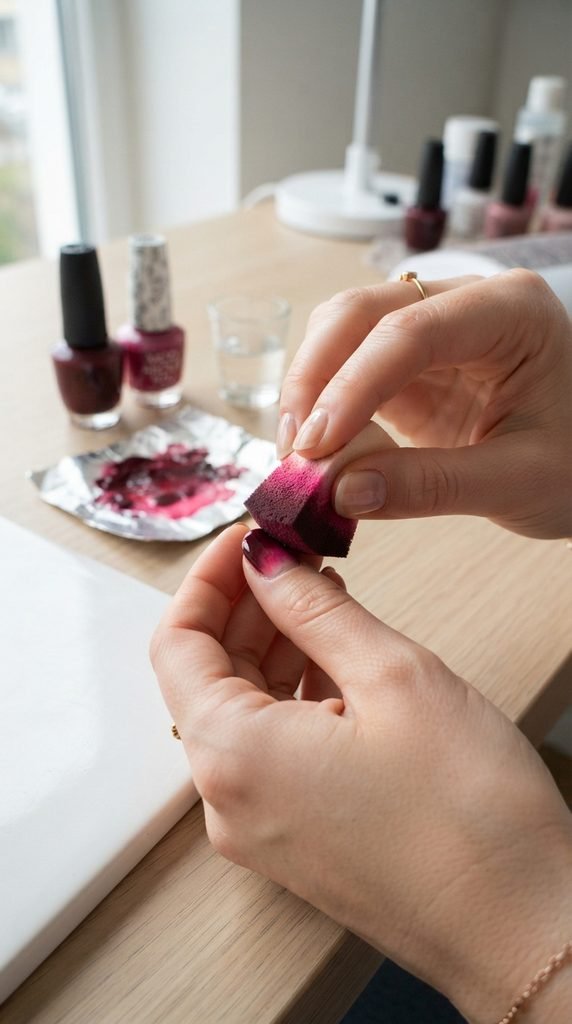
- Take your piece of foil and paint two thick stripes of polish side by side — burgundy on one side, light pink on the other. Let the stripes slightly overlap in the middle.
- Take your makeup sponge and press it into the polish stripes so it picks up both colors.
- Dab the sponge onto your nail using a light, bouncing motion. Start from the tip (where you want the darkest color) and work your way toward the cuticle.
- Repeat the dabbing two to three times per nail, reloading the sponge with fresh polish each time.
The key here is layering. The first dab will look patchy and underwhelming — that’s completely normal. Each additional layer builds depth and blends the transition line until it looks smooth and seamless.
Step 4: Clean Up the Edges
Sponge techniques are beautifully messy. You’ll have polish all over your cuticles and skin — and that’s totally fine.
- Dip a small angled brush or a cleanup brush into pure acetone.
- Carefully trace around each nail to remove the excess polish.
- For stubborn spots, wrap a cotton pad around an orangewood stick, soak it in remover, and press along the skin.
This cleanup step is what separates a DIY manicure from a professional-looking one. Take your time here.
Step 5: Seal It With a Top Coat
Once your ombre layers are fully dry (give them a solid five minutes), apply one generous coat of glossy top coat over each nail. This does three important things:
- Smooths out the slightly textured surface left by the sponge
- Locks in the gradient so it lasts longer
- Adds that high-shine, gel-like finish
If you prefer a matte look, use a matte top coat instead. Burgundy ombre in matte is incredibly chic and gives off major fall vibes.

Extra Tips for a Flawless Finish
- Use a white base instead of pink if you want the colors to pop even more. White underneath makes every shade more vibrant.
- Work quickly. Nail polish dries fast on the sponge, so reload frequently and don’t hesitate between dabs.
- Try it with gel polish if you have a UV lamp at home. Gel gives you a longer-lasting ombre that won’t chip for two to three weeks.
- Experiment with glitter. A light dusting of gold glitter over the transition zone adds a festive, dimensional touch.
Why Burgundy Ombre Works for Every Occasion
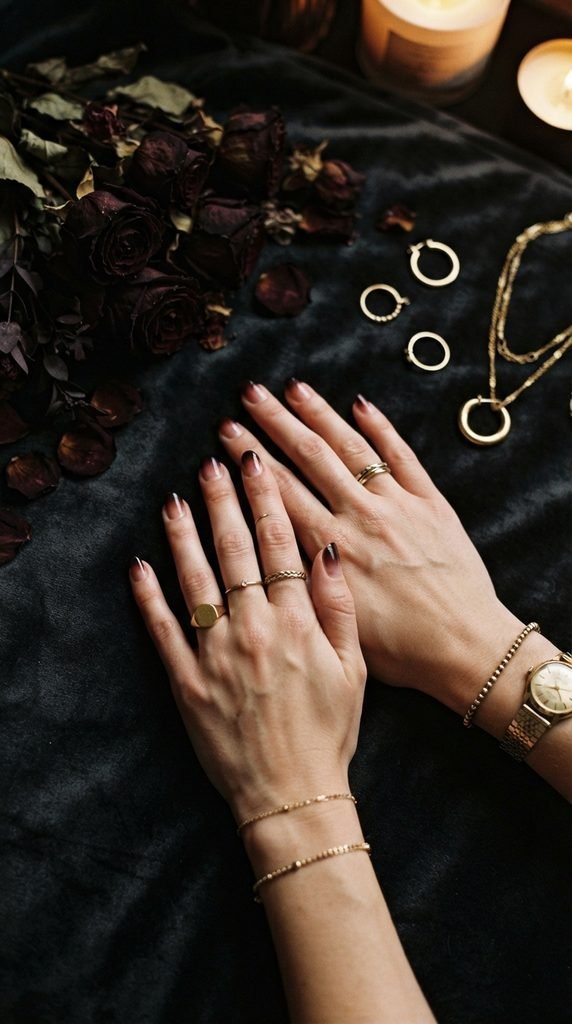
Burgundy is one of those rare shades that feels equally at home at a casual brunch and a black-tie event. Paired with the ombre technique, it adds depth and visual interest without being over the top. It works on short nails, long nails, natural nails, and extensions. It flatters every skin tone. And honestly, it just makes you feel a little more put-together.
Save This for Your Next Manicure Night
Burgundy ombre nails are one of those looks that seem complicated but are surprisingly forgiving once you get the sponge technique down. Bookmark this guide, grab your supplies, and give yourself the salon-worthy manicure you deserve — right from your own couch.
Pin this for later so you’ll have it ready the next time you’re in the mood for a stunning, head-turning manicure.