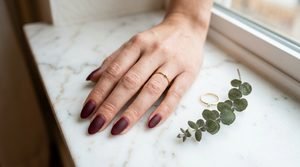
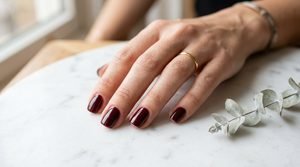
How to Do Burgundy Marble Nail Art for Beginners
 By VelvetNesty
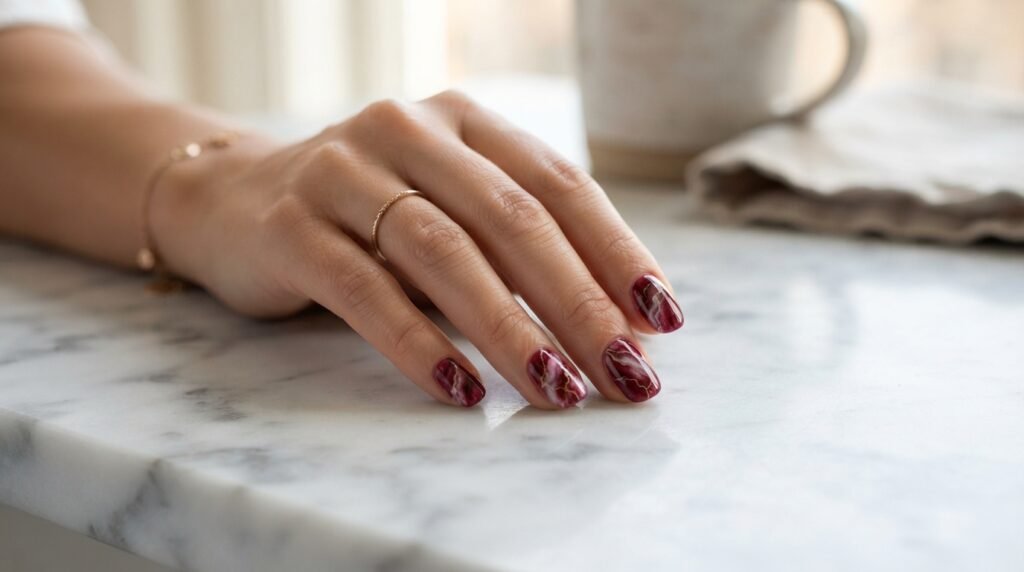
There’s something about burgundy marble nails that feels like pure luxury — without the luxury price tag. The deep wine tones swirling into creamy whites and soft golds give your fingertips an expensive, editorial look that turns heads every single time. And here’s the best part: you don’t need a nail tech license or a steady surgeon’s hand to pull it off.
Whether you’re prepping for date night, a fall wedding, or just want nails that match your red wine aesthetic, this beginner-friendly guide walks you through every step. Grab your polish, a cup of water, and let’s get marbling.
What You’ll Need Before You Start
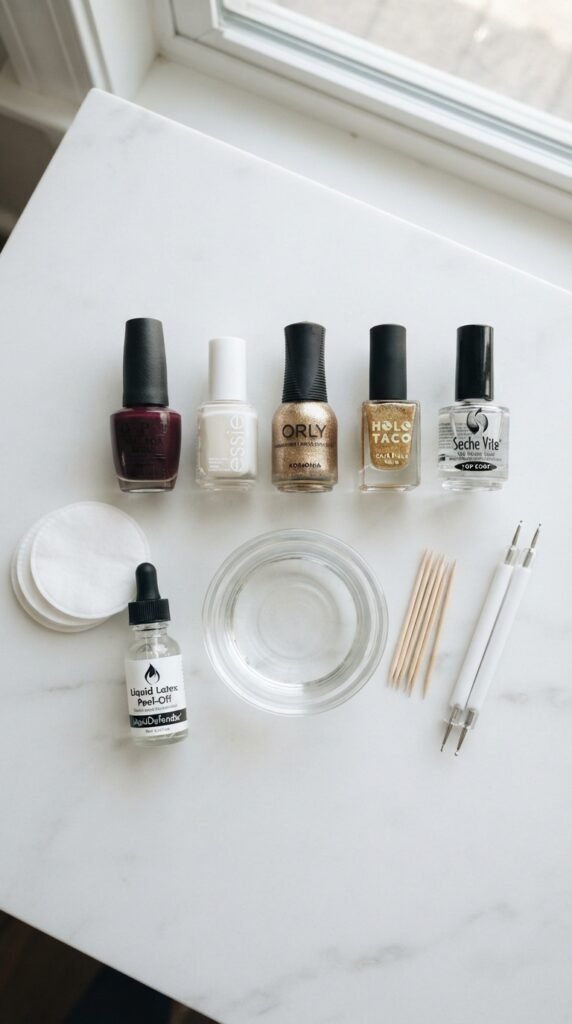
Before diving in, gather your supplies. Having everything within arm’s reach keeps the process smooth and prevents your polish from drying out mid-step.
Essential supplies:
- A burgundy or deep wine nail polish (cream finish works best)
- White nail polish
- Gold nail polish or a gold chrome powder (optional but stunning)
- A clear base coat and top coat
- A small cup of room-temperature filtered water
- Toothpicks or a thin nail art brush
- Nail tape or liquid latex for clean-up
- Cotton pads and acetone or nail polish remover
- Paper towels to protect your workspace
Quick tip: Stick with regular nail polish for the water marble method — gel polishes won’t spread on the water’s surface the way you need them to.
Step 1: Prep Your Nails
Great nail art starts with a clean canvas. Skip this step and your marble design will chip or peel within a day.
- Shape your nails into your preferred style. Almond and coffin shapes look particularly striking with marble patterns, but any shape works.
- Push back your cuticles gently using a cuticle stick. Don’t cut them — just nudge them back.
- Buff the nail surface lightly to remove any shine. This helps the base coat grip better.
- Apply a thin base coat and let it dry completely. This protects your natural nail and gives the color something to hold onto.
- Paint one thin coat of white polish on each nail. This brightens the marble pattern and makes the burgundy swirls pop against a clean background. Let it dry fully.
Step 2: Create the Marble Pattern in Water
This is where the magic happens — and where most beginners get nervous. Don’t worry. It’s far more forgiving than it looks.
- Apply liquid latex or nail tape around the skin of each finger. This catches the excess polish and makes clean-up effortless.
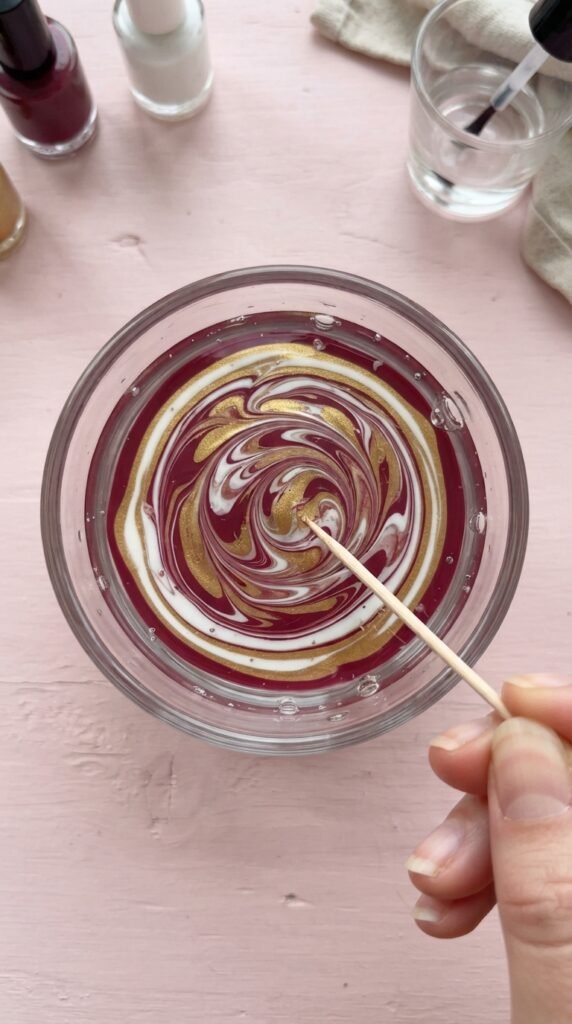
- Drop burgundy polish into your cup of water. Hold the brush about an inch above the surface and let a single drop fall. It should spread into a thin circle on the water.
- Drop white polish into the center of that burgundy circle. It will push the burgundy outward and create a ring pattern.
- Alternate drops — burgundy, white, burgundy, white — until you have four to six rings floating on the surface.
- Add a tiny dot of gold in the center for a luxe accent (optional but highly recommended).
- Drag a toothpick through the rings to create your marble pattern. Pull gently from the outer edge toward the center, or sweep in a zigzag. Each drag creates a different swirl, so experiment freely.
- Dip your nail into the design at an angle. Press your finger through the pattern on the water’s surface, keeping it submerged for a few seconds.
- Use the toothpick to clear away the remaining polish floating on the water before pulling your finger out. This prevents extra polish from sticking to your nail.
Step 3: Clean Up and Seal the Design
Once you pull your finger from the water, it’ll look a little messy — and that’s completely normal.
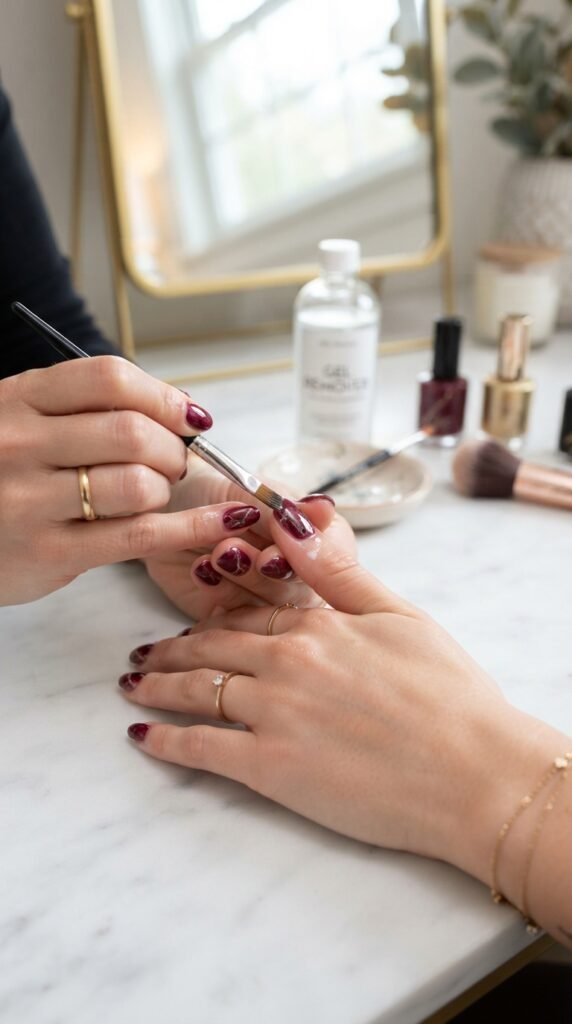
- Peel off the liquid latex or nail tape. This instantly removes the polish from your skin and reveals crisp edges.
- If you didn’t use latex, dip a small brush in acetone and carefully trace around the cuticle and sidewalls to remove any stray polish.
- Let each nail air-dry for at least five minutes before moving to the next step. Patience here prevents smudging.
- Apply a generous layer of quick-dry top coat over each nail. This smooths out the texture of the marble design and locks in the pattern. A glossy top coat makes the veining look glass-like and dimensional.
Pro Tips to Get Salon-Quality Results at Home
Even with perfect technique, a few insider tricks make a noticeable difference:
- Use fresh polish. Thick or old polish won’t spread well on water. If your polish is gloopy, it’s time for a new bottle.
- Keep the water at room temperature. Cold water causes the polish to harden too fast. Hot water makes it spread unevenly.
- Work fast. Once the polish hits the water, you have roughly 30 seconds before the surface begins to set. Have your finger ready to dip.
- Try one nail at a time. It takes a fresh water surface for each nail. Skim off any remaining polish between dips.
- Experiment with color ratios. More burgundy drops create a darker, moodier marble. More white drops give a softer, romantic feel.
- Matte top coat variation: For a completely different vibe, swap the glossy top coat for a matte one. Burgundy marble nails in matte finish look like polished stone — absolutely gorgeous.
Why Burgundy Marble Nails Work for Every Occasion
What makes this design so versatile is the color story. Burgundy reads as sophisticated without being too bold, and the marble pattern adds visual interest without looking busy.
- Fall and winter? It matches cozy knits, leather jackets, and holiday parties perfectly.
- Spring and summer? Pair it with gold jewelry and a tan for an unexpected warm-weather statement.
- Formal events? Burgundy marble looks right at home alongside an evening gown.
- Everyday wear? It elevates even jeans and a white tee.
The pattern is also incredibly forgiving. No two marble nails look the same, which means there’s no “wrong” result. Every swirl is one-of-a-kind — like wearable art on your fingertips.

Save This for Your Next Mani Day
Burgundy marble nail art is one of those rare designs that looks incredibly high-end but is totally achievable at home with a little practice and patience. Your first attempt might be imperfect — and that’s fine. Marble is supposed to look organic and free-flowing.
Pin this guide for your next self-care Sunday, share it with your nail-obsessed friend, and tag your results. Once you see those deep wine swirls catching the light on your fingertips, you’ll never go back to plain polish again.