How to Do Burgundy Nail Art at Home Like a Pro
 By VelvetNesty
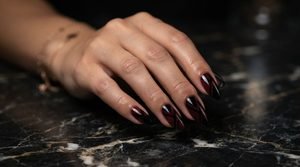
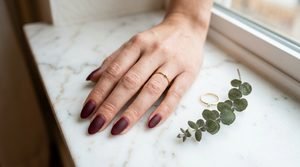
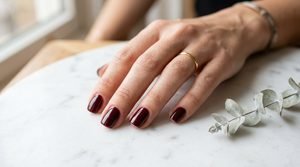
There’s something about burgundy nails that feels instantly polished — like you just walked out of a high-end salon, even if you did them on your couch while binge-watching your favorite show. This deep, wine-soaked shade flatters every skin tone, pairs with almost any outfit, and screams confidence without trying too hard.
The best part? You don’t need a nail tech to pull it off. With the right tools and a few insider tricks, you can create salon-worthy burgundy nail art right at home. Let’s break it down step by step.
Gather Your Supplies First
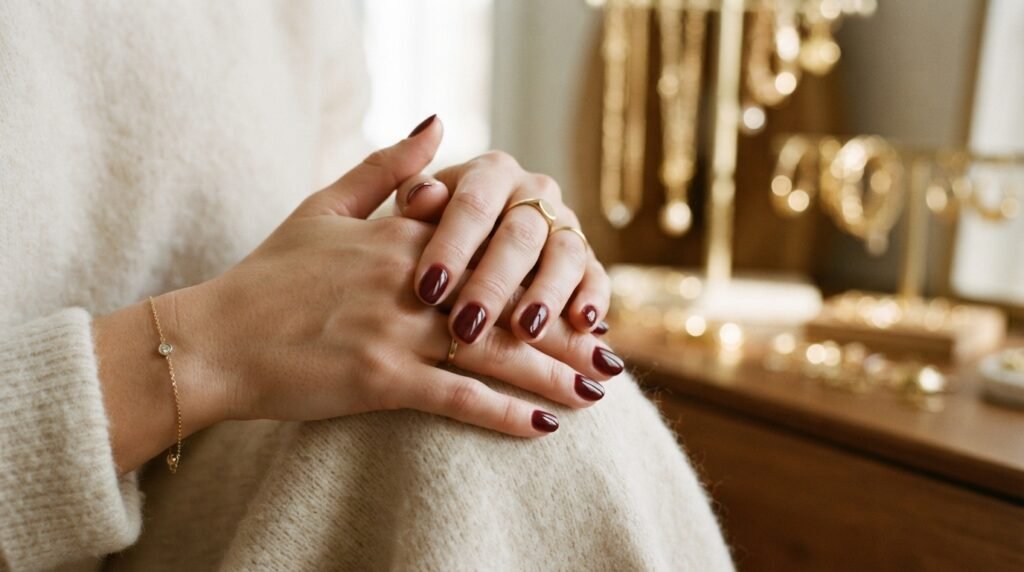
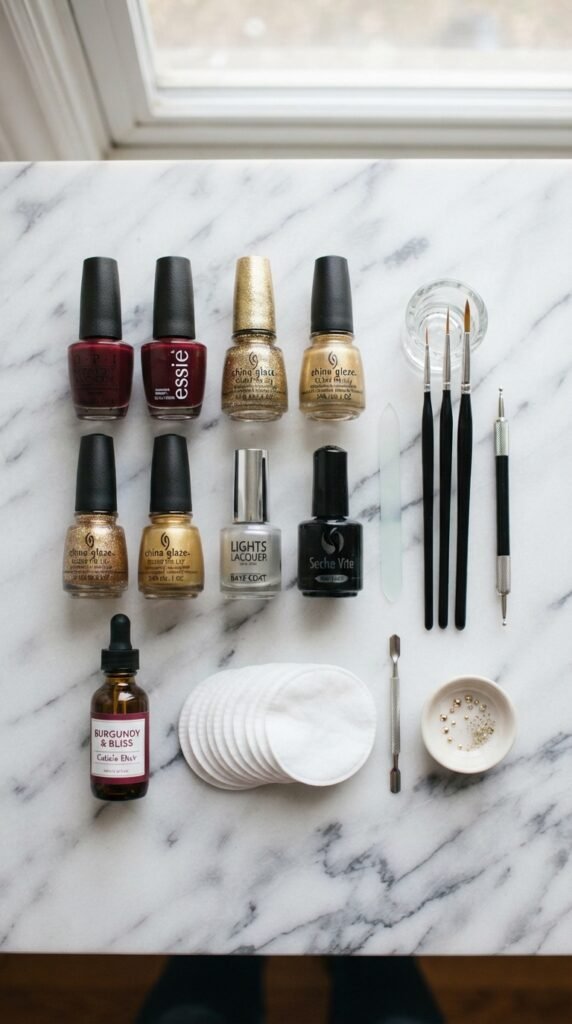
Before you start painting, set yourself up for success. Having everything within arm’s reach means fewer smudges, fewer do-overs, and a much smoother process overall.
Here’s what you’ll need:
- Base coat — protects your natural nails and prevents staining
- Burgundy nail polish — pick a formula you love (gel or regular)
- Top coat — high-shine or matte, depending on your vibe
- Nail art brushes — thin striping brushes and a dotting tool
- Accent colors — gold, nude, or black work beautifully with burgundy
- Nail polish remover and cleanup brush — for crisp, clean edges
- Nail file and buffer — to shape and smooth before you start
Pro tip: If you’re going the gel route, you’ll also need a UV or LED lamp for curing.
Prep Your Nails the Right Way
Skipping prep is the number one reason home manicures chip early. Take five extra minutes here and your polish will last days longer.
- Shape your nails with a fine-grit file. Almond and oval shapes look especially stunning with burgundy.
- Push back your cuticles gently with an orangewood stick — never cut them.
- Buff the surface lightly so the polish has something to grip onto.
- Wipe each nail with a lint-free pad soaked in rubbing alcohol or nail polish remover. This removes oils and gives you a perfectly clean canvas.
Once your nails are prepped, apply one thin layer of base coat and let it dry completely.
Apply Your Burgundy Polish Like a Pro
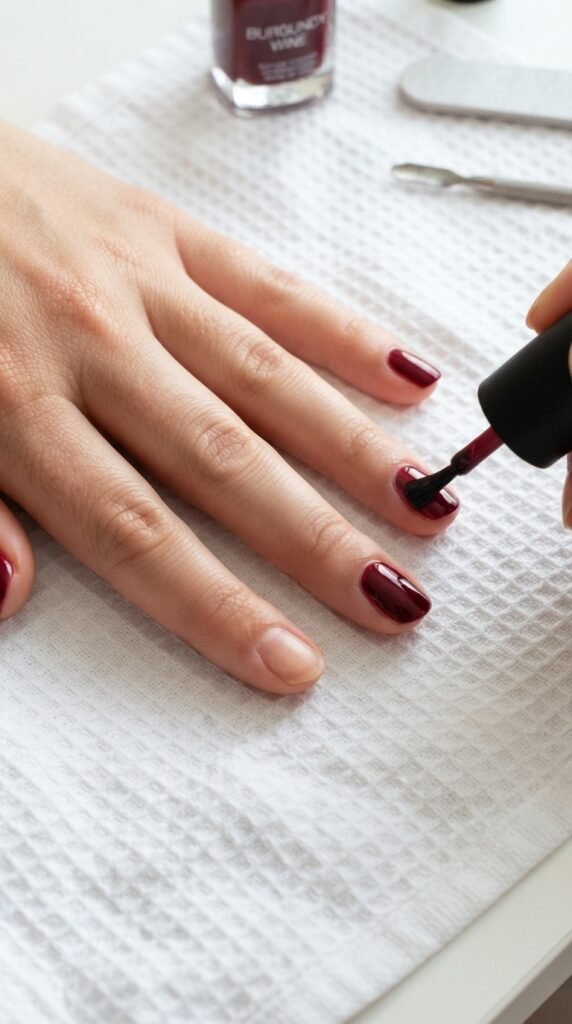
This is where patience pays off. Thin, even coats are the secret to a flawless finish — thick globs of polish will bubble, streak, and take forever to dry.
Here’s the technique:
- Dip the brush and wipe off the excess on the bottle rim.
- Place the brush slightly above the cuticle line and push down gently toward the base.
- Sweep up to the tip in one smooth stroke.
- Repeat on each side — three strokes total should cover the nail.
- Apply two thin coats, letting each one dry for about two minutes.
Keep your strokes slow and deliberate. If you get polish on the skin around your nails, dip a small cleanup brush in remover and trace along the edges before it dries.
Add Nail Art Details That Wow
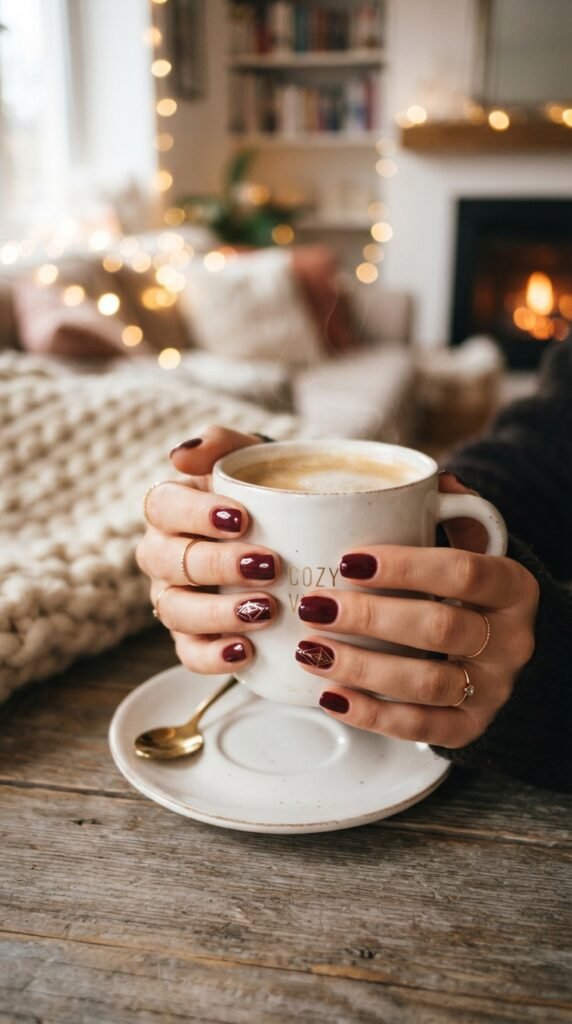
Once your burgundy base is fully dry, it’s time for the fun part — adding designs that take your manicure from simple to stunning.
Easy designs to try:
- Gold accent lines: Use a thin striping brush dipped in metallic gold polish to paint a single diagonal line across one or two accent nails.
- Dot patterns: Load a dotting tool with gold or white polish and create clusters of dots near the cuticle or tip for an organic, modern look.
- French tips with a twist: Paint burgundy as your base, then use a thin brush to add a gold or black French tip line.
- Negative space art: Apply tape or nail vinyls before painting to leave geometric shapes of bare nail peeking through.
- Glitter gradient: Dab a sponge with fine gold glitter polish on the tips, blending it into the burgundy for a subtle sparkle effect.
Start with one accent nail if you’re new to nail art. It’s low-pressure and still makes a big visual impact.
Seal and Protect Your Work
You’ve put in the effort — now lock it in.
- Apply a generous layer of top coat over every nail, including the free edge (the tip). This seals the polish and prevents early chipping.
- If you used regular polish, wait at least ten minutes before touching anything. Seriously — this is where most smudges happen.
- For gel polish, cure under your lamp according to the product’s instructions (usually 30–60 seconds per coat).
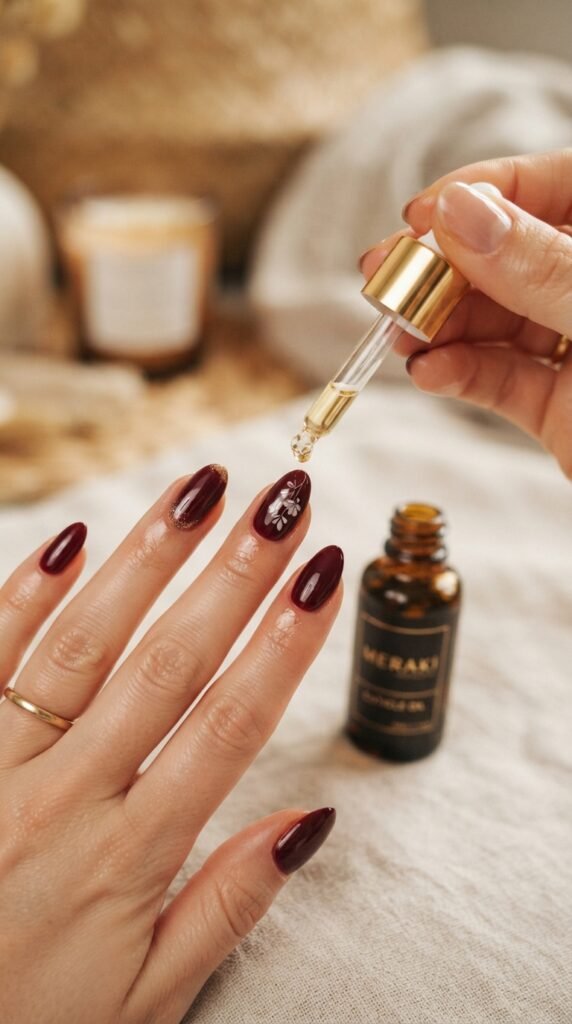
Finish by massaging a drop of cuticle oil around each nail. It hydrates the skin, adds a professional-looking glow, and makes the whole manicure look ten times more expensive than it is.
Final Thoughts
Burgundy nail art at home is one of those small luxuries that feels way more indulgent than it actually is. With a little prep, the right tools, and some patience with your coats, you can absolutely achieve a look that rivals any salon visit.
Start simple, build your confidence with accent nails and basic designs, and before you know it — you’ll be the one your friends come to for nail inspo.
Save this guide for your next at-home mani night — and tag us when you try it out! 💅