How to Do Burgundy Velvet Nail Art with a Flawless Finish
 By VelvetNesty
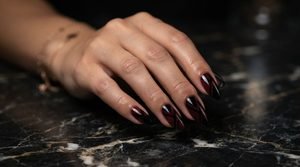
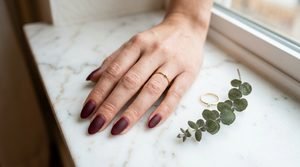
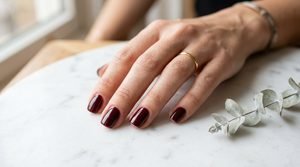
There’s something about burgundy velvet nails that feels instantly luxurious — like wrapping your fingertips in crushed velvet fabric. The rich, wine-dark color paired with that soft, matte-textured finish turns a simple manicure into a statement. And the best part? You can absolutely pull this off at home without a salon appointment.
Whether you’re prepping for a holiday party, a date night, or just want nails that look expensive on a budget, this guide walks you through every step to get that plush velvet effect right on your own nails.
What Exactly Are Velvet Nails?
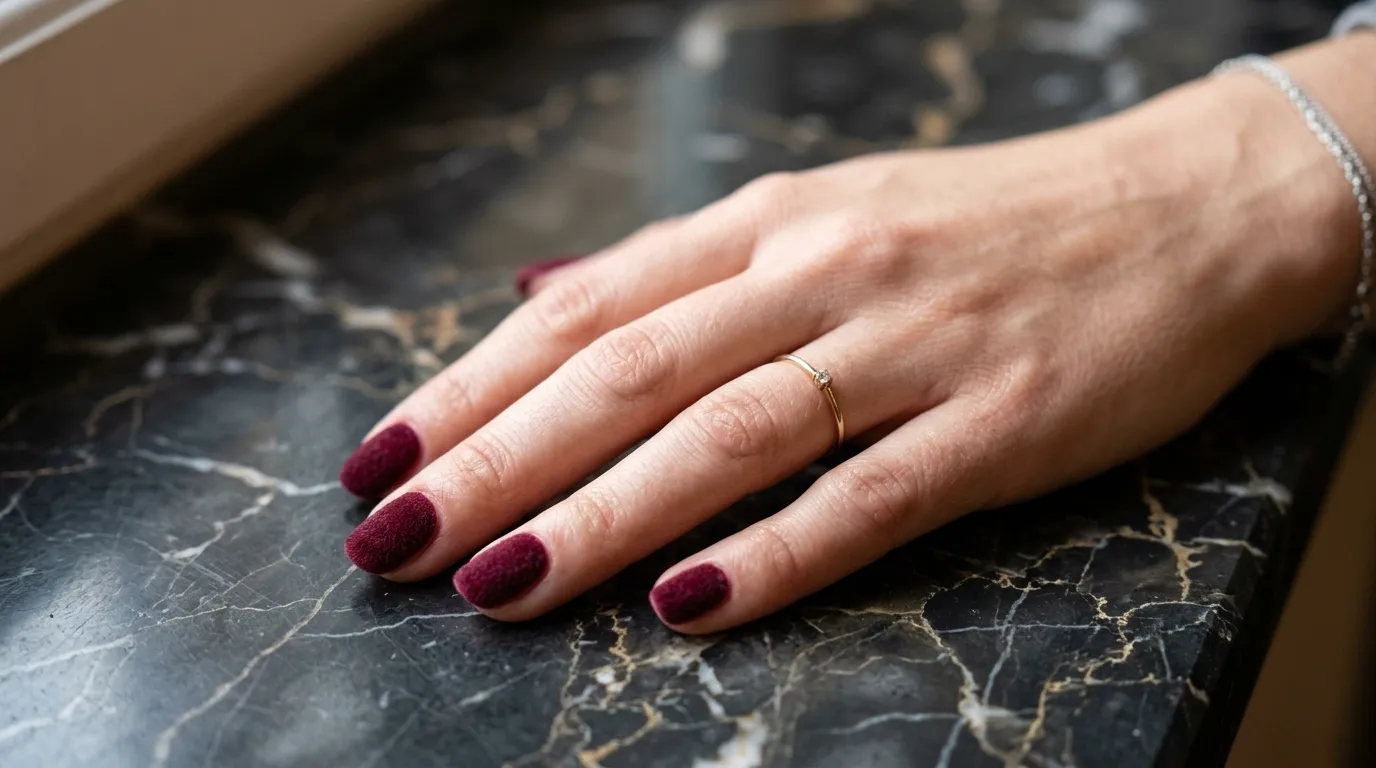
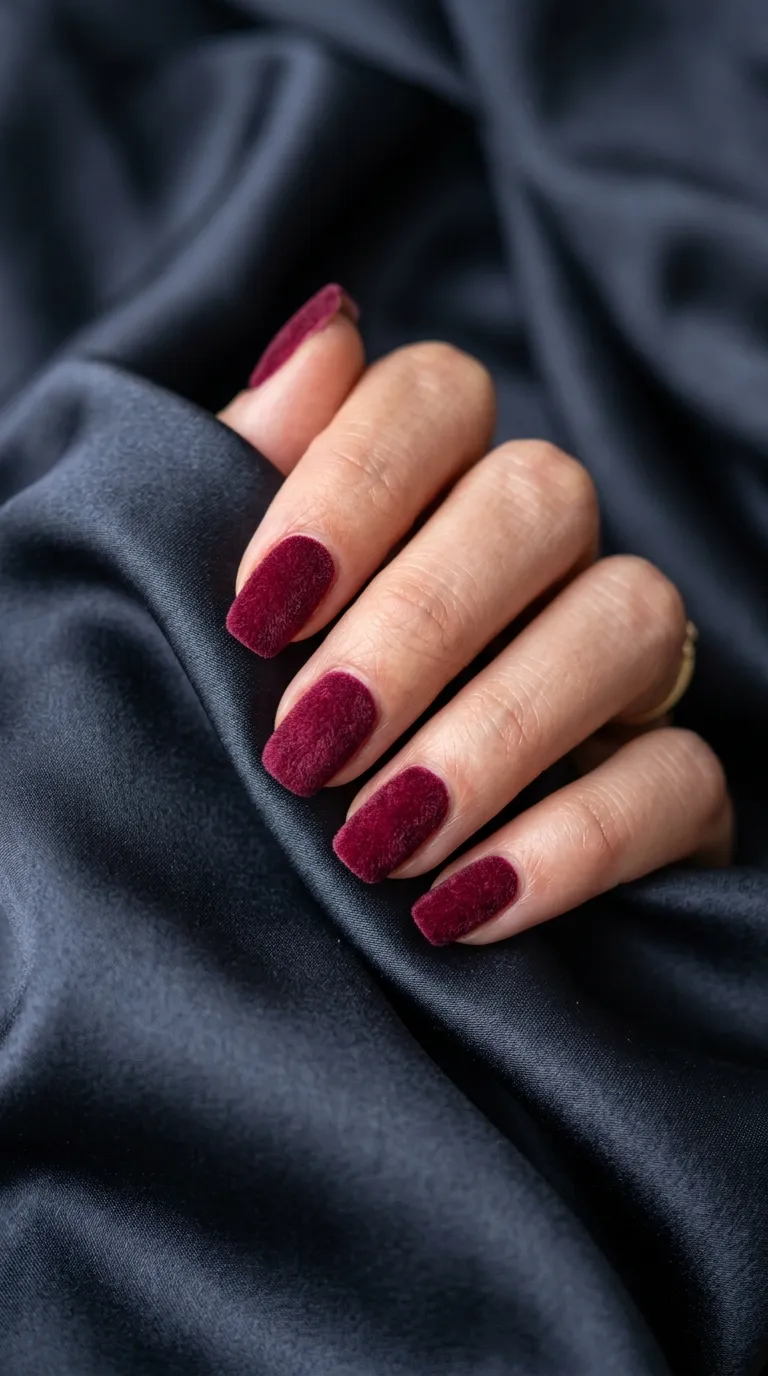
Velvet nails use a fine flocking powder — tiny fiber particles — applied over wet polish to create a soft, textured surface that mimics the look and feel of real velvet fabric. Unlike standard matte nails, velvet nails have a raised, fuzzy texture you can actually feel when you run your finger across them.
The technique works with any color, but burgundy is a standout choice. It captures light differently than a flat polish, giving your nails depth and dimension that photographs beautifully.
What You’ll Need
Before you start, gather these supplies. Most are affordable and easy to find at beauty supply stores or online:
Base coat — protects your natural nails
Burgundy nail polish — pick a deep, true burgundy (avoid sheer formulas)
Velvet flocking powder in burgundy or wine — available in craft stores or nail supply shops
A small dish or tray — to catch excess powder
A soft brush — a clean eyeshadow brush or a small fan brush works well
Top coat (optional) — only if you want a glossy-velvet hybrid finish
Nail polish remover and cleanup brush — for tidying edges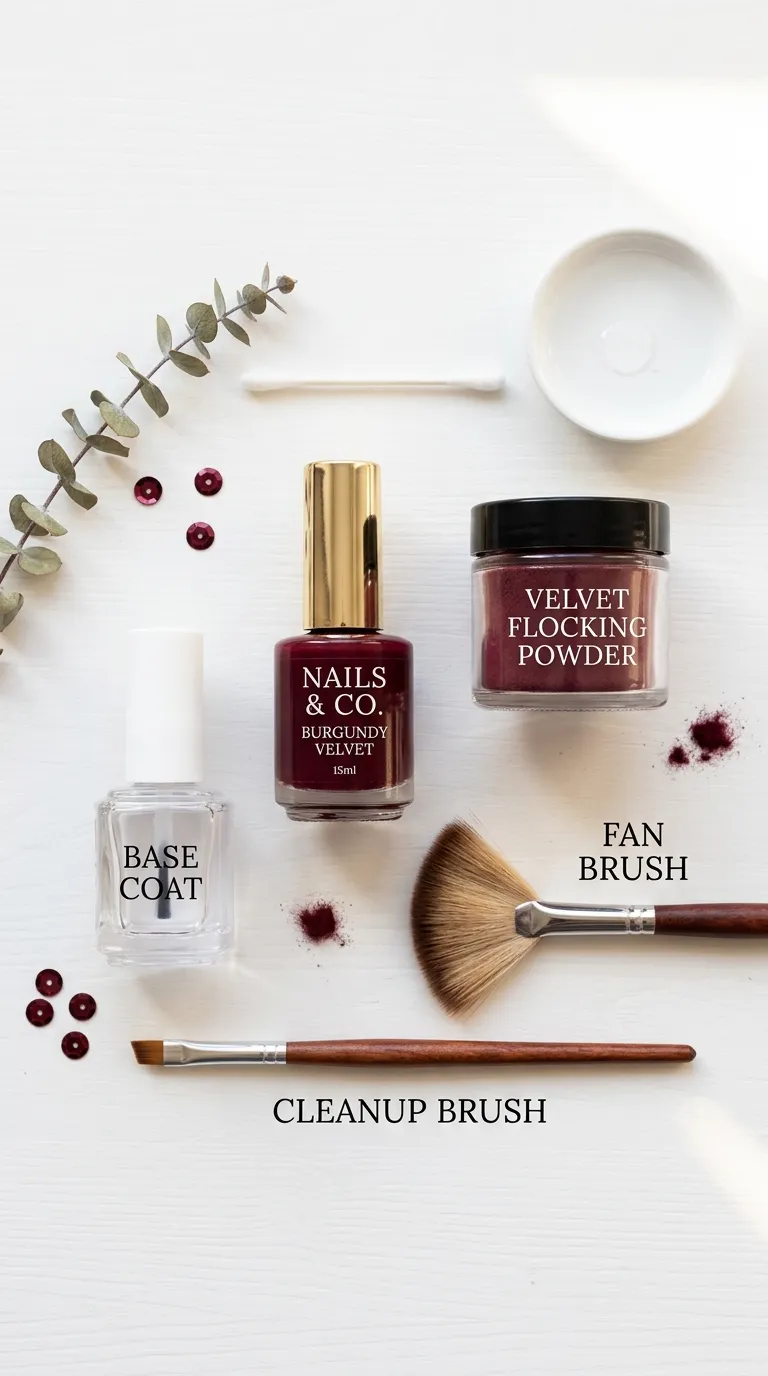
Step-by-Step: Creating the Velvet Finish
Step 1: Prep Your Nails
Start with clean, dry nails. Push back your cuticles gently, file your nails into your preferred shape, and lightly buff the surface so the polish grips better.
Apply one thin layer of base coat and let it dry completely. Skipping this step can lead to staining — burgundy pigments are notorious for leaving color behind on bare nails.
Step 2: Apply Your Burgundy Polish
Brush on your first coat of burgundy polish. Use steady, even strokes from the base of the nail to the tip. Let it dry for about two minutes, then apply a second coat for full, opaque coverage.
Here’s the key: do NOT let this second coat dry. The flocking powder needs to stick to wet polish.
Step 3: Apply the Flocking Powder
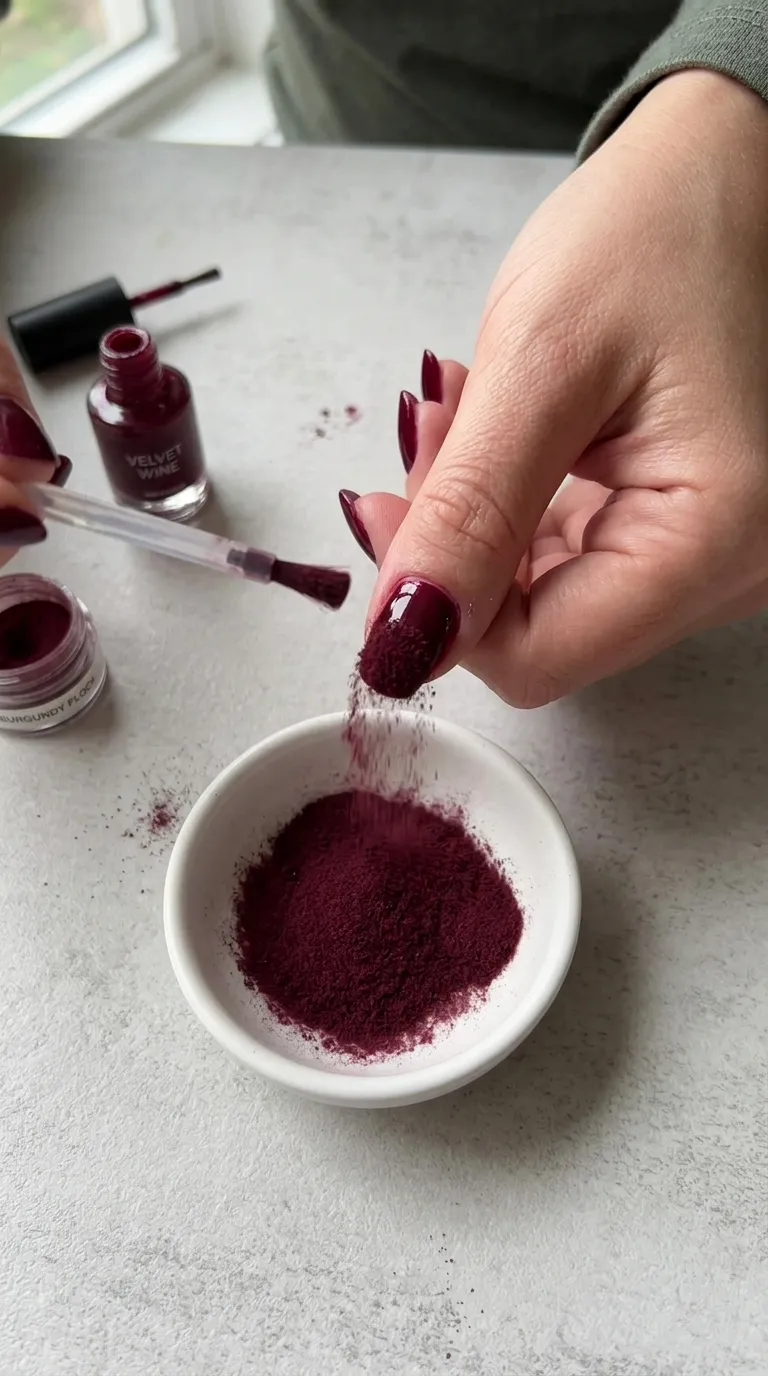
Hold your finger over the small dish or tray. Using your other hand, generously sprinkle the burgundy flocking powder over the wet nail. Cover the entire surface — don’t be shy with the amount. The excess will fall into the tray for reuse.
Gently press the powder down with a clean fingertip or a silicone tool to help it bond with the polish underneath. Repeat this process one nail at a time. Working in batches of one ensures the polish stays wet enough for the powder to adhere.
Step 4: Brush Away the Excess
Wait about ten minutes for each nail to set. Then, take your soft brush and gently sweep away any loose powder from the skin around your nails and from the nail surface itself. Use light, careful strokes — pressing too hard will flatten the texture.
Step 5: Clean Up the Edges
Dip your cleanup brush into nail polish remover and trace around each cuticle and sidewall. This removes any stray polish or powder and gives you that crisp, professional-looking edge.
Tips for a Longer-Lasting Velvet Manicure
Velvet nails are gorgeous, but the texture is more delicate than a standard glossy manicure. A few smart habits will keep them looking fresh:
Wear gloves when washing dishes or cleaning. Water breaks down the flocking powder quickly.
Avoid top coat if you want to keep the true velvet texture. A top coat will flatten the fibers and turn the finish glossy.
Apply a thin clear coat underneath the powder (on top of the color) if you want a slightly smoother velvet that lasts a day or two longer.
Touch up individual nails as needed. Keep your leftover powder in a sealed bag so you can re-do a single nail without redoing the whole set.
Expect 3–5 days of wear. Velvet manicures don’t last as long as gel, but they make a strong impression while they do.
Why Burgundy Is the Perfect Velvet Shade
Burgundy already reads as rich and high-end in a standard cream or glossy formula. Add the velvet texture, and it shifts into something that genuinely looks like a luxury salon design. The dark wine tone hides small imperfections in the powder application, making it forgiving for first-timers.
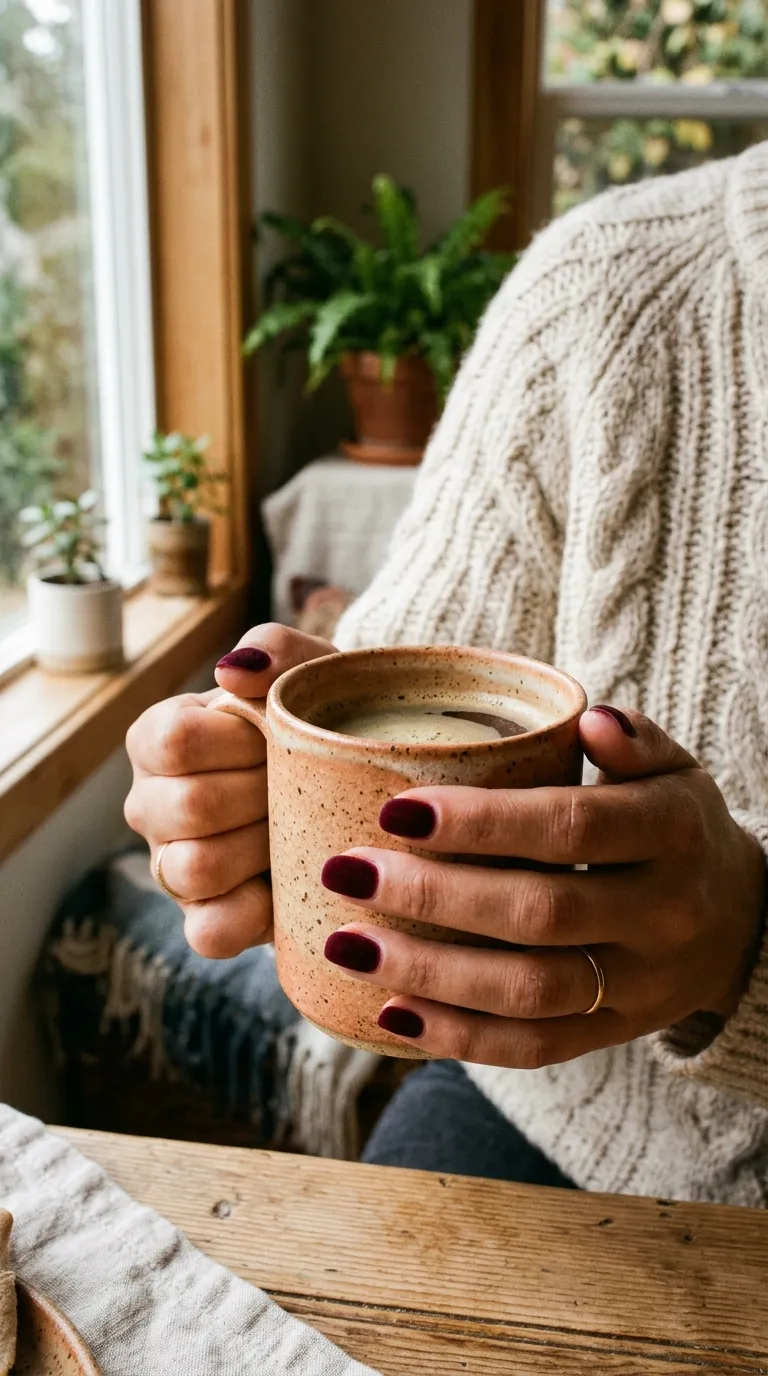
It also pairs with practically everything — gold jewelry, black outfits, neutral tones, even denim. It’s a year-round shade that works just as well at a summer evening event as it does during the winter holidays.
Ready to Try It?
Burgundy velvet nails are one of those rare designs that look high-effort but are surprisingly doable at home. Once you get the timing down — applying the powder while the polish is still tacky — the rest is easy.
Grab a jar of flocking powder, pick your favorite burgundy shade, and give your nails that plush, head-turning finish this weekend. Save this guide for your next manicure night!